How to Vectorize an Image in Photoshop: The Beginner's Guides
Summary: In this post, we have introduced the vector image, the difference between a vector image and a raster image. Shared the step-by-step actions of how to vectorize an image in photoshop and provided an easier online vectorize tool to achieve it.
There are a lot of reasons to vectorize an image. Maybe you want to make it smaller for use on the web, or maybe you want to change its color. No matter what your reasons may be, there are a few ways that you can go about how to vectorize an image in Photoshop. In this blog post, we'll show you how to do it using the Pen Tool and the Live Trace feature to vectorize an image. Let's get started!
What is Vectorization and Why Do You Need to Vectorize an Image?
The image is a collection of pixels in a bitmap, particles in film, or tags on paper. Image vectorization is a file type that simply converts pictures and images into vector forms. This is helpful because when we enlarge images, it won’t exist as a pixel but display the lines, points, or curves. If you enlarge the JPG image, you will see a structure called an artifact. Once you enlarge the image, you will see dots. What we need is to convert the two-dimensional image into a two-dimensional vector format.
When you're looking to create a high-quality image, vectorization may be the answer. Vectorizing an image can make it smaller in file size, which is great for online use. It can also make the image more versatile, as it can be easily edited and changed. Additionally, vectorizing an image can give it a sharper and cleaner look. If you're looking to improve your images, consider vectorizing them!
Vectorization is the process of converting a raster or bitmap image into a vector graphic. This can be done in order to improve the quality of the image, make it easier to edit or to reduce its file size. If we talk about the main vector file format, it all depends on the design style you need and what you want to implement. Common vector file formats include SVG, DXF, EPS, AI, and XXX. Let's take a closer look at what vectorization is and why you might need to use it.
Difference Between Raster Image and Vector Image
Raster graphics (jpg/ png / tiff files):Most people are familiar with .jpg images, just like the ones you get from a digital camera. If you have ever magnified an oversized .jpg image, you may have noticed that the image has become blurred and the color has become small squares or dots. Such images are called raster graphics. If you've ever had to edit a digital photo, you know how time-consuming it is to change the smallest dots or squares.
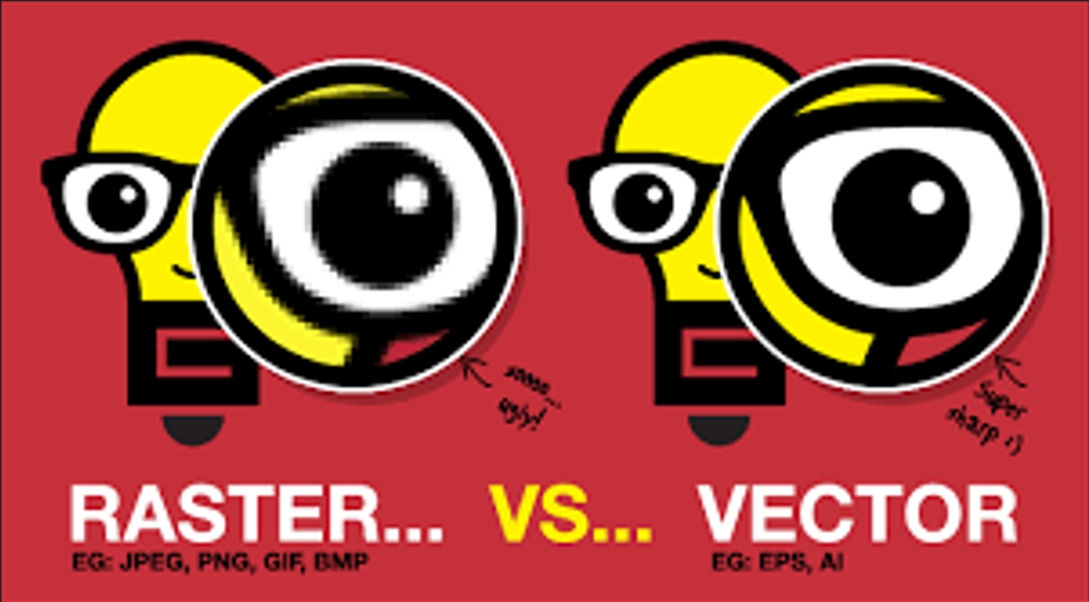
Vector files do not lose file data, however, raster JPG and other pixel-based files will lose quality after every time they are transported and saved. A vector image can produce a professional appearance of the brand. They are an important part of most printed or published materials.
For example, logos should always be in vector format. These smooth lines and shapes produce the best quality printed materials, with solid, consistent colors and clear text. You can use your vector logo on the billboard, the smaller ones can be used on pens, and the larger ones can be used on screen-printed T-shirts. Illustrations with icons and more illustration appearances are also suitable for use in vector files.
How Can You Vectorize an Image with Photoshop?
When using Adobe Photoshop, the image you are working on by default is a bitmap image. Follow these steps to convert a bitmap image in Photoshop to a vector image.
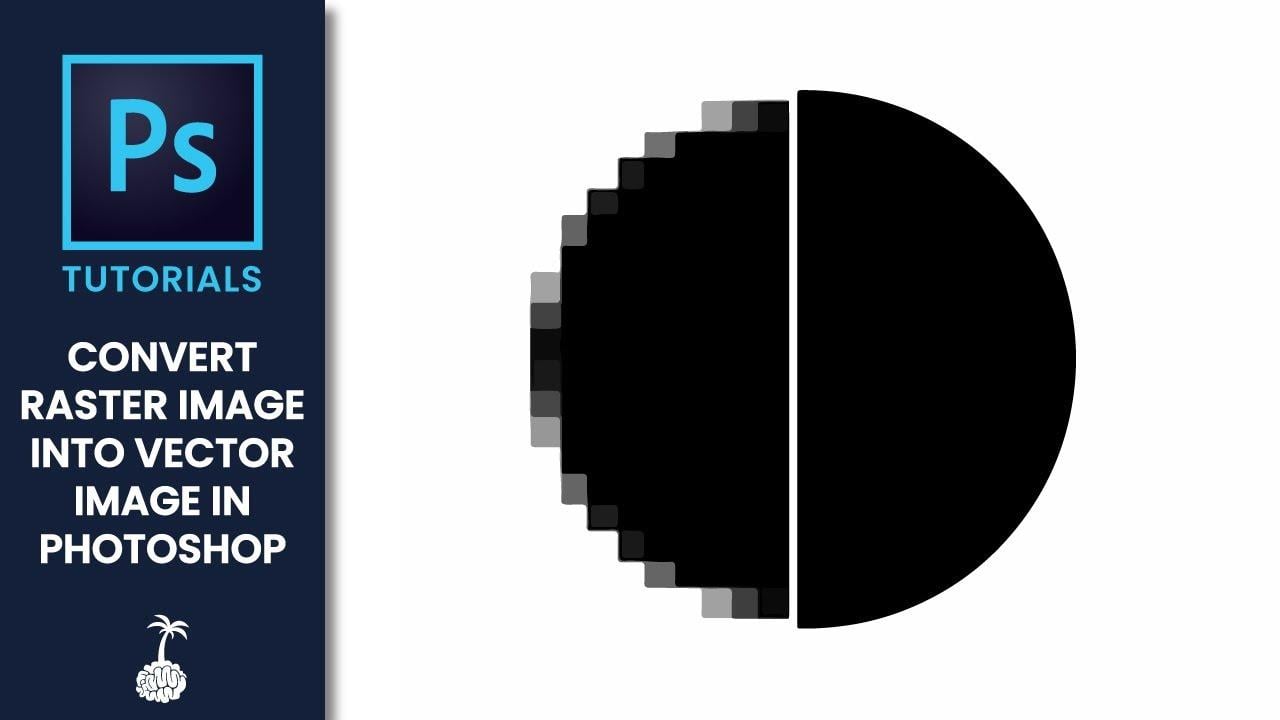
1. Open the “window” menu, select “path”, and pop up the appropriate panel. There are three options in the options bar: select the standard Pen tool to create Straight lines and Bezier curves on the image.
2. Select the freeform option to get a more natural, loose shape that is trace over the image. Select a magnetic Pen to track changes in color and brightness in the image.
3. Draw a vector path on the image until the path and shape in the image are tracked and transformed. When you have finished tracking the path, press enter to indicate the end of the path.
4. Use the lasso, marquee, and Magic Wand selection tools to select more paths. Click the menu button in the upper-right corner of the “Paths” panel, and then select “Make work path” to convert each selection to a vector pathway.
5. Sets the tolerance level of the pathways. A smaller level makes the path close to what you have tracked, while a larger level shows a smooth transition between anchor points in the path.
6. When you create a new work path, be sure to double-click the path name that appears in the “Paths” panel. Accept the default name or name for each path. Otherwise, the new actions replace the vector drawings on the work path with the new output.
7. Export vector paths from Photoshop to Illustrator so that you can use them in other programs. Click “File” to “Export” to “path to Illustrator”.
How Can You Vectorize an Image with Online Photo Editor?
As a professional drawing software, PS can solve most of the needs of the picture files, but it undoubtedly takes a lot of time to learn and practice. So is there an easier way to vectorize the image? The answer is yes. Here we recommend a free online photo editing tool Fotor for you.
Fotor
Powerful AI-driven editing tools like background remover, AI enlarger, object remover, one-tab skin retouch, AI art effects, etc.
Over 100,000+ ready-to-use templates and creative content for graphic design and photo collages.
Millions of HD stock photos for personal and commercial use.
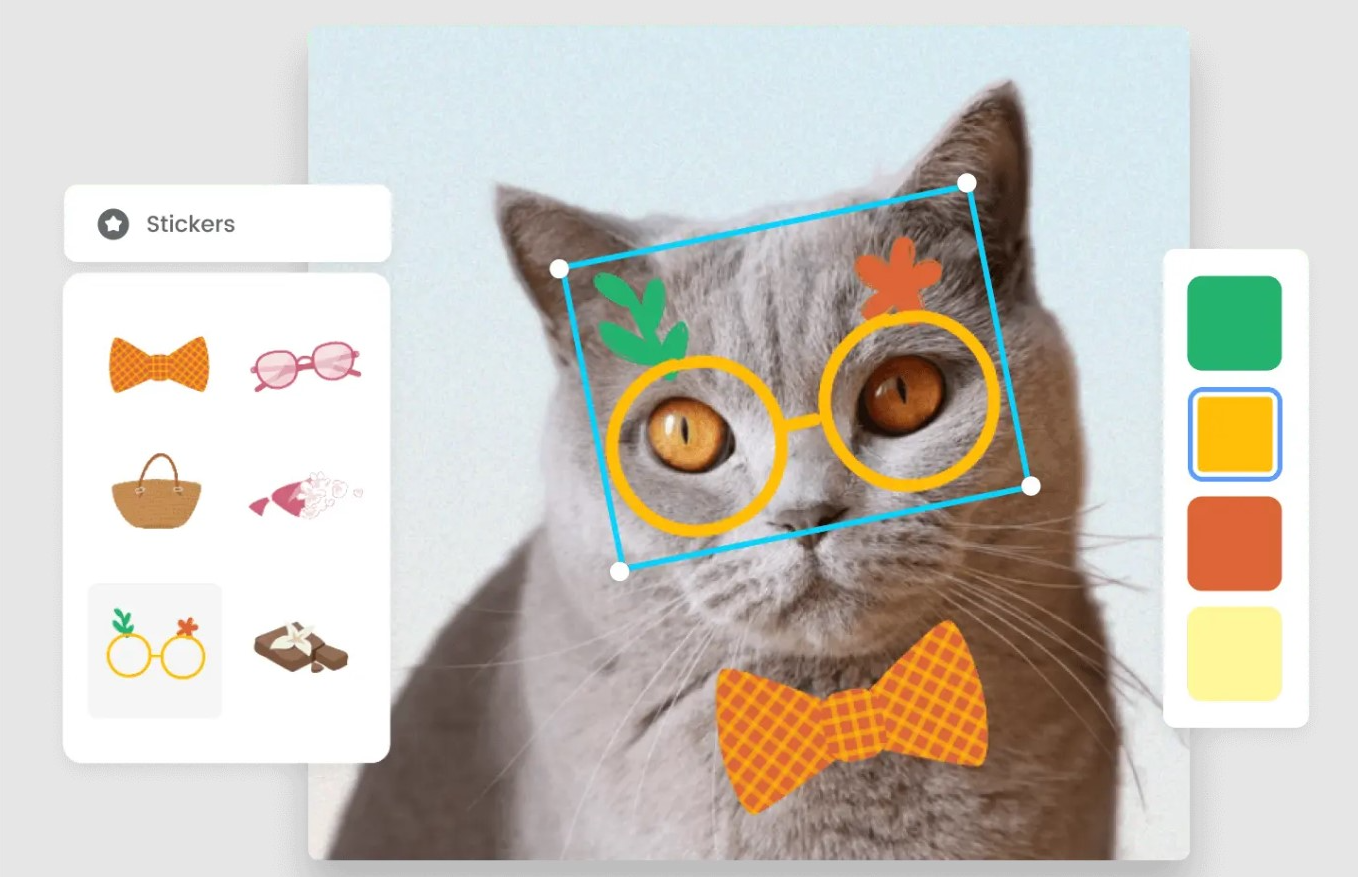
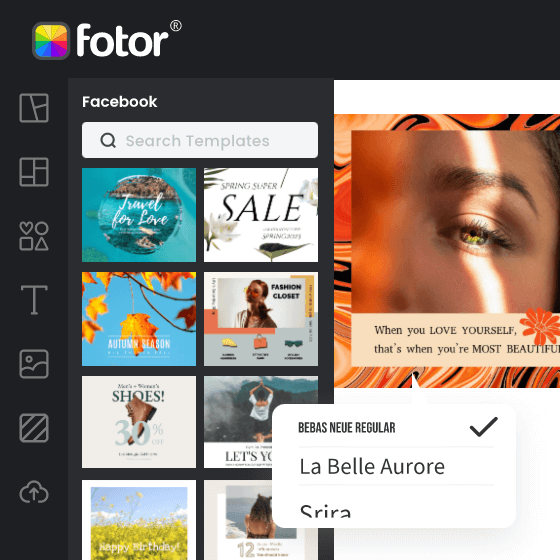
Fotor's photo editor lets you edit photos in just a few clicks. It covers various free online photo editing tools and elements including various vectors, and stickers. Help you make vector images easily. Here are the steps to vectorize an image by Fotor:
- Upload the photos or drag-and-drop images to the editor, or use free stock images.
- Customize your image with stylish stickers as you like.
- Click on the “Download” button and choose the PNG or JPG format to convert the image to vector.
- Save your vectorized images.

Conclusion
Scalability is at the top of the benefits list of using vector art. Because they are based on mathematics, vector images are at the forefront of design assets in the digital world. Professional and hobby artists can use these images to create impressive works, no matter what equipment they use. Besides the knowledge of vector image, we have also provided two ways for you to choose to vectorize your images as you like. You can have a try of them!


