How to Vectorize an Image in Illustrator Instantly
Summary: This is a post about how to vectorize an image, covering what vector images and bitmap images are, how to vectorize an image in Illustrator and how to make it fast with Fotor online image editor.
When you are printing your logos for your business, you may find your logo images are distorted or unclear. But why?
Actually, this phenomenon is closely related to the digital images. There are two kinds of images: vector images and bitmap images. Vector images are highly recommended when printing.
But what is a vector image and what is a bitmap image? How can I convert a bitmap image into a vectorized one? Don't worry about that, here we will share all the basic knowledge about it and introduce how to vectorize an image with Illustrator.
What is a vector image?
A vector image, also known as an object-oriented image, is mathematically defined as a series of lines connected by points. Graphical elements in a vector file are called objects. Each object is a self-contained entity with properties such as color, shape, outline, size, and screen position.
Vector images are drawn according to geometric characteristics. A vector can be a point or a line. Vector images can only be created by software and occupy less storage. Such vector files contain independent separate images, and it can be freely regrouped.
Its characteristic is that the image will not be distorted after magnification. It is suitable for graphic design, text design and some logo design, layout design, etc.
What is a bitmap image?
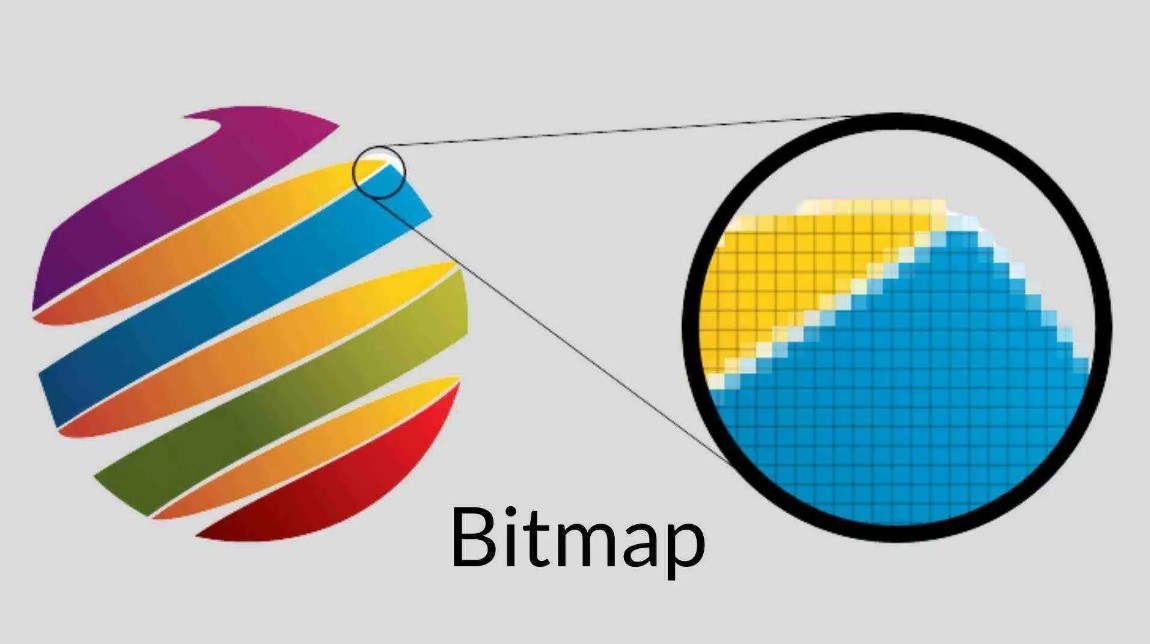
Bitmap images, also known as raster images, are made up of individual dots called pixels (picture elements). These dots can be arranged and dyed differently to form a pattern. When you zoom in on a bitmap image, you can see the countless individual squares that make up the entire image.
Photos taken with digital cameras, pictures scanned with scanners, and computer screen shots are all bitmap images.
Bitmap images can display the changes and subtle transitions of colors, and have vivid and realistic visual effects. The disadvantage is that it needs to record the position and color of each pixel when saving, which takes up a large storage space.
Benefits of Vectorized images
1.The vector image file occupies smaller storage space
The information of lines and blocks is saved in the image, so the vector image file has nothing to do with the resolution and image size, but only with the complexity of the image. Therefore, the image file occupies a small storage space.
2.The vector image can be scaled without losing quality
The image can be scaled infinitely, and the images will not have aliasing effects when zooming, rotating or deforming the vector images.
3. The vector images are best for printing
Vector images files can be printed on any output device printer at the highest resolution for printing.
How to vectorize an image in Illustrator
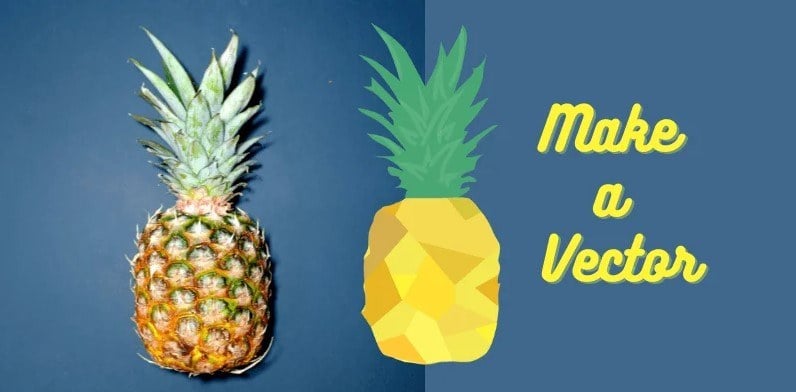
Illustrator is a commonly used bitmap processing software. Here we will share the detailed steps on how to vectorize an image in Illustrator.
1. To begin with, click on the New in the File and create a new document with an artboard. Then, click on the Place in the File to open your image that you want to vectorize in Illustrator.
2. Next, resize your image with the anchor point controls. Creating an empty frame is another way to have the wanted images sizes.
3. Open the Object by selecting your image and choose the Image Trace. Next, you should click on the Make.
4. Choose one of the preset options that you want with your image. Several options related to colors are displayed, and you just need to pick and click on the one you like. Then the image trace will work immediately and automatically.
5. Then, fine-tune your image. Click on the Image Trace panel, and pick one tracing option and click on Expand. In this step, the raster image will be processed into vector image.
6. Adjust your image according to your need. In this step, you can adjust the grouped vector shapes by ungrouping and choosing the proper colors.
7. Save and export the newly vectorized image to your file.
Vectorize your Image Faster With Fotor
Fotor
Powerful AI-driven editing tools like remove background tool, AI enlarger, object remover, one-tab skin retouch, AI art effects, etc.
Over 100,000+ ready-to-use templates and creative content for graphic design and photo collages.
Millions of HD stock photos for personal and commercial use.
If you are unfamiliar with Illustrator, or you have to vectorize your images in a very short time, we highly recommend an online photo editor to vectorize your images.
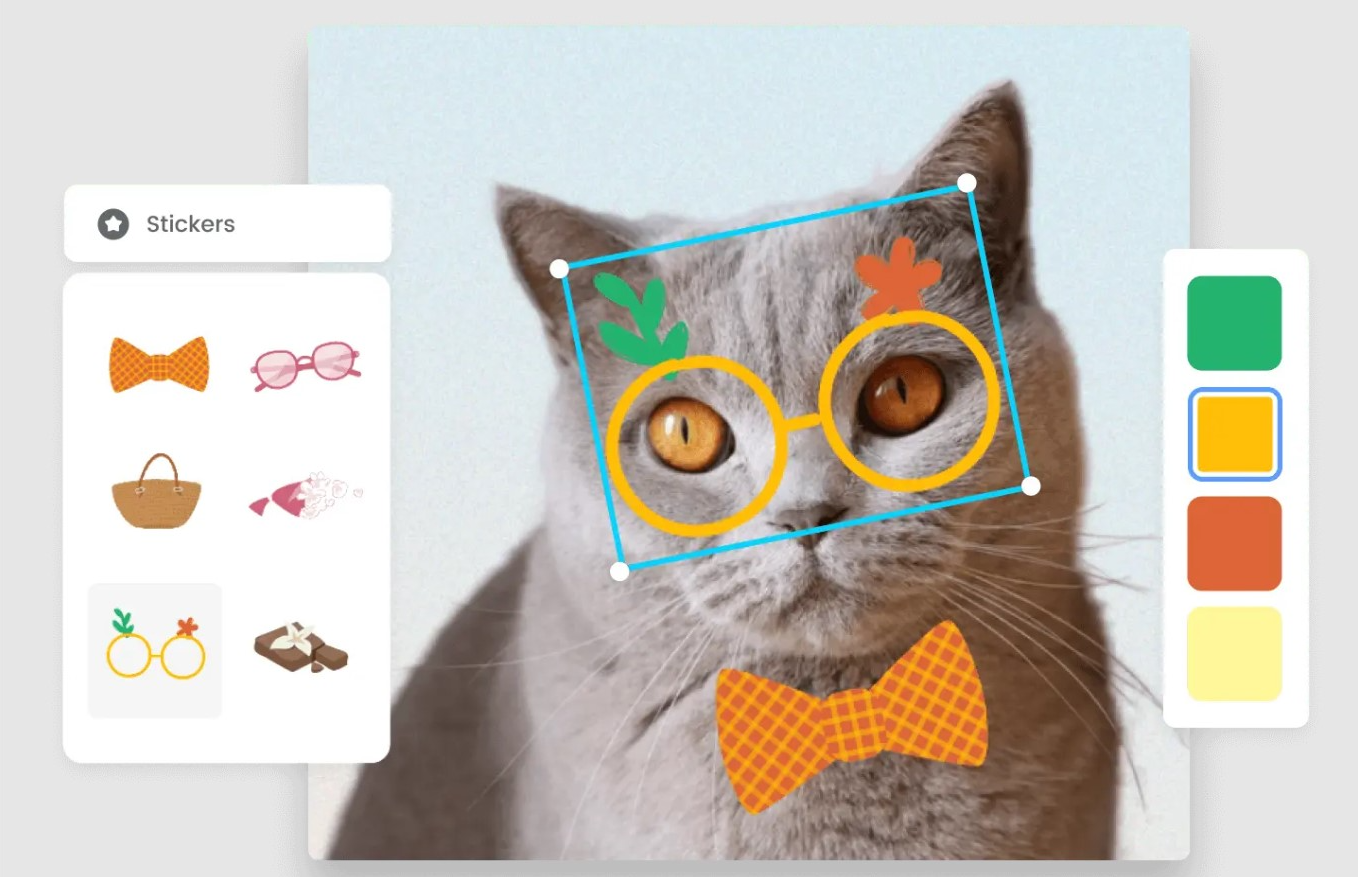
Fotor, a powerful and professional online photo editor supported by clever Artificial Intelligence (AI), offers you a helpful and useful online editing tool for you to vectorize your images faster compared with the traditional image vectorizing tools. Besides, you can also customize your images such as crop, resize, add atickers and effctes or filters to make your images perfect.
Follow the detailed tutorials below, you can vectorize your images quickly and easily with Fotor online editor.
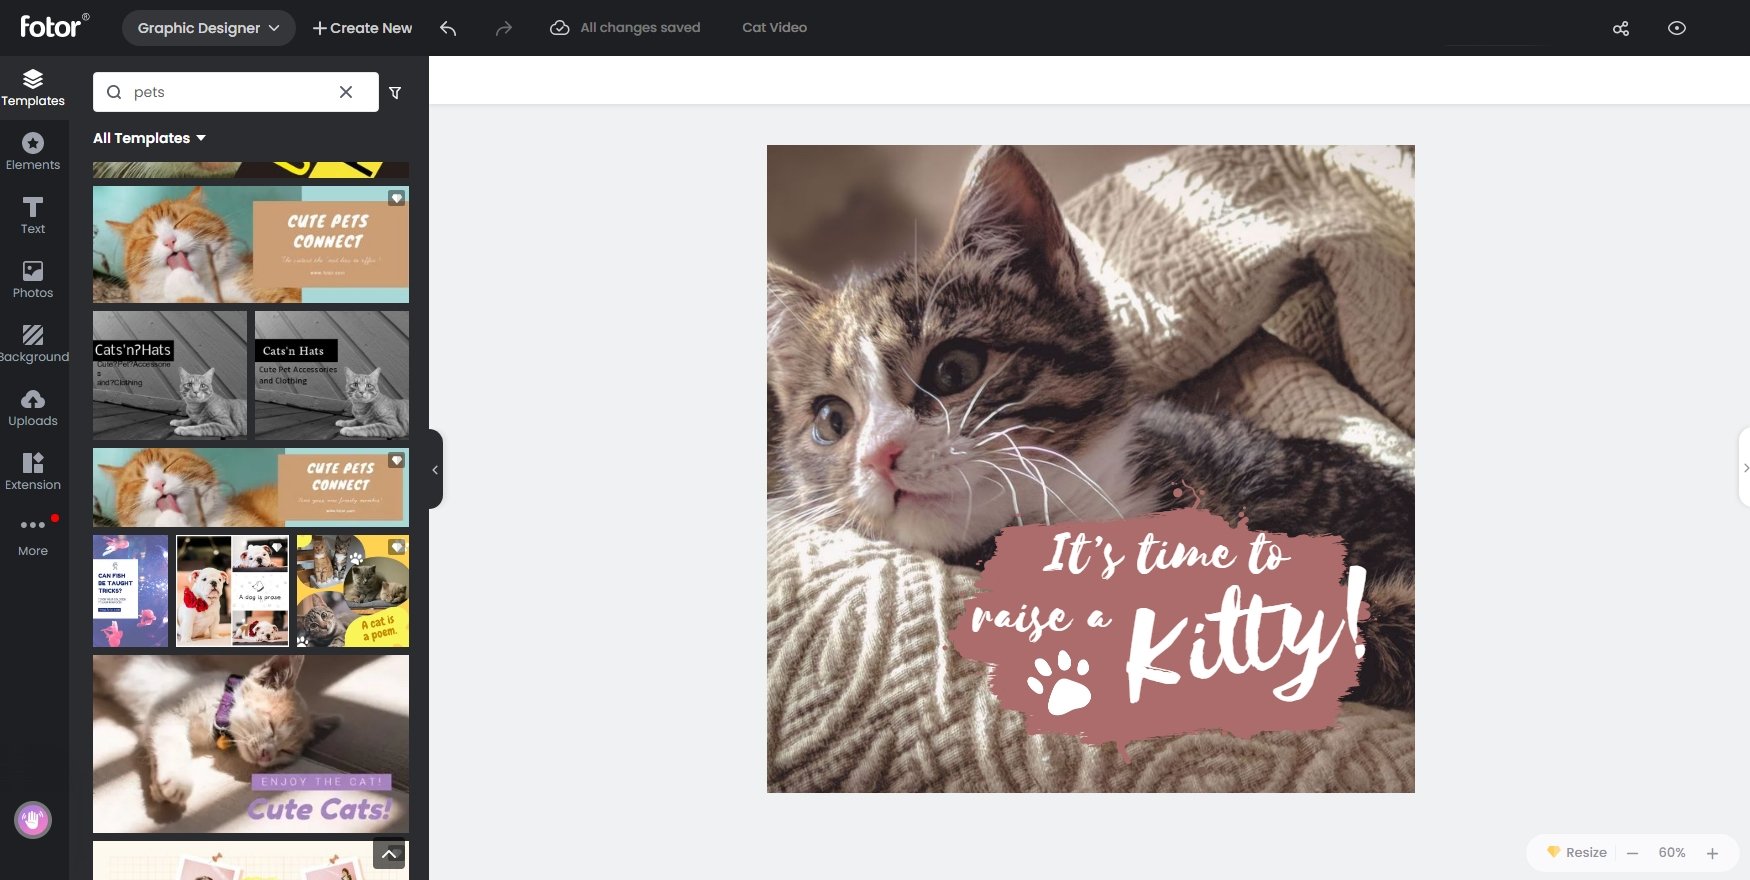
1. Upload image that you want to vectorize in Fotor online editor
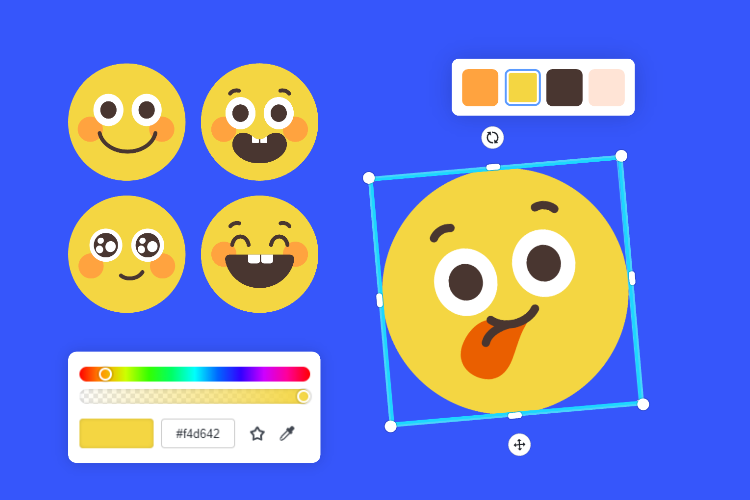
2. Customize with your images with stickers, captions, colors, effects and filters that you like.
3. Download and choose PNG or JPG format to convert the raster image to vector image
4. Save the newly vectorized image
Conclusion:
We have shared detailed tutorials about how to vectorize an image in Illustrator. But for people who are not familiar with the Illustrator software or people who don’t install Illustrator, we shared another quick and easy tool—Fotor online image editor that can help users to vectorize your images in a few easy steps. Hope these tutorials about how to vectorize an image can help you, and if you have something to tell, just comment and share with us!
