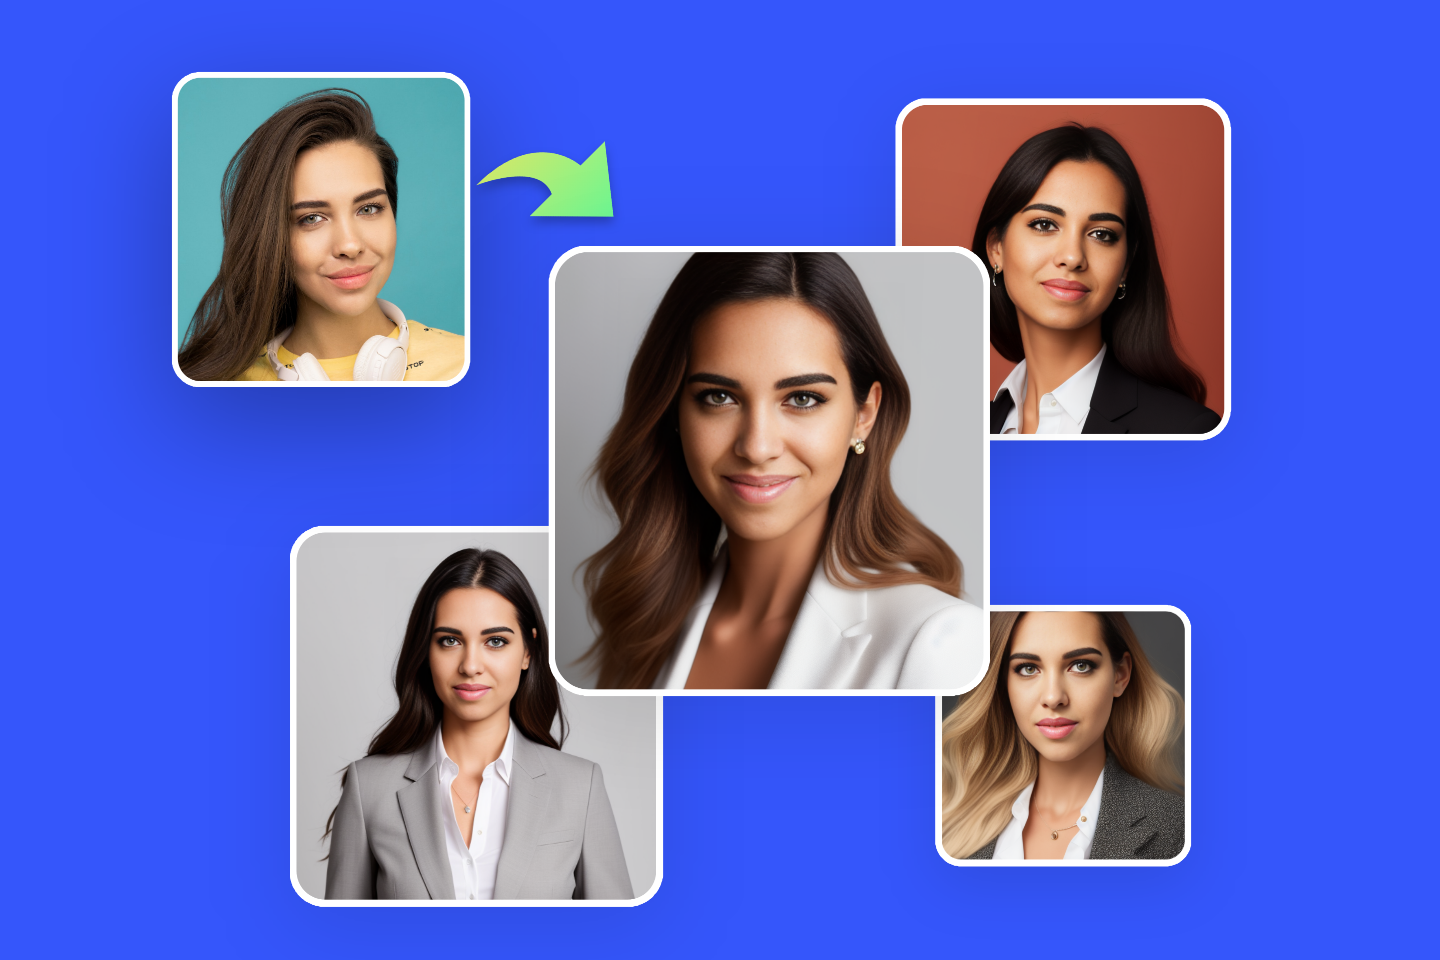
How to Take Passport Photo with iPhone: Step-by-Step Guide
Summary: This is an overall guide on how to take photo with iPhone, including passport photo requirements, step-by-step guide and useful tips on how to take a good passport photo for your next travel!
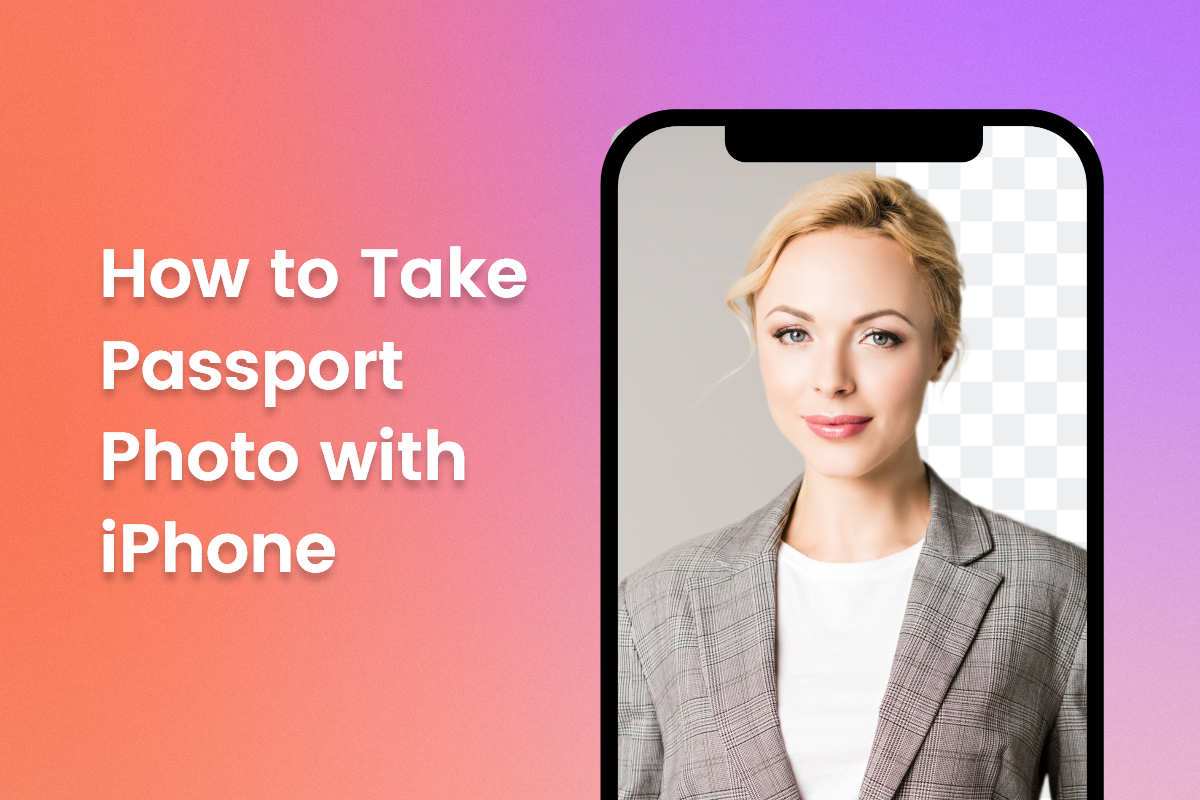
Taking a passport photo with an iPhone can be a bit tricky. But it doesn't have to be! With some helpful tips, you can easily take a passport photo with your iPhone that meets all of the requirements.
In this article, we'll discuss the requirements for taking a passport photo with your iPhone, as well as some tips on how to get the best results. We'll cover everything from lighting and background to positioning and editing. Armed with these tips, you will be able to take great quality passport photos quickly and easily!
Passport Photo Requirements
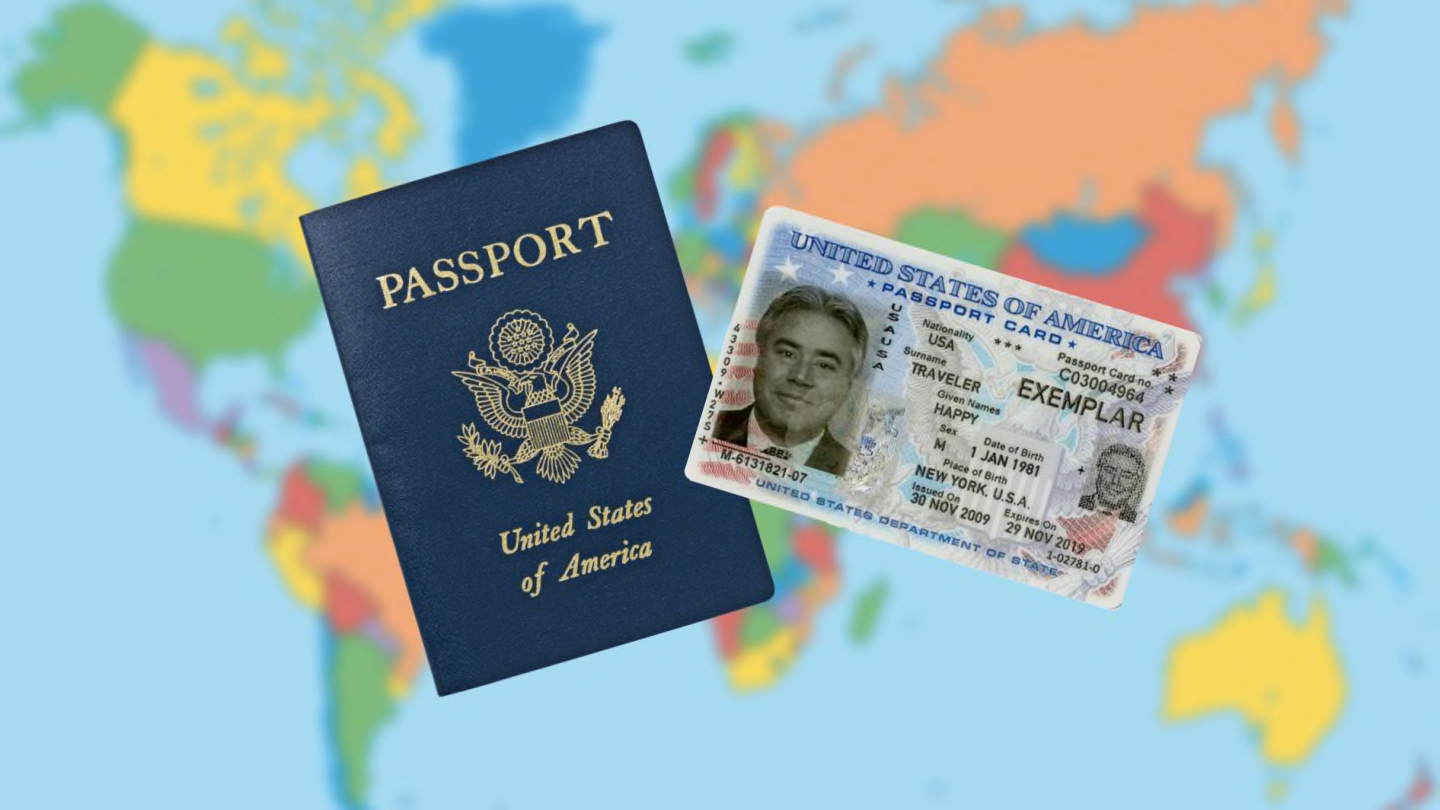
When creating a passport photo on your iPhone, you need to make sure that the final photo meets the latest official requirements. Requirements may vary somewhat from region to region, so here we will use a US passport as an example.
- The image size should be 2x2 inches (51x51 mm).
- The head must be between 1 and 1.4 inches (25 to 35 mm).
- The photo should have been taken recently (within the last 6 months).
- Look directly into the camera and maintain a neutral facial expression.
- Take the photo in front of a plain background.
- Wear the clothes you wear everyday.
- Do not wear glasses (including tinted glasses) or wireless headsets
For complete and specific passport photo requirements, please refer to the official website!
How to Take Passport Photo With iPhone
Various factors may prevent you from going to a professional studio to take a passport photo, but if you want, you can easily take a beautiful passport photo at home by following these simple steps:
1. Keep Your Face Clear
Remove facial jewelry, temporary modifications, hats and glasses according to your country's guidelines. You can keep any religious headgear or medical devices, but make sure your face is visible.
You can wear moderate or natural makeup or later to beautify your skin, but do not wear extreme makeup or hairstyles. Hairstyles should not have bangs covering your face and your hair should sit naturally in the frame. Check the U.S. passport photo requirements to be sure, and remember that different countries may have different requirements.
2. Choose a Light Colored Background and Neutral Lighting
Stand or sit under neutral lighting with a white or beige background (no visible chair). Stand a few feet away from the background and make sure there are no harsh shadows behind you. You may choose to shoot behind translucent white curtains, where the light and background will be more appropriate.
Your skin should be illuminated to its natural color, with no colored tones or dark shadows. Schedule your photo session in sunlight to avoid harsh lighting or golden hues. While golden hour is a great time to take portraits, the passport office won't appreciate it.
3. Set Your Parameters of Your iPhone
Use your phone's rear camera, as it takes sharper shots than the front camera. If you are taking pictures alone with a tripod, set up a mirror on the back of your phone so you can see your screen and adjust your position. Set your phone to portrait orientation for photos.
Using a tripod may take longer to initially set the composition, but you can be sure the composition won't change once it's set. If you have a friend who is taking pictures, they can easily and quickly re-plan the shot when needed.
You should not use any filters or effects on your camera. Just use the standard camera and don't zoom in or turn on portrait mode. Use the default camera on your phone, not any third-party apps, to make sure no further effects appear.
4. Frame Your Pose
Open your camera grid lines and sit or stand so that your head is in the middle of the frame and your shoulders are at the bottom. While passport requirements specify a certain amount of spacing around your head, it's better to have enough room when shooting than to try to get the spacing exactly right when composing your picture.
Make sure the angle of the camera is straight and square to your face, so there is no upward, downward or sideways angle. Take a test shot and check the lighting, angle and background. Review and revise what need to be corrected. Note that when using natural light, you may need to move your position to fix lighting issues.
5. Start Taking Pictures
Once your shot composition is complete, you are ready to take the photo. Remember to keep a neutral expression and don't smile. Look directly into the camera lens.
Capture multiple photos. If you're using your phone's self-timer and tripod, turn on continuous shooting mode. This ensures that you have multiple photos to choose from, rather than just one with your eyes closed. Here's how to take, view, and share burst mode photos on your iPhone.
If you have friends taking photos for you, they should take multiple shots before reviewing them, or they can use burst mode. It doesn't matter much if the photos aren't perfectly straight or framed correctly; they can be cropped and straightened out later.
6. Edit Your Passport Photos
Once you've chosen the photos that come out best, it's time to start editing your photos. Straightening or cropping your photos to match your country's requirements can be done easily without negative effects. This can usually be done using your phone's native editing feature.
Passport photo backgrounds may appear less than standard as it is often difficult to get a professional monochrome background from a cell phone shot, this is where you may need a background removal software, here we recommend Fotor's online background remover.

With Fotor's passport photo maker, you can quickly convert ordinary photos to passport photos and ID photos online. Fotor will automatically recognize the portrait part and remove the background in seconds, and you can also change the background of the photo to white with one click.
There are multiple ID photo templates to meet your various photo ID needs. Grab Fotor and make a photo of your passport now!
Based on powerful AI technology, Fotor can automatically identify the subject within seconds to remove the background color and replace it with the professional solid color background you want. The simple operation and newbie-friendly interface are perfect for non-professionals to edit photos!
Tips on How to Take Good Passport Photo With iPhone
In order to get satisfactory results on your first try, here are some photo tips that will help you get a good passport photo as soon as possible! Please follow these tips!
Posture and Camera Distance
Stand or sit 1.5 meters away from the person taking the photo and half a meter away from the wall behind you. Don't try to pose: keep a straight posture with your shoulders rolled back. Look directly at the camera with your head straight. To avoid a double chin, push your chin forward a little. Even if you are using an iPhone to take passport photos it is best to use a tripod or ask for help, selfies are not advisable, this needs to be noted!
Adjust the Lighting Correctly
You need a medium light source that casts an even light on your face. The light should not be bright or there will be strong shadows. You can place a light behind or high above the photographer. Or, you can insert the light source into the hot shoe of your camera.
Pick a Light-Colored Background
When creating passport-size photos, many people think that a plain white background is the best choice. This is a mistake - sometimes a white setting can cast more light and even create glare. Pick a plain, light gray, light blue or cream wall. Don't stand in front of a patterned or complex background. Also, there should not be any objects in the picture.

Wear Casual Clothes
Wear the clothes you wear every day (but not a uniform). Avoid pure white colors - these clothes will blend in with the light background. Headwear is not allowed, as your hairline must be visible. However, there are exceptions if you must wear it for religious reasons. As for glasses and hearing devices, they are usually prohibited, but if you have a prescription, you can wear them.
Proper Facial Expressions
Try to maintain a neutral facial expression. Don't frown, open your mouth, show your teeth or giggle. Laughing is also forbidden, but you can appear amiable by keeping the corners of your mouth slightly elevated. Avoid tilting or turning your head. Keep your eyes open and clearly visible.
Conclusion
Taking passport photos with your iPhone can save you time, money and the hassle of travelling to a photo studio. But getting the perfect passport photo can be tricky on a smartphone.
To ensure that your passport photo meets all the requirements, here are some tips for taking a good passport photo with your iPhone. You will learn about the passport photo requirements, tips on how to take good pictures with your iPhone.


