How to Remove Background in Photoshop: 10 Easy Ways for Beginners
Summary: This article will show you how to remove backgrounds in Photoshop in a variety of ways. They can help you extract a subject from a picture easily.
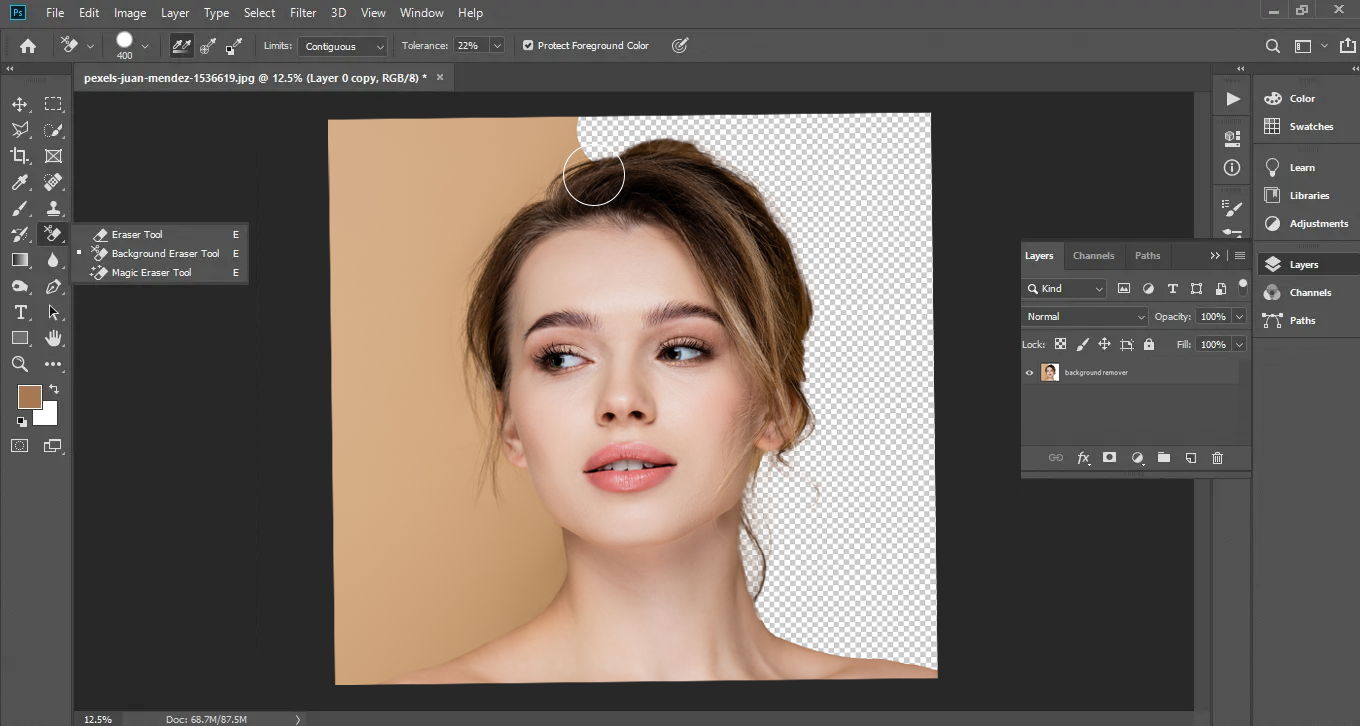
With all of Photoshop's improvements in recent years, removing backgrounds from images has never been quicker and easier. No matter whether you want to extract a subject from a photo or need to change the background of a complex image, here are 10 methods for how to remove background in Photoshop quickly. Follow us to know them one by one.
1. How to Remove Background in Photoshop with Remove Background Tool
If you don't care too much about your subject's edges being neat, this method is best and simplest method in Photoshop for removing background from image.
1. Open your image in Photoshop first, then select the Layers panel on the right. Press CTRL+J on Windows or Command+J on Mac to duplicate the current layer.
2. The background should now be completely removed in Photoshop after you complete the last step, which is to navigate to the Quick Actions panel and select the Remove Background button.
3. Click on the ‚Remove Background‘ button on the right-hand side
4. Zooming in on the Photoshop Remove Background Button under Quick Actions
2. How to Erase Background in Photoshop with Background Eraser Tool
As its name suggests, the Eraser tool removes background from image you don't want.
How to use the Eraser tool?
1. Open your image in Photoshop.
2. Go to find Background Eraser tool under the Eraser submenu in Photoshop toolbox. Then, click and hold it or press the "E" to erase the unwanted background.
The Eraser tool is handy but difficult to handle edges very well, so there are a few things to keep in mind:
First, ensure that the brush is the appropriate size. The menu bar or the keys in the bracketed [and] can be used to change it. You can try Larger brushes. It is much quicker, but if you're working in tight spaces, you need to be precise and zoom in it.
Second, on the slider, the brush ought to be nice and stiff as well. You will leave artifacts if your edges are fuzzy. shift and will either make the hardness harder or softer.
Third, using this method for keying is destructive, and in the absence of a backup of the image, the keyed-out background part will not be recovered.
3. How to Remove Background in Photoshop Using Polygonal Lasso Tool
The "Polygon Lasso Tool" is used to lasso polygons that are formed by straight lines inthe in the image, and it is in the Lasso Tools group of the toolbar. Once selected, click along the edge of the polygon in the image, and while holding down the Shift key, you can pull out a regular straight line at 45° or 90° to facilitate the selection of regular polygons such as squares or triangles.
Keying out regular shapes is the specialty of the formal polygon lasso tool.
When keying in areas with non-linear outlines, try using the "Magnetic Lasso Tool", PS will let it spontaneously fit the outline to make a selection, provided that the outline has a strong contrast with the background.
4. How to Remove Background in Photoshop Using The Pen tool
Compared to the "polygonal lasso tool" for drawing straight lines, the "pen tool" is unbeatable. The straight lines and smooth curves are its specialty, and can accurately draw contour paths.
Strictly speaking, the fineness of the selection made with its high enough, mastering the use of the pen tool takes a lot of practice and is more challenging to use than other tools.
Pen tool is best at drawing a smooth curved path.
After drawing a good path with the "Pen Path", simply come to the "Path" panel, and then rename the path as needed, and then hold down Ctrl while clicking on the path layer, you can create a selection.
5. How to Remove Background in Photoshop Using Magic Wand Tool
When there is a clear contrast in the image, such as when the background is with typically a solid color, the Magic Wand tool is very helpful. Click to select the background, and then delete the background. The shortcut key for the magic wand and quick selection tools is W, but you can also select items directly with the mouse.
6. How to Remove Background in Photoshop Using Quick Select Tool
If the initial selection exceeds the desired range of the screen, you can press the Alt while checking the part that exceeds it, to subtract them from the selected area. If there are still unselected parts after the initial selection, you can add them to the selected area by pressing down the Shift while selecting the parts you want to add.
7. How to Remove Background in Photoshop Using The Channel Tool
The channel tool is the best choice for dealing with hair, trees, flowers, transparent translucent and other such difficult material, simple and convenient to get started.
- The first step is to come to the channel panel, observe the red, green, blue three channels, select a black and white contrast of the most intense channel, and copy the channel.
2. In the selection of a good copy of the channel, select the menu bar "Image Adjustment Levels" or press the shortcut "Ctrl + L", adjust the level panel, add to the black and white contrast of the channel, so that the contrast is more prominent.
Ctrl+L, increase the black and white contrast in the color scale panel.
At this time, we can choose the brush tool, set it to black, and then draw on the model, draw her black, so that she and the background of white completely to the highest contrast
As shown in the figure below:
At this point, you can delete the background by pressing Ctrl+click the channel, selecting the white background, then clicking the RGB channel, going back to the Layers panel, and clicking the Delete button.
8. How to Remove Background in Photoshop Using The Color Range Tool
If the background of the image is a solid color, we can also use the "color range", it is in the menu bar under the "Select" menu, the operation is also very convenient.
If the image to be keyed has a very clear focus, you can also use the "Focus Area" function under the selection menu.
9. How to Remove Background in Photoshop Using The Layer Mask Tool
The best thing about "layer mask" is that it doesn't destroy the original image, just add a layer mask to the image and then select the brush tool. The black brush is for masking and the white brush is for revealing. That is, the place painted with the black brush will be erased, using this method that you can complete the work of keying and removing the background.
10. How to Remove Background in Photoshop Using The Refine Edge
Although the use of the channel tool can remove complex edges such as hair, but when it comes to the background is also more complex, the channel tool is a bit useless.
In this case, we have to use the ultimate method "Refine Edge". In fact, any kind of tool used to remove the background, such as the magic wand tool, polygonal lasso tool, pen tool, etc., can call the "Refine Edge" panel to use with.
Here's how:
- First select the subject, do not bother with the fine degree of edge outline, you can use the pen tool or quick selection tool.
- After selecting the area, you can click [Refine Edge] on the tool property bar under the menu bar to activate the adjustment panel and set the parameters.
The parameters are: Refine Edge (the tool's regular default position is on the far right of the interface); Smart Radius; Purify Color; Output Select New Layer; Remember the selection. Then use the Refine Edge tool to start painting around hair.
How to Remove Background from Picture with Fotor Online Background Remover
Listed above are ten methods for removing backgrounds in Photoshop, all of which prove highly efficient. If you still find that Photoshop's learning curve is daunting for beginners, there's an alternative solution available - Fotor's AI background remover tool. Even those new to photo editing can effortlessly utilize this robust tool to swiftly remove backgrounds from images.
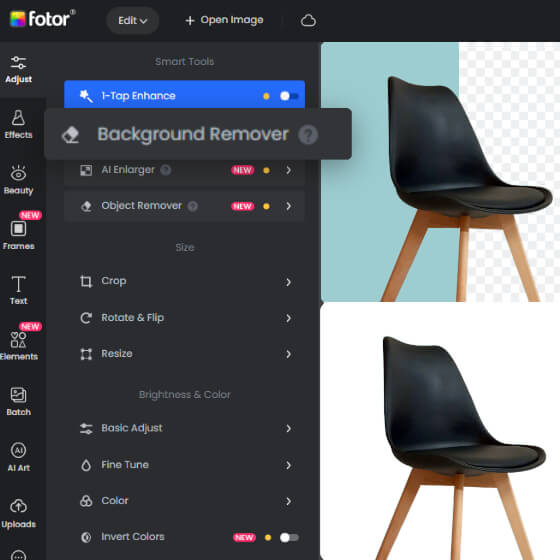
Professional all-in-one photo editor. A wide range of advanced built-in AI photo editing features is provided, such as background removal, object removal, resolution enlarging, photo retouching, etc.
Enhance your editing experience and improve your workflow.
Millions of HD stock photos are available, helping you create visual content easily.
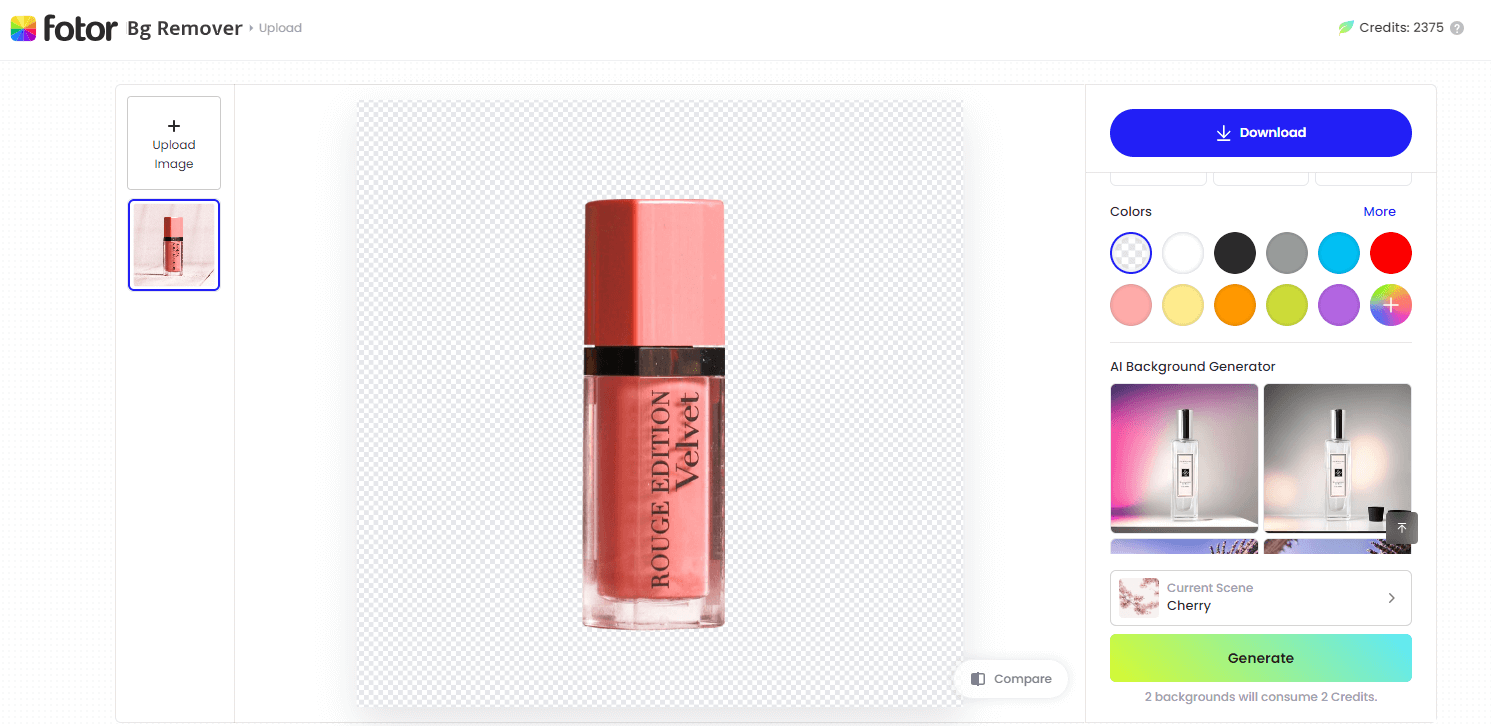
Simply upload the image you wish to edit onto Fotor's bg remover, and watch as Fotor's advanced AI technology springs into action. It automatically identifies and swiftly erase the background from photo within seconds.
Not only can you use Fotor's preconfigured background choices to change your background, but you can also harness the prowess of the AI background generator to craft an instant background instantaneously. Whether it's about removing a white background or removing background from logo, the process is refreshingly straightforward. Bid farewell to the tedium of manual cutting out and immerse yourself in the efficiency of AI technology. Try it now!
Summing up
For people who use Photoshop regularly, it is important to be skilled in using the Remove Background tool. For oridnary people, background removal processes also can be simple. Try to experience the listed way for how to remove background in Photoshop easily. If you still want to know one click remove background, try the AI background remover by Fotor.
Please let us know if you like this article? If you have a better way to remove background in Photoshop welcome to comment below, thanks for reading!


