How to Make Photos Look like Polaroids without Polaroids Camera

Polaroids have been a classic staple amongst professional photographers and people taking photos just for fun ever since they shot into popularity in the 1970s! For a long time, you’d have to invest money into not only an expensive camera but also the pricey polaroid film that goes with it.
But not any longer! Nowadays it’s incredibly simple to make your photos look like polaroids without ever touching a camera! So, let’s take a look at how to make photos look like polaroids without polaroids camera and how to get a polaroid camera effect using Fotor, but also how you can use them in your own home decor as well as posting online!
1. What is the Size of a Polaroid Photo?
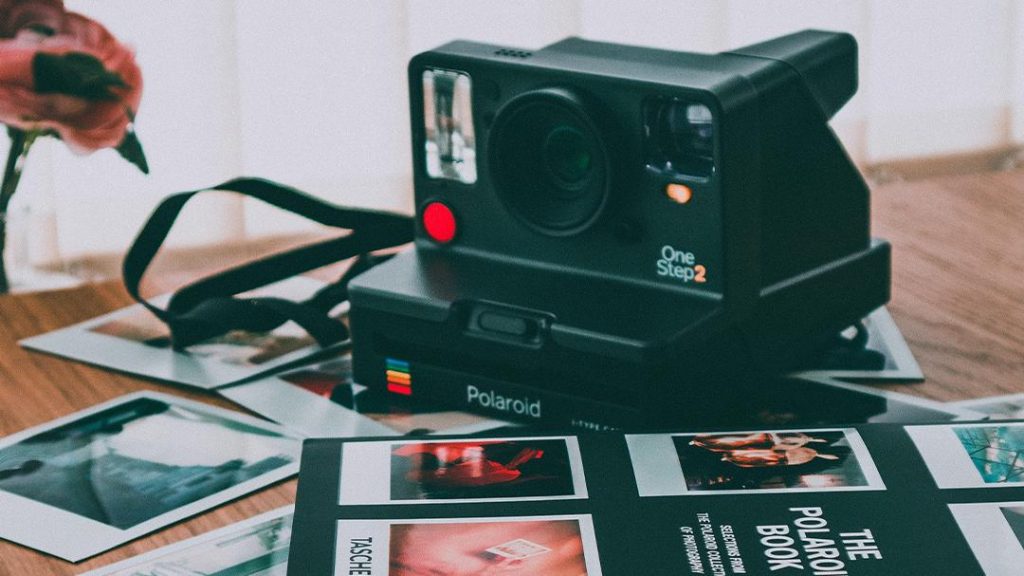
Knowing the size of your photo is important when you want to make pictures look like polaroids. The size of a Polaroid depends on what part of the photo you are referring to as there is both an “inner” portion being the photo itself, as well as the “outer” portion which is the border polaroid effect.
There are also all kinds of shapes and sizes of Polaroid, so let’s cover the 3 most popular! Keeping in mind that photo editor – Fotor can create a polaroid picture effect using any photo of any size!
- The Inside Photo
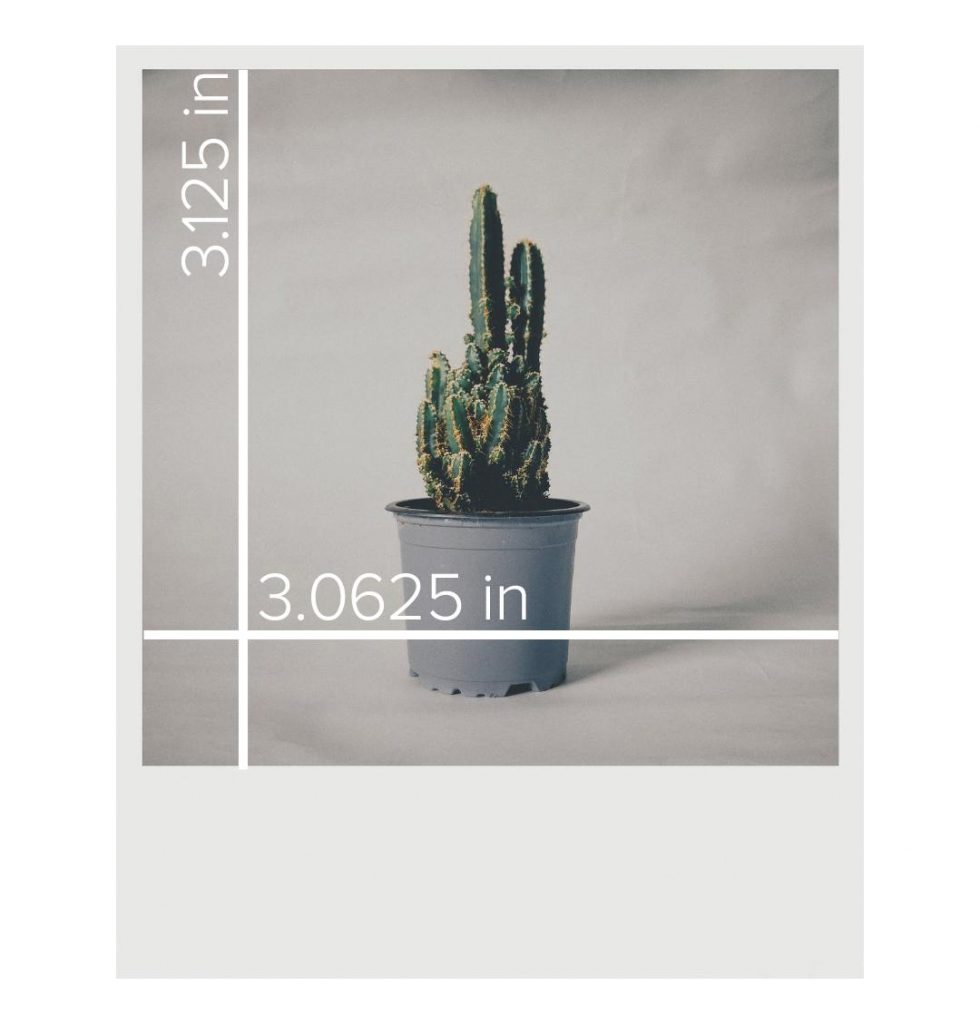
The inner photo area of Polaroid 600 film is 3.0625 x 3.125 inches. Notice how the photo area is slightly taller than it is long.
If you are using an Instax film to create a Polaroid frame effect then it is 61×61 millimeters for the “square” size and 61×46 millimeters for the “mini” size.
- The Outside Frame
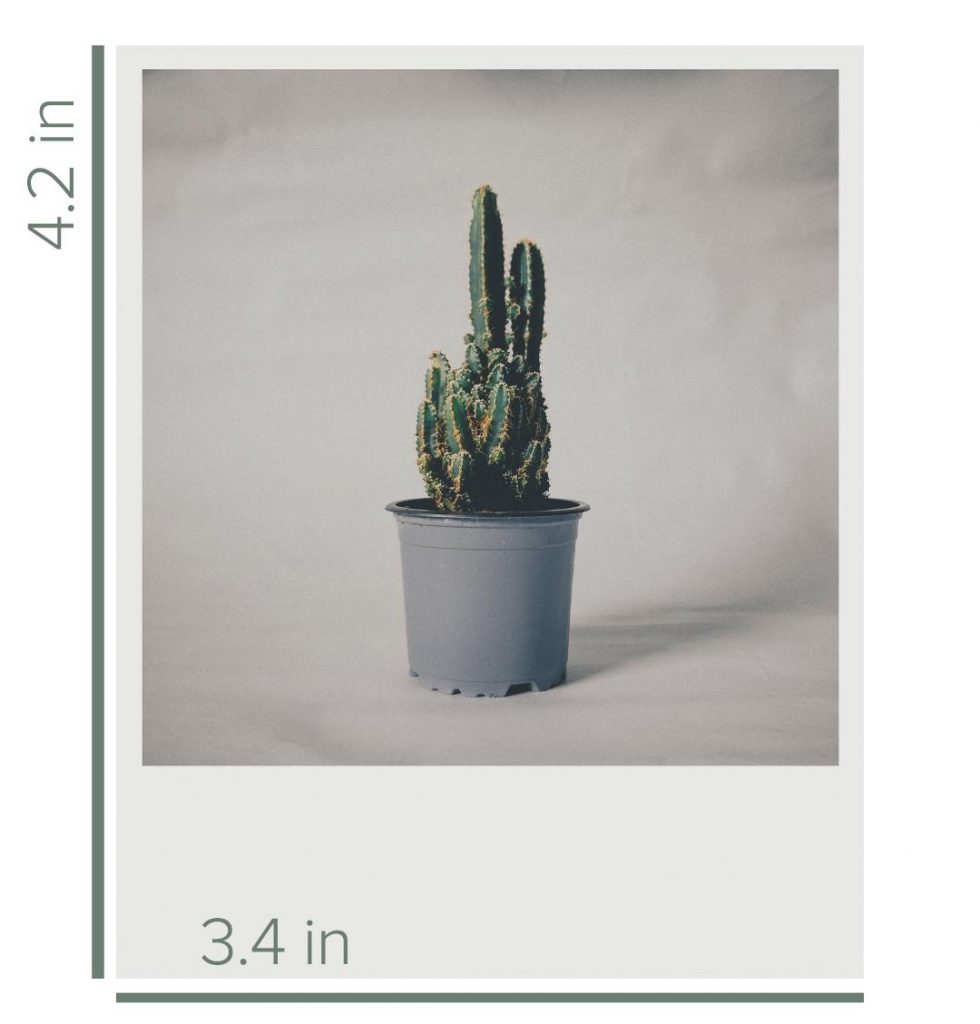
The outside frame of a Polaroid is the white border surrounding the photo. The size of a full Polaroid effect, including the frame, of standard Polaroid 600 film, is 3.4 x 4.2 inches.
An Instax Polaroid photo is 46 × 62 millimeters for the Mini and 62 × 62 millimeters for the Square.
2. How to Make Photos Look like Polaroids with Polaroid Effect Online?
Next, let’s look at how to edit a photo to look like a polaroid online using Fotor’s photo effects just a few simple steps! Or you can use one of our pre-made vintage Polaorid templates to get the job done in no time.
- How to Add Your Photo
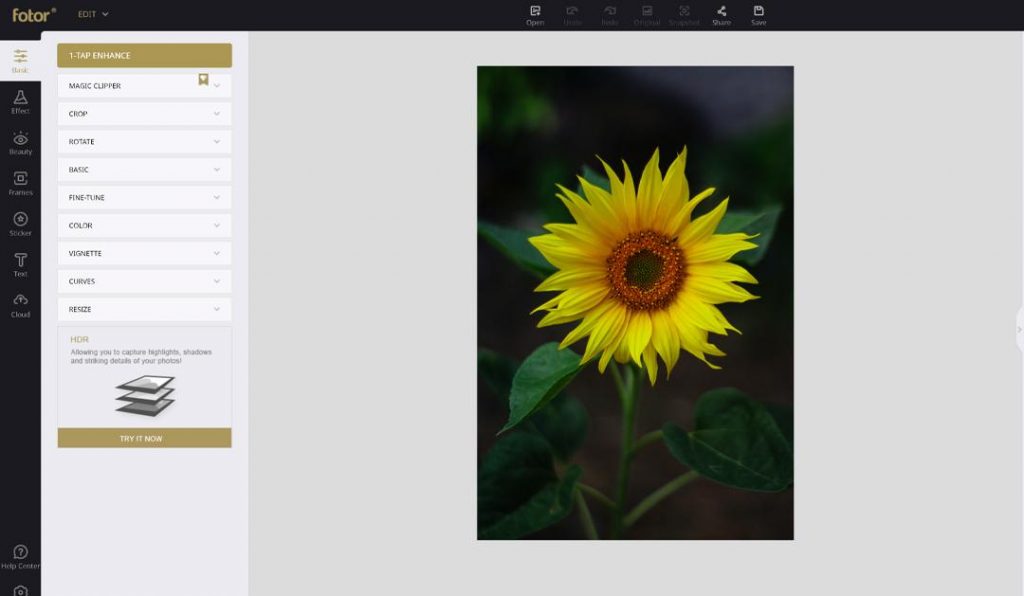
First, create a polaroid picture effect by adding your photo into Fotor. You can do this by either dragging and dropping your photo directly into Fotor or by going to Open and choosing where your file is located.
- How to Adjust the Photo
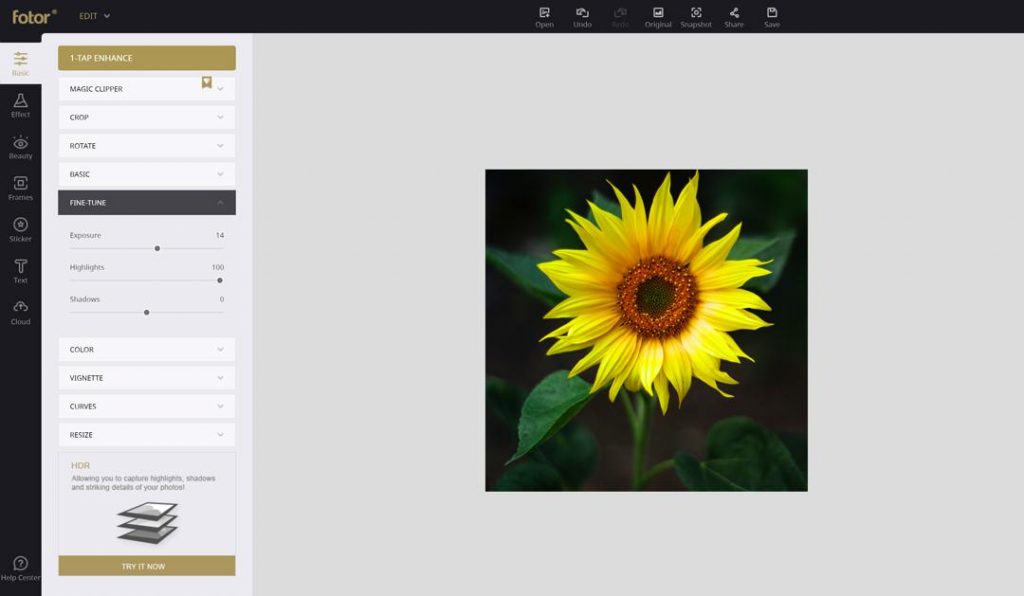
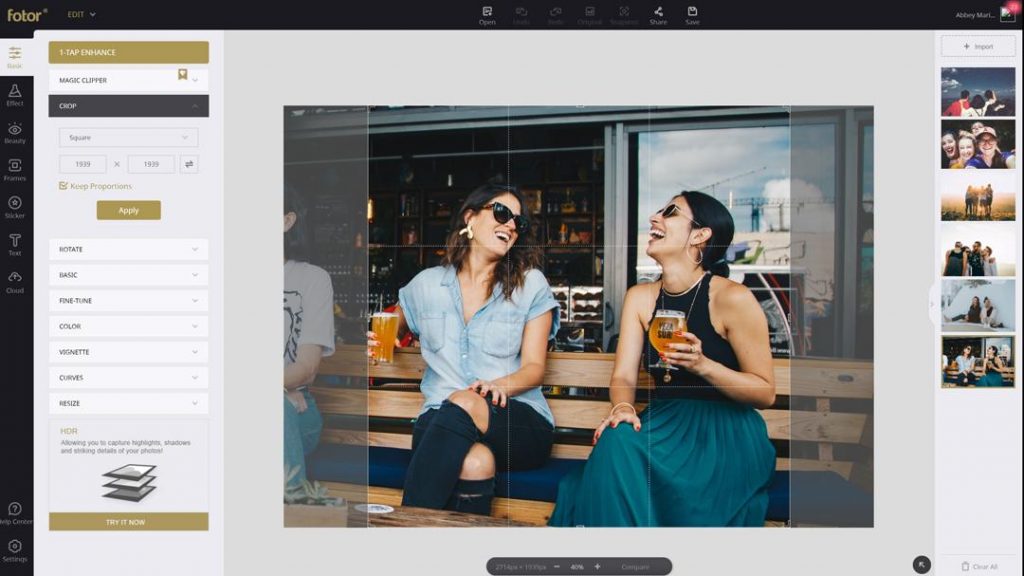
Now that our file is uploaded, let’s adjust our photo slightly buy going to Crop and choosing Square. Square photos work with the polaroid camera effect really well, however, you can choose any side you’d prefer.
Next, follow the crop with some photo brightening by going to Fine Tune and increasing both the Exposure to 14 and the Highlights to 100.
- How to Choose a Frame
Finally, we can add our polaroid photo effect! There are dozens of different Polaroid frames to choose from, so let’s take a look at just a couple.
- Simple Frames
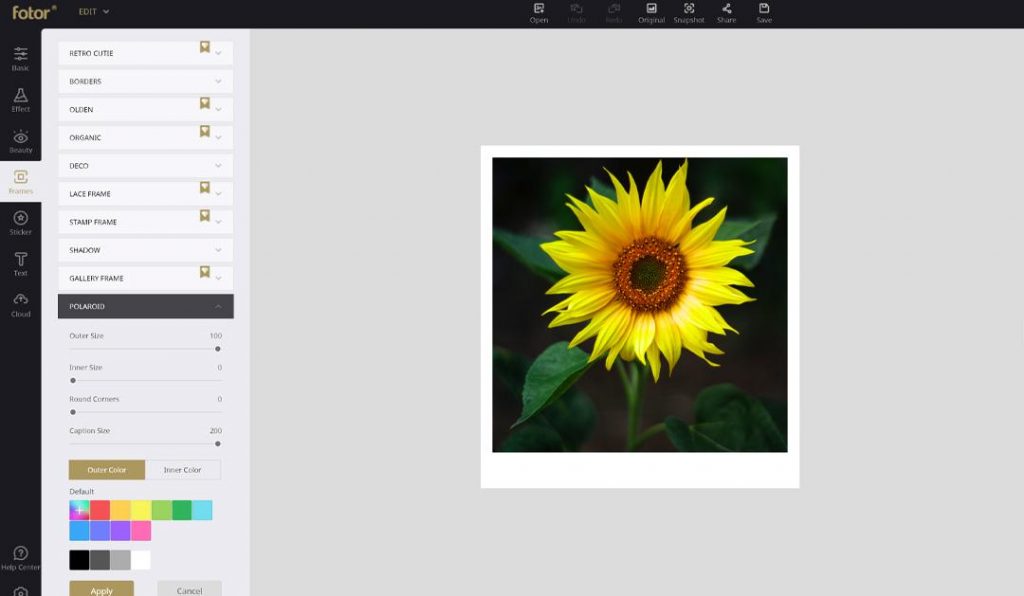
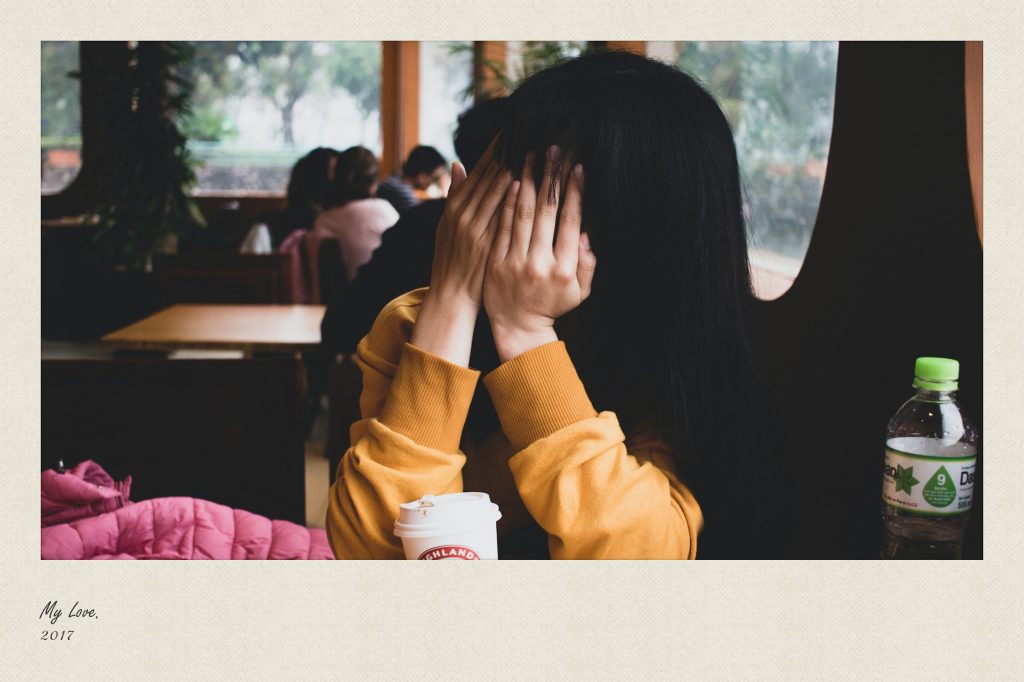
First, let’s do a simple traditional Polaroid frame by going to Frames and then Polaroid. This will give you the classic polaroid border and caption area.
Let’s set our settings to Outer Size 100 and Caption Size 200. Changing the color of the Outer Color to a light gray so the frame still stands out when placed on white backgrounds.
However, if you won’t be placing it on a white background, then a white frame is an even better option here if you want a classic polaroid effect!
Click the image to create your polaroid photos
You can also experiment with things like Rounded Corners! Though I will be keeping mine set to 0 for this image.
If you want to add a border that's thicker, you can simply double the effect by repeating the steps above, giving you even more room for text and stickers.
- Vintage Frames
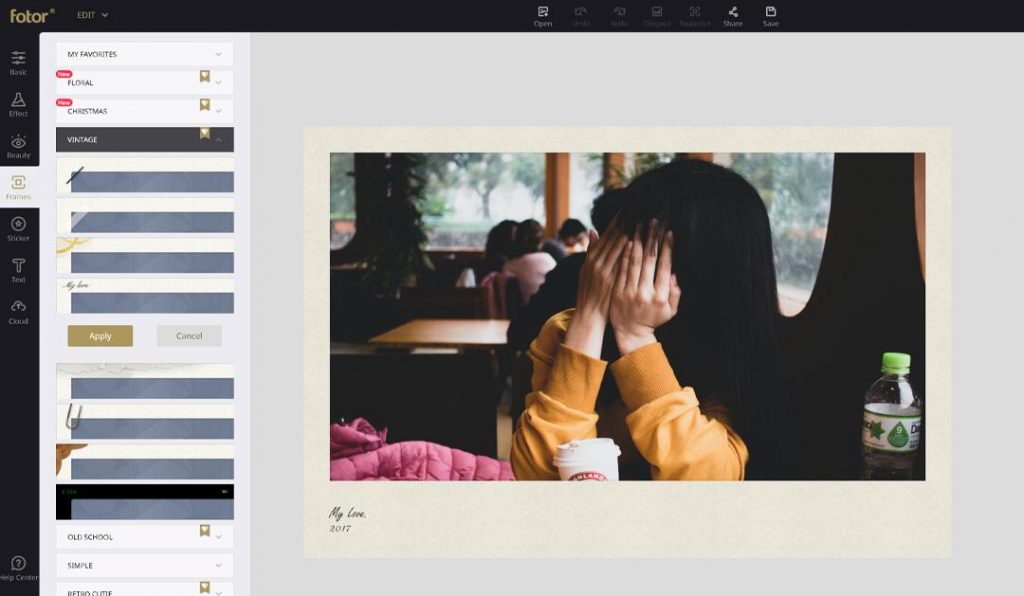
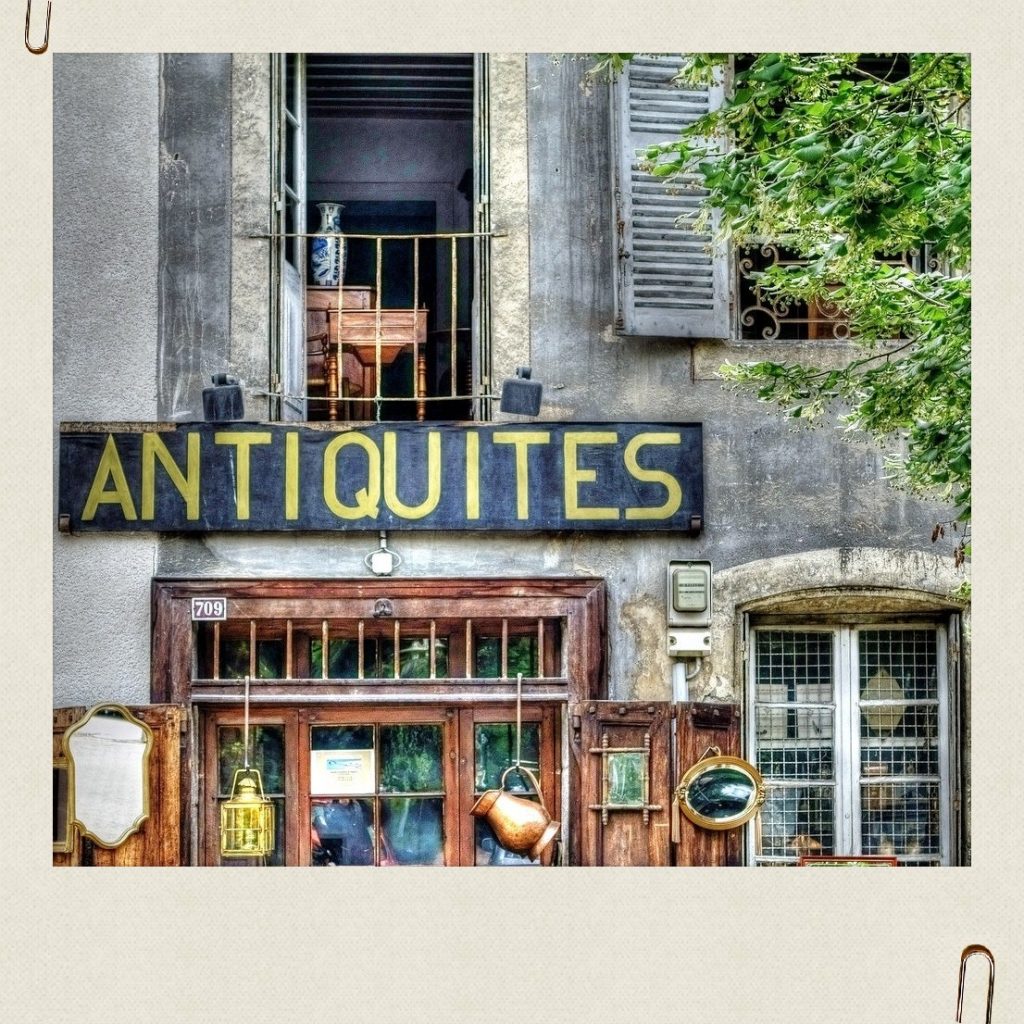
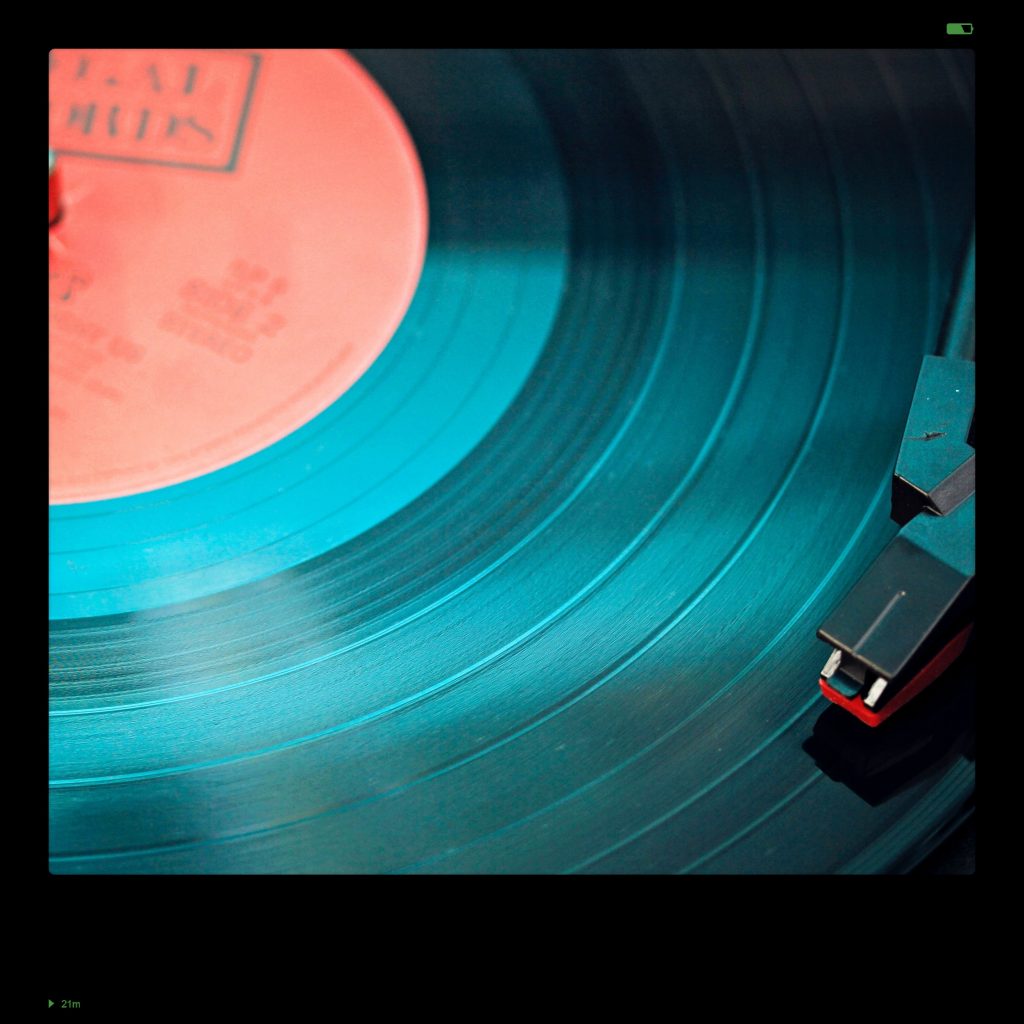
Next, let’s look at how to create an old polaroid effect. You can create a vintage polaroid filter effect using the same steps as above except this time go into the Vintage category of borders.
Choose your border and hit Apply to save your old polaroid effect frame. As always there are tons to choose from, including vintage, retro, and “90’s” style borders!
Click the image to create your polaroid photos
3. How to Add Stickers to a Polaroid Effect Online
Now, that you are done with your polaroid filter effect it’s time for the fun part: filling it up with stickers and patterns! The best part of a polaroid is all the free space to add your own special touches.
You can find hundreds of stickers and illustrations all ready to use in the Sticker tab!
- Tapes & Stickers
The perfect way to add some charm to your Polaroid effect is by adding strips of tape and other small drawings!
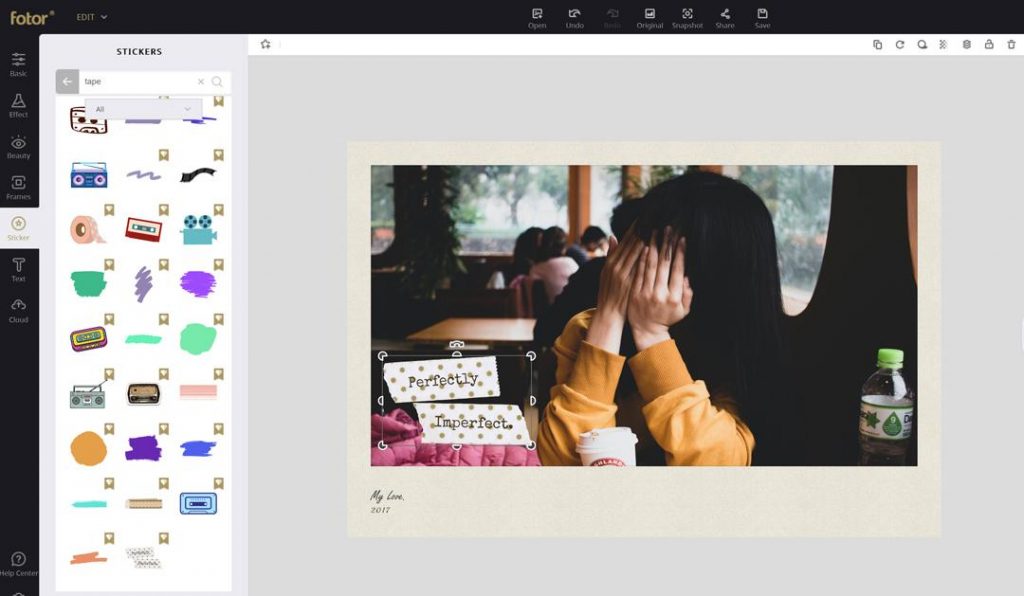
Go to the Search Bar in the Sticker tab and search Tape for dozens of choices to choose from.
Place them around your photo, changing their Color clicking the sticker and looking to the top left-hand side of the screen.
You can also adjust their size by simply pulling on the Ancor Points while moving them around!
Click the image to create your polaroid photos
This is the time to be “perfectly imperfect!” Layer stickers on top of each other, add drawings, and other little sketches as well as your favorite quotes. Feel free to add stickers, and adjust them as you like.
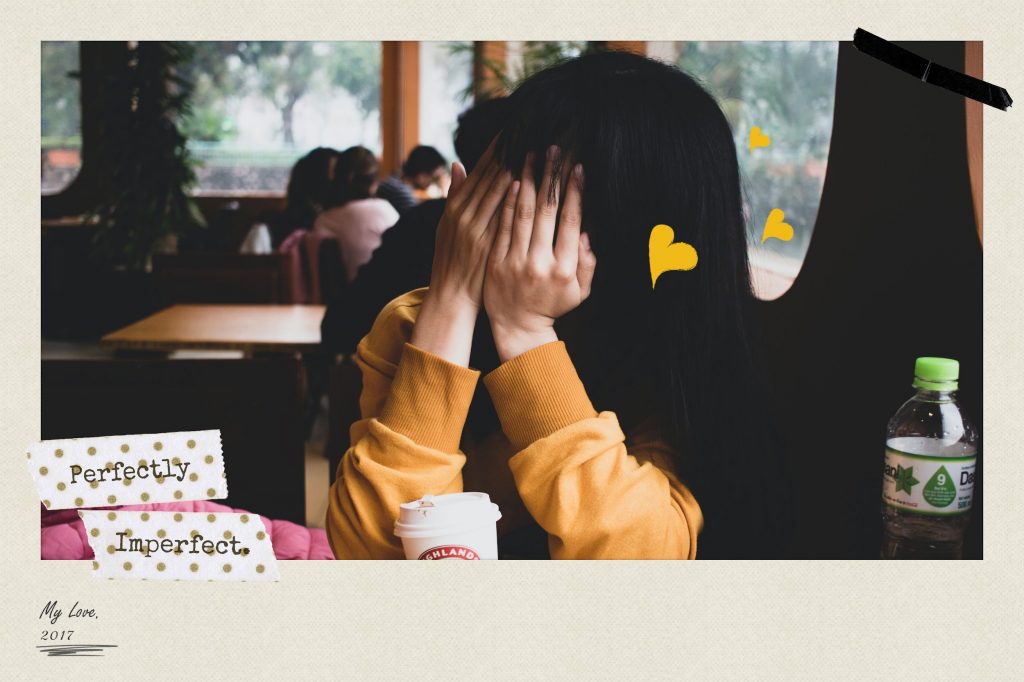
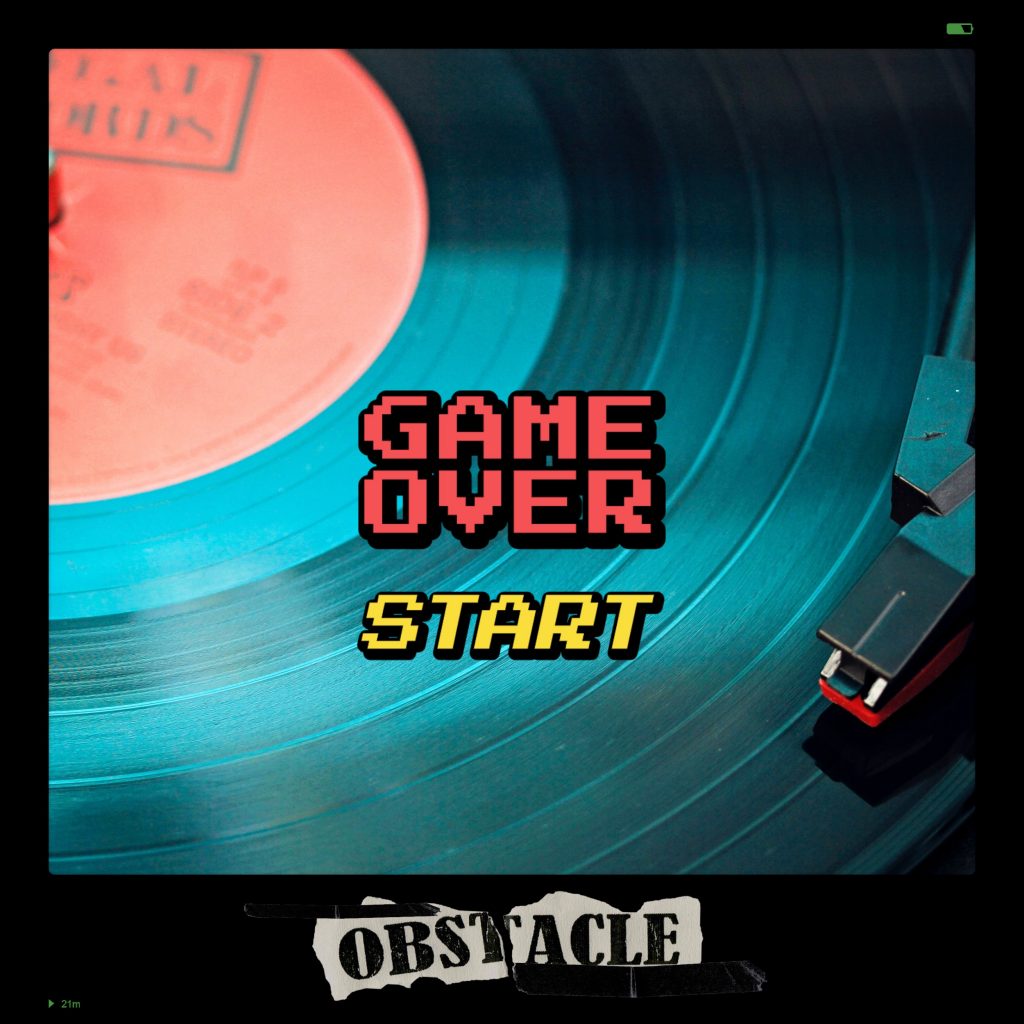
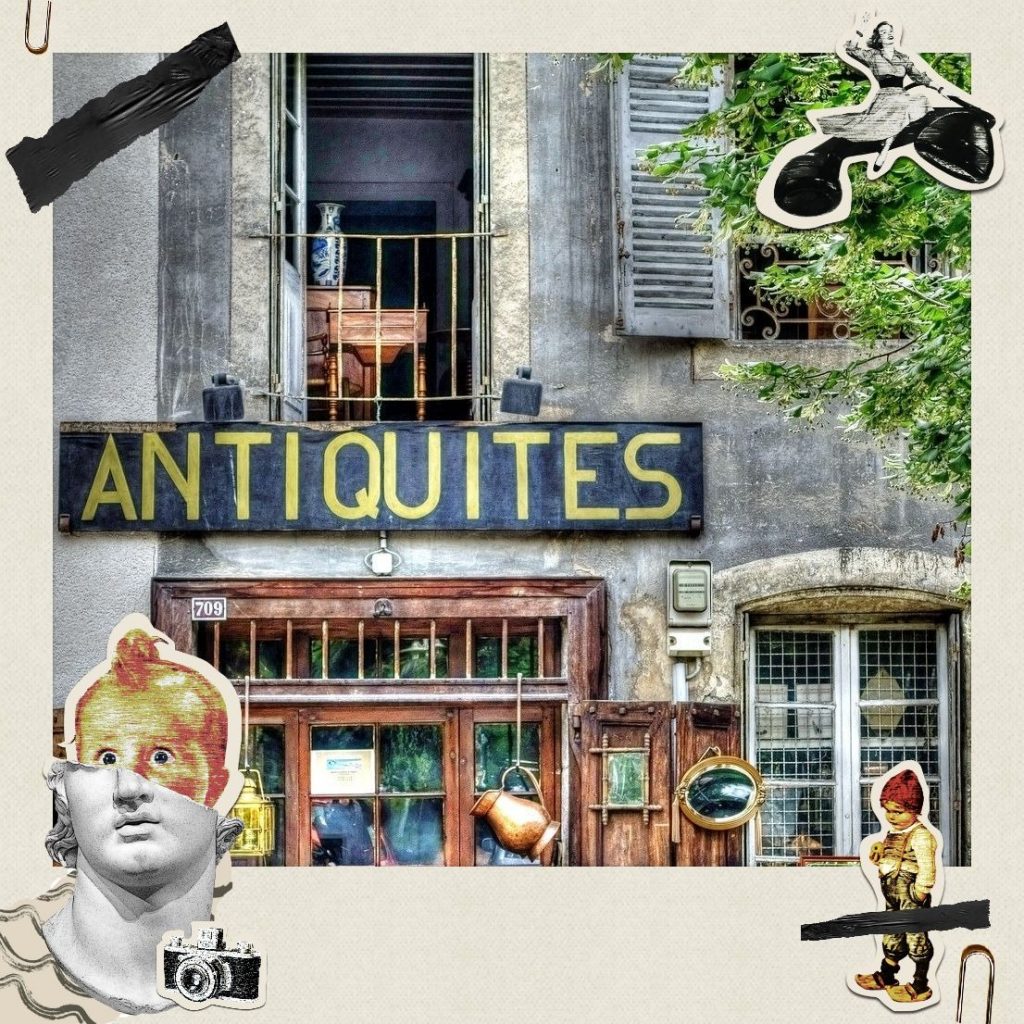
- Patterns & Backgrounds
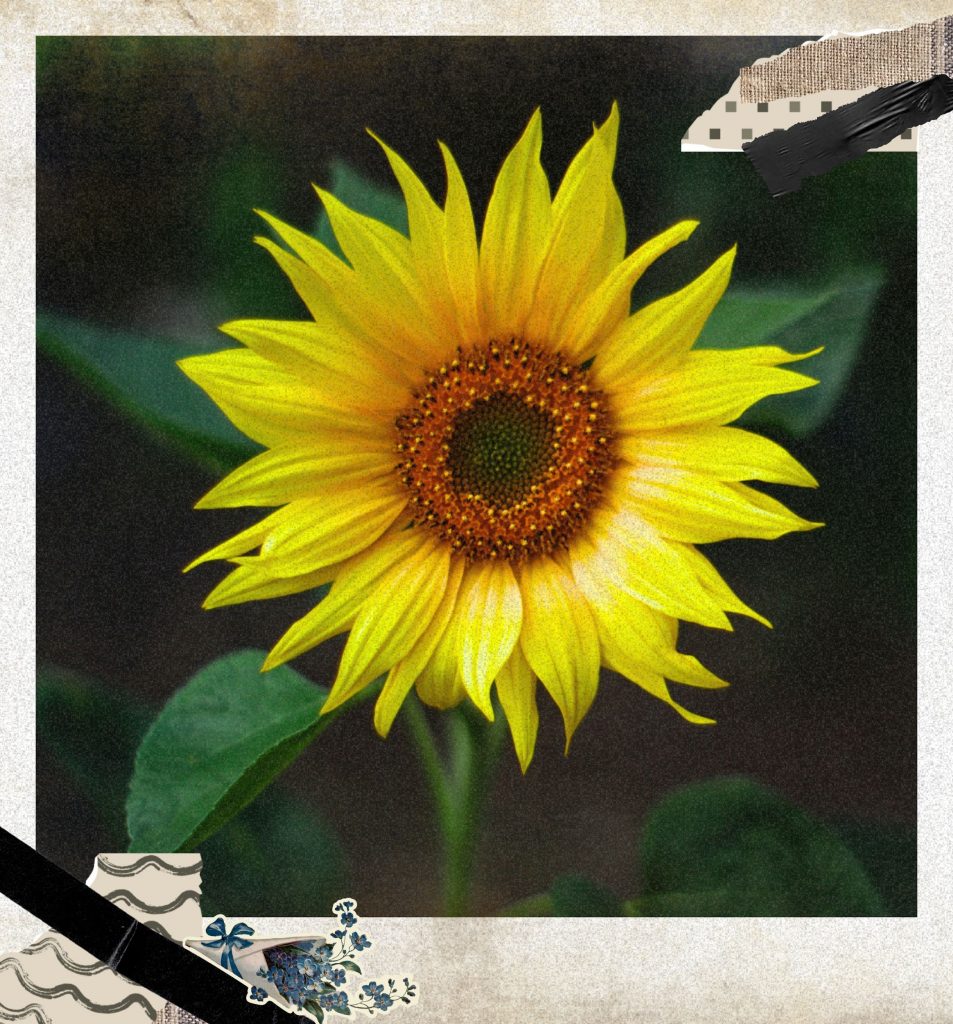
Want to add more texture to your images? Then try adding in some textures! Textures work just like stickers and are the easiest way to get that vintage polaroid filter online.
Use the Move Tool to stretch them over the whole polaroid, including the outside border. This will give your photo an instant retro polaroid filter effect that you can move around and adjust easily.
Try to combine stickers, textures, and patterns to create images that really capture that authentic scrapbooking feel.

4.How to Add Text & Emojis to a Polaroid Photo Effect
Adding text and emojis to Polorids is a great way to add small fun details! You can add them to a Polaroid effect you have created in Fotor or even upload a Polaroid you have already taken yourself.
- Emojis
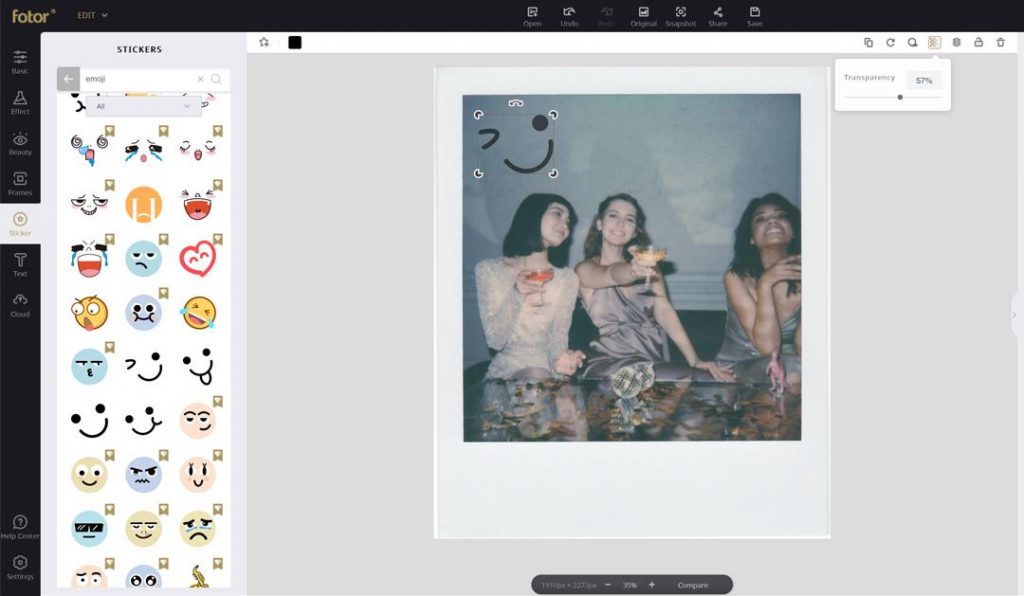
First, let’s upload our Polaroid to Fotor. Now, go to Stickers, search “Emojis”, choose your favorite ones, and then place them around your Polaroid!
You can adjust their opacity by going to the top-left corner of Fotor and adjusting the slider. Doing so will help your stickers and emojis blend better giving you a more authentic look.
- Text
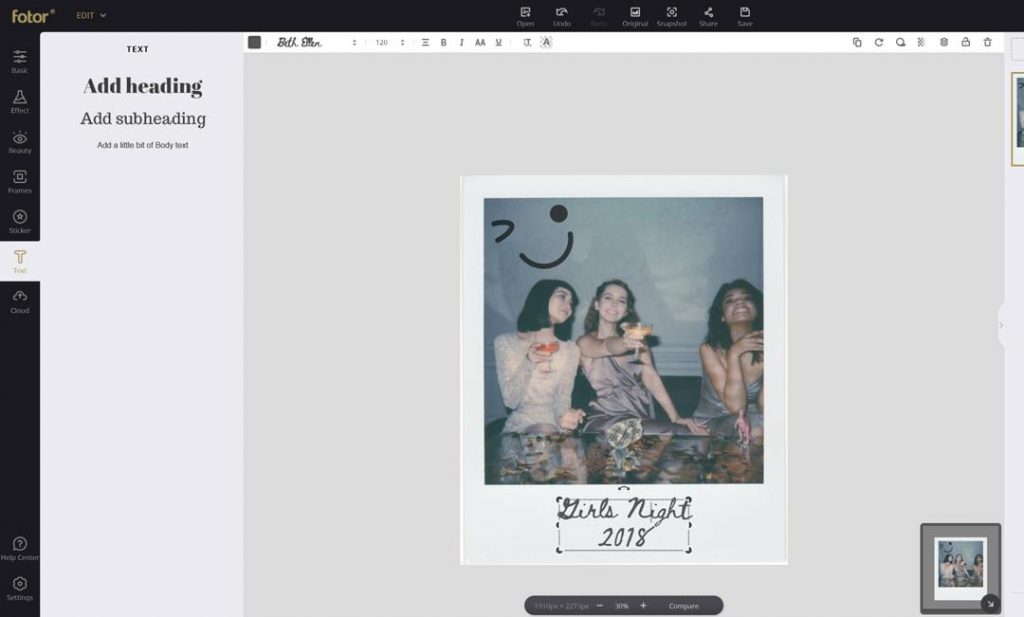
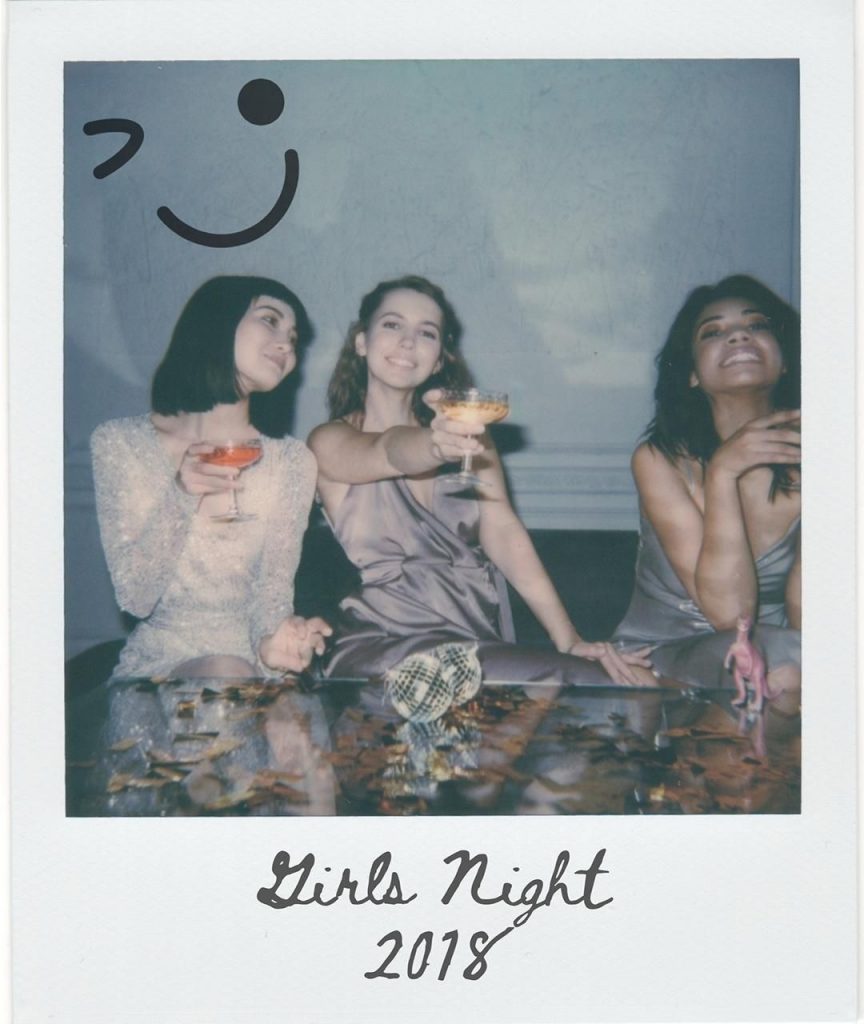
Now, let’s add some text to our Polaroid effect. One of Polaroid film’s main appeal is the ability to add labels and description right to the front of the photo thanks to all of its white space.
First, go the to Text tab on the left-hand side of the screen.
Next, choose Header and place it anywhere on your photo. Go and type your text!
Finally, change the text’s color and font face in the upper-left-hand corner. Just like with stickers, you can change the opacity in the right-hand corner as well.
Click the image to create your polaroid photos
5. How to Create a Collage with Polaroid Photos
One of the best ways to show off your Polaroids is with a collage! It's also easier than you think to create a photo collage, and you won't need Photoshop.
- Step 1
First, go ahead and create all of your polaroids using the techniques we discussed above. I suggest cropping them all down to a perfect square, however it’s not necessary.
Download and save all of your polaroids into an easy to find folder!
- Step 2
Next, choose Design on Fotor.com picking the canvas that best suits your needs. I went with a Facebook post so I can easily share it with friends and family.
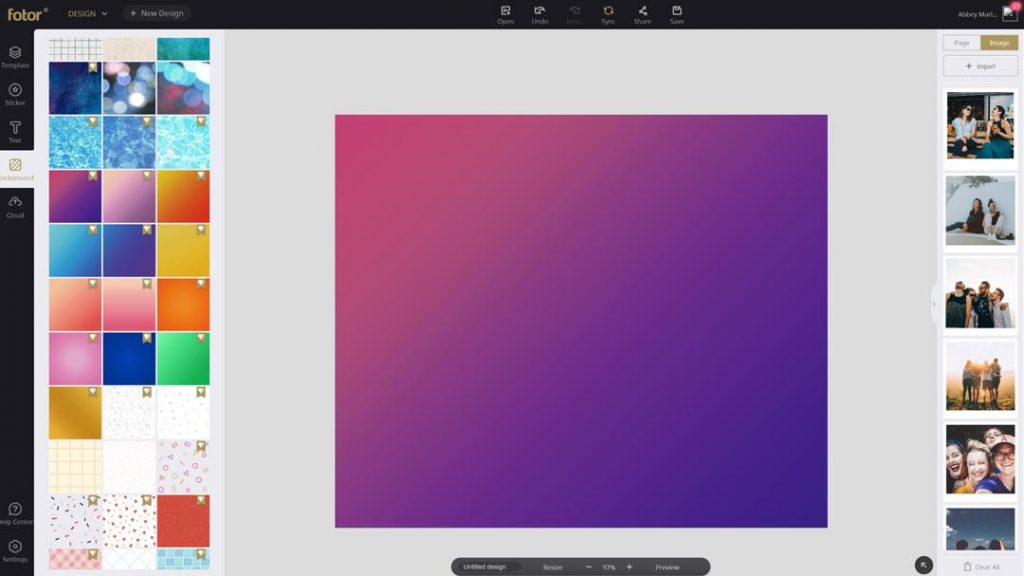
Now, choose a background in the Background tab. Darker colors work well with white polaroids!
- Step 3
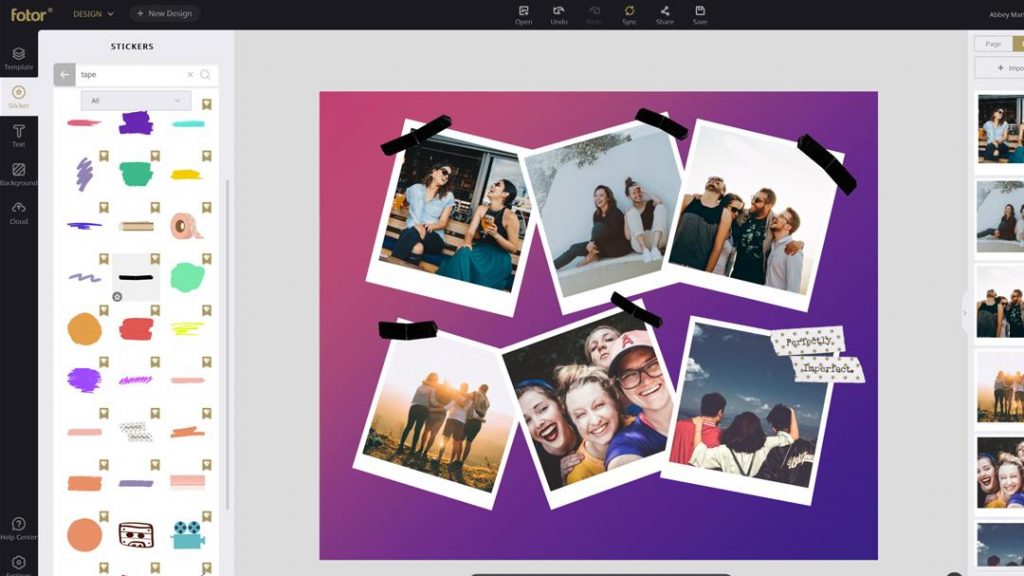
Finally, position and size all of your Polaroids onto the canvas!
Finish things up by going into the Sticker tab and finding fun pieces of tab, stickers, and doodles to add your Polaroid collage.
Click the image to create your polaroid photos

6. FAQ
- What is Polaroid?
A Polaroid photo is a photograph taken with a Polaroid camera. A Polaroid camera is a type of camera with internal processing that produces a finished print rapidly after each photo is taken. So a camera the prints a photo as soon as you take the photograph!
- How do you frame a Polaroid?
Framing Polaroids is super easy thanks to the face they are already framed! A popular way to frame or hang a Polaroid photo is by using clothespins and creating a string of photos handing from the string. It’s both easy and affordable! Another option is a traditional gallery frame, which will help draw focus to the photo.
- How do you get the old Polaroid effect?
You can create a vintage polaroid filter effect by going into the Vintage category of the Borders tab and choosing from any of the provided vintage-inspired polaroid borders.
- What can you do with Polaroid pictures?
There are plenty of things you can do after you make a photo look like a polaroid! Here are just a few:
1. Photo Garland Frame: You can create a photo garland frame using just a wooden frame and some wire or string with clothespins.
2. Fairly Lights Polaroid Garland: You can use fairy lights to create a fairy light photo garland, adding extra sparkle to your photos!
3. Use them in Scrapbooking: Try buying a journal and sticking your Polaroid photos in it, add some final finishing touches buy doodling small fun sketched, or writing in some of your favorite quotes that match with the photos!
Outro
And there you have it! Everything you need to know how to make photos look like polaroids without polaroids camera. All done online, no expensive camera or film needed! The best part being, using Fotor, you can add fun stickers, drawings, and textures to your photos to truly make them your own! Create vintage polaroid filter effects or go for more of a VSCO cam polaroid effect, the possibilities are endless!
About Us:
Fotor is a free online picture editor and graphic designer, allowing you to use online photo editing tools, such as add filters, frames, text, stickers, and effects…and apply design tools to make creative photo designs and graphics. Online photoshop and graphic design software have never been so easy! Also, if you want to get more helpful and inspirational tips, please visit our blog home page to extend your reading.


