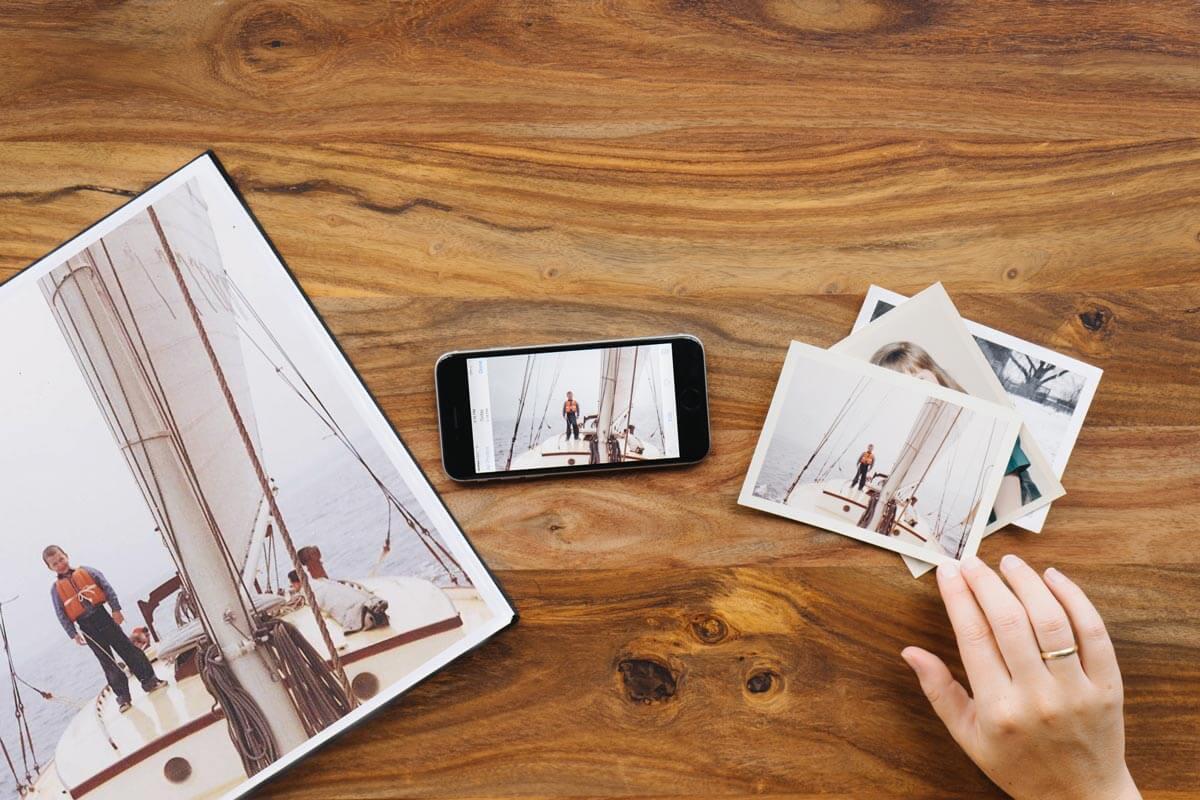
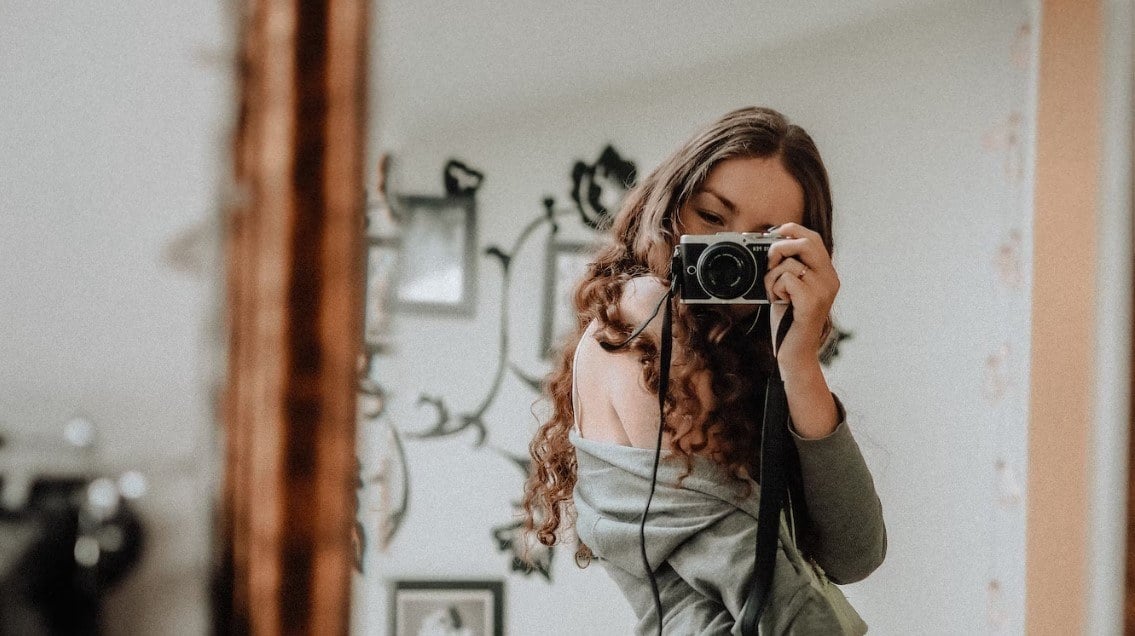
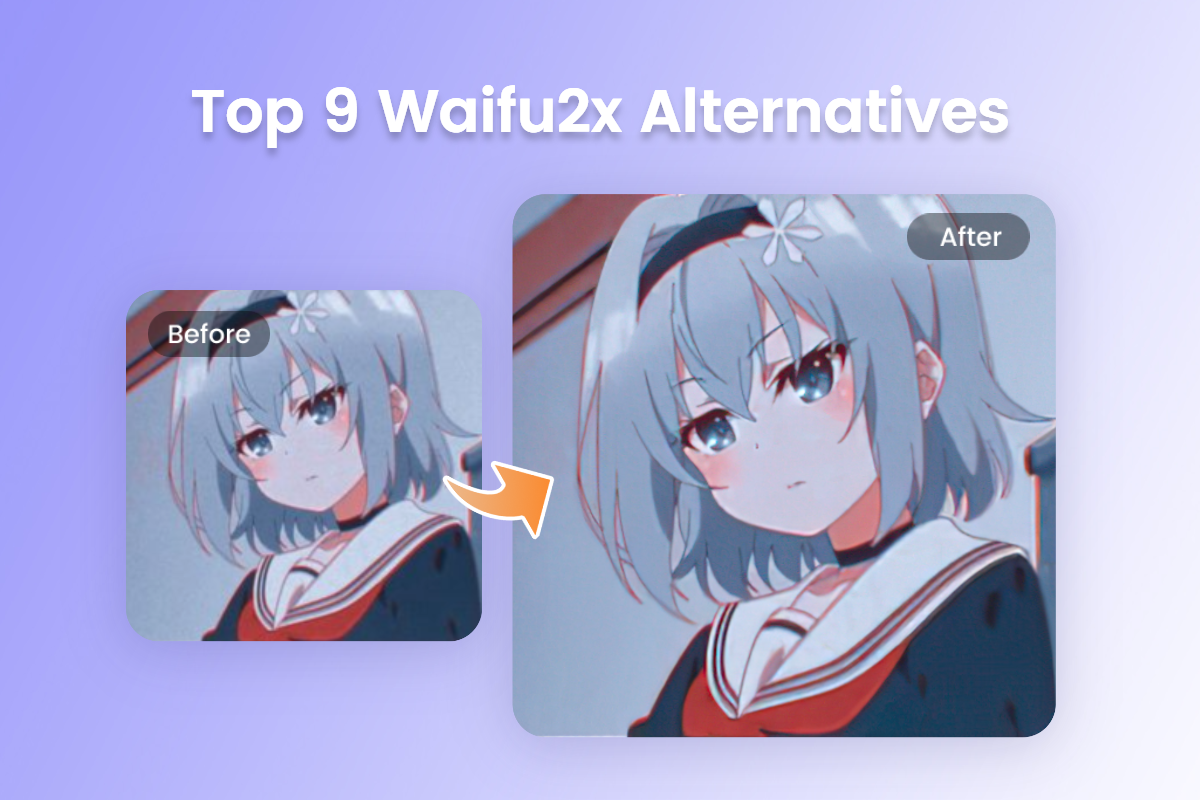
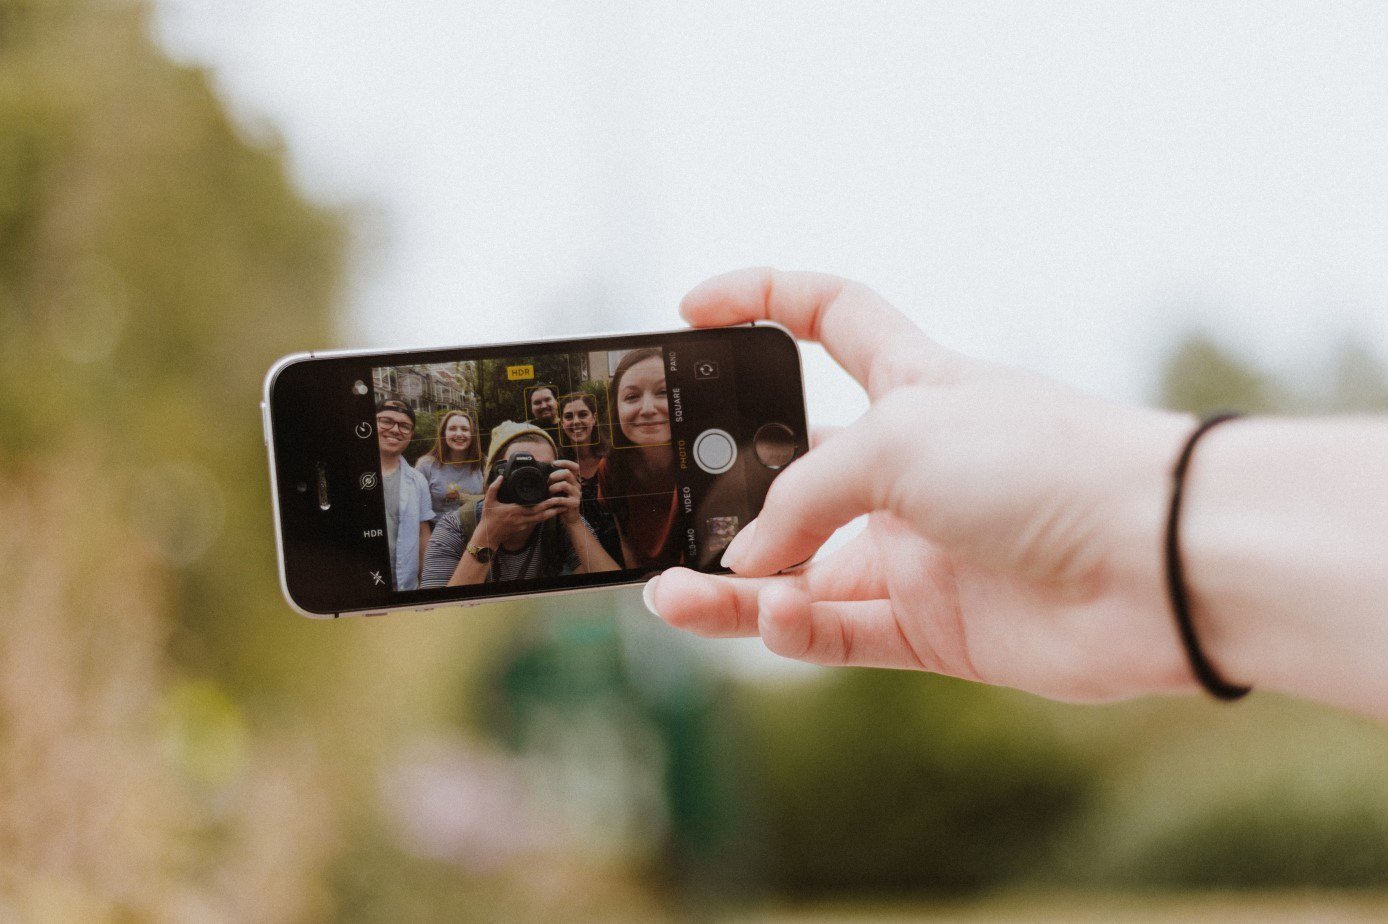
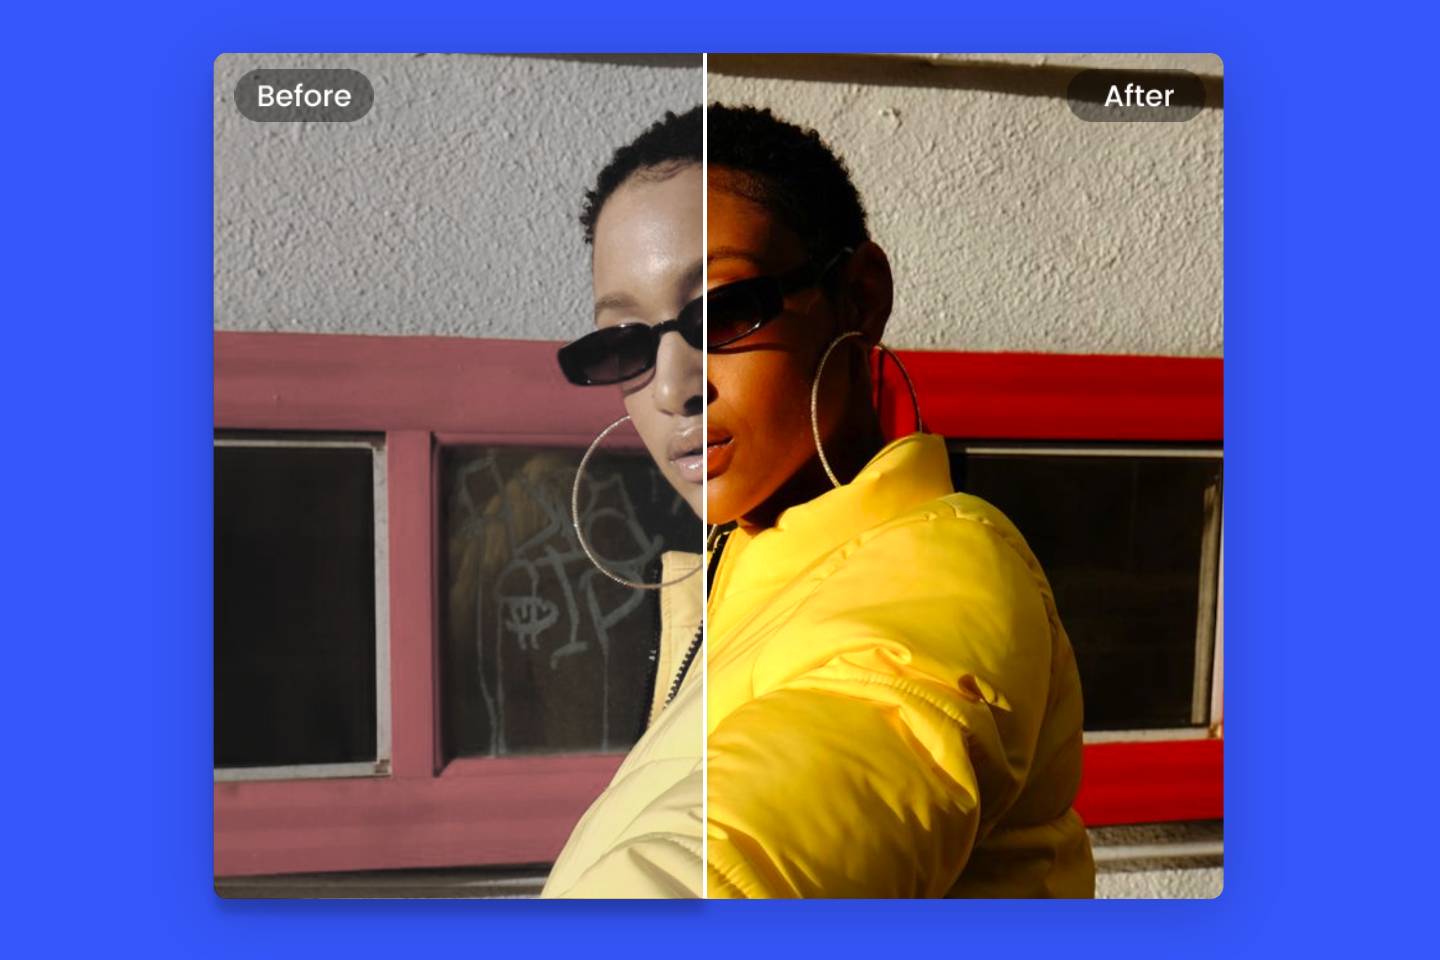
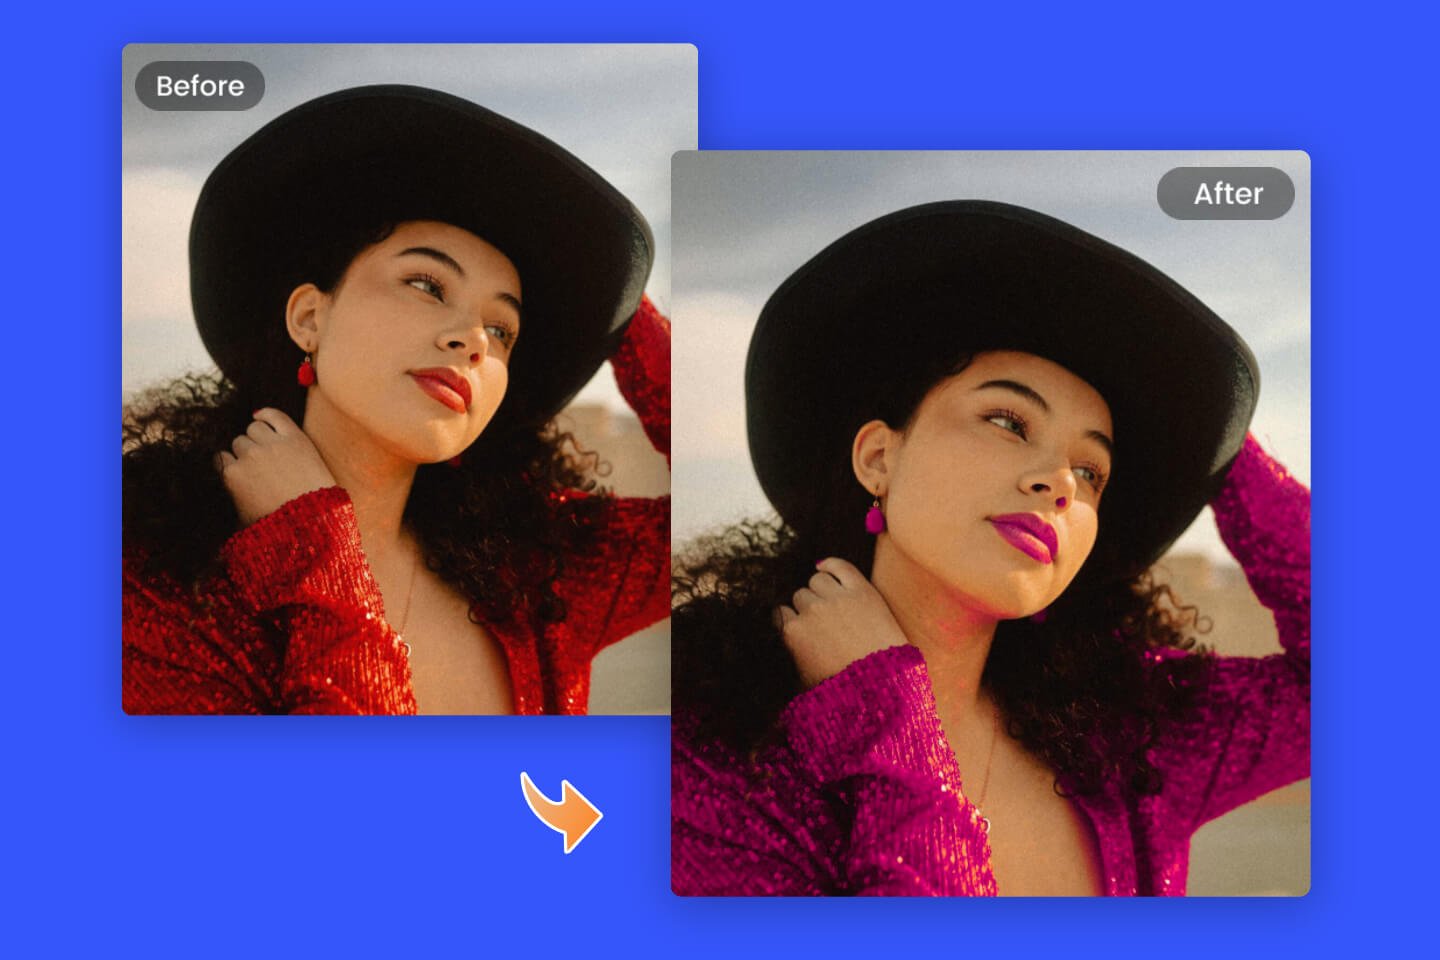
Lower image quality and small image size really bother sometimes. Lower image resolution fails to show others your perfect make-up—your eyeliner, eye shadow, lip tint, etc. Or maybe some other photo details. The small image size cannot meet your print needs.
Image enlargers may help you improve it by making a picture bigger without losing quality. What’s more, AI image enlargers take a few seconds to change a photo's dimensions. Save your time and effort!
Just pick one and start your photo enlargement journey!
Let’s learn how to make a picture bigger with an overall tutorial now!
How to Make Pictures Bigger with Best Image Enlarger Fotor Online
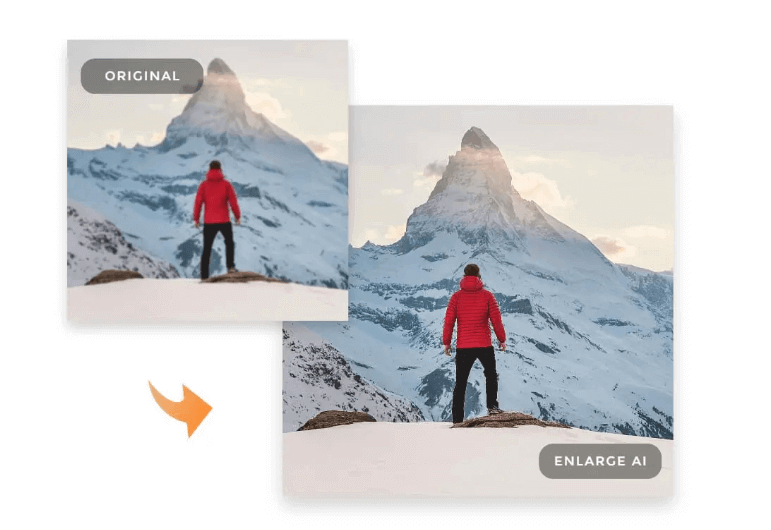
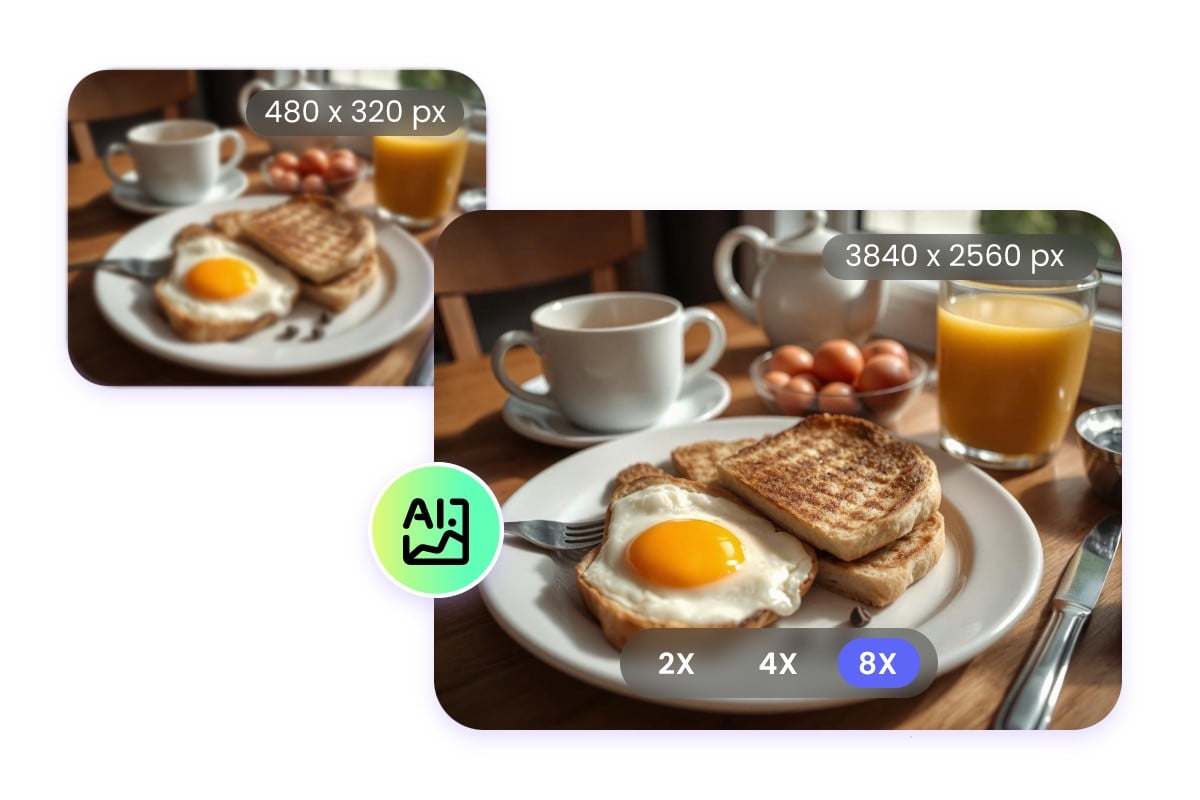
Fotor’s AI Enlarger offers you a time-saving way to enlarge and upscale images. Famous for enlarging photos and ensuring their clarity based on the AI inferred image details. Try it now!
- Upload your image.
- Click Adjust on the left menu.
- Find AI Enlarger and click it, and you can see the current px and output px.
- Download it in JPG or PNG format.
How to Resize Image to Make it Bigger
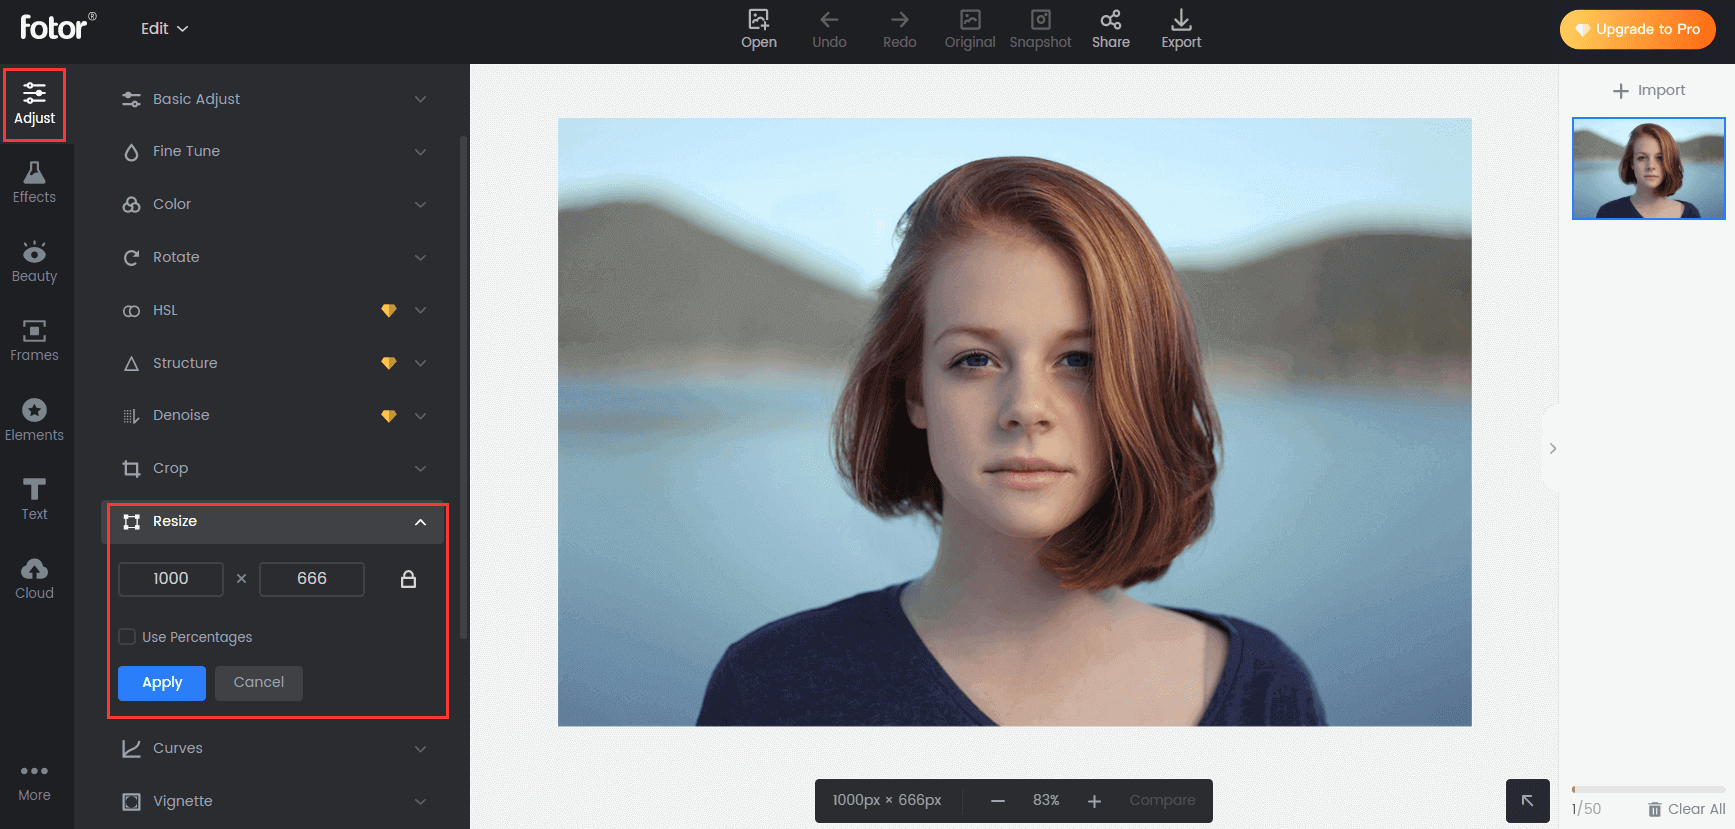
Before introducing you how to make pictures bigger, here we offer you some basics of image size requirements:
1. Printing Size (1950×1500)
2. Facebook Size:
Facebook Cover (851×315)
Facebook Post (940×788)
3.Instagram Size
Instagram Post (1080×1080)
4.Google Size
Medium Rectangle Advertisement (300×250)
Large Rectangle Advertisement (336×280)
Top of Page Banner Advertisement (729×90)
Half-page Advertisement (300×600)
Large Moving Banner Advertisement (320×100)
Just try the following steps to enlarge to exact size with Fotor!
- Upload your image
- Click Resize below the Size Option on the left menu
- Fill in your desired values in the blank. (Percentage values are also available for you)
- Download it in JPG or PNG format.
Fotor offers you more than AI Enlarger and Resize. It is an all-in-one photo editor for easy editing and better design.
Filter effects, crop, AI art, etc. to edit your photos for better work. Perfect your photos with Fotor now!
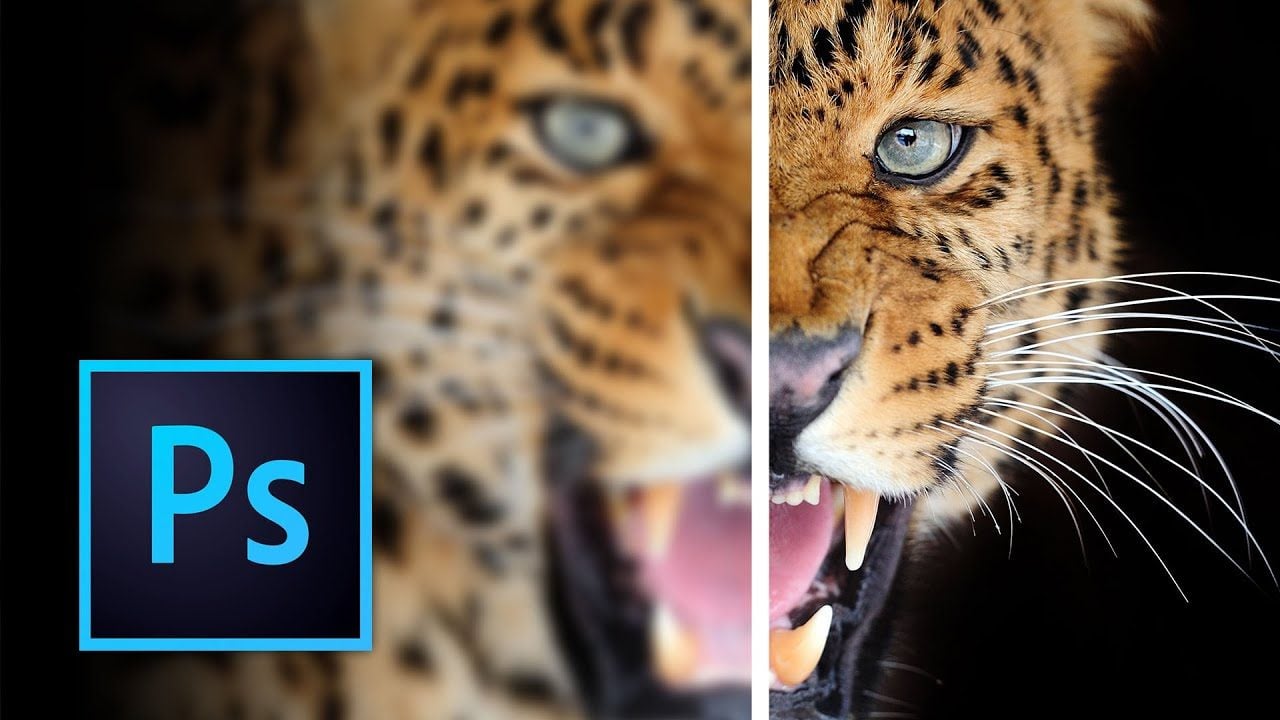
How to Enlarge Image in Photoshop
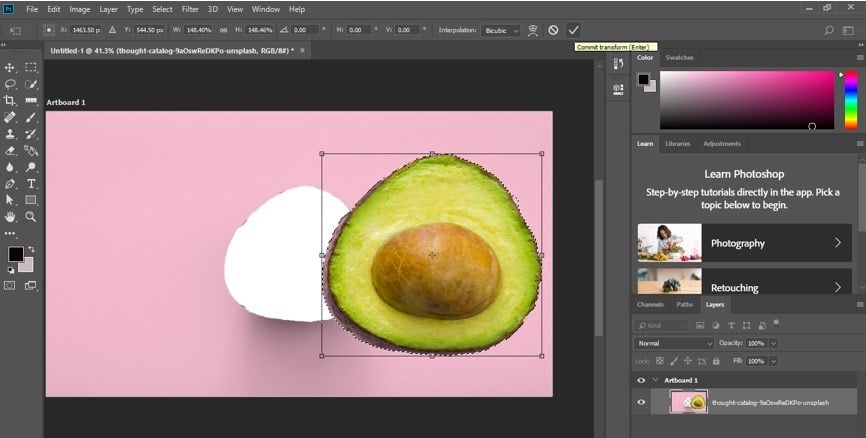
Enlarge images in Photoshop to fit your printable needs. Following the steps below to increase image size in Photoshop:
Note: Before photo enlargements, ensure the blemish is as little as possible, or a higher resolution may expose your blemishes!
- Find the Image, and click Image Size in the drop-down list.
- Fill in the desired width, height, and resolution values in Pixel Dimensions and Document size blank below.
- Select Resampling -Bicubic Smoother (best for enlargement)
- Click Ok.
- Download it.
How to Enlarge Your Image for Printing
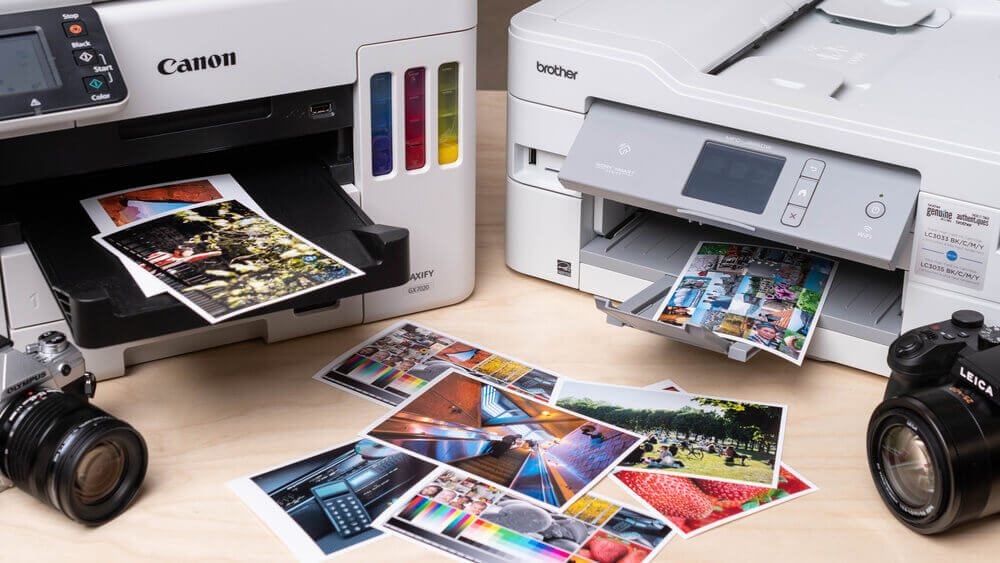
Before introducing how to enlarge your image for printing, let’s learn some basic knowledge: PPI (pixels per inch) is often used when we talk about the image on a screen. DPI (dots per inch) is often used when we print.
Now, since we are talking about printing, we will use dpi here. The accepted most perfect value of dpi for printing is 300 dpi now.
For letters or business documents with graphics, 600 dpi will look good.
For a board release, 1,200 dpi will do the trick.
For the average photographer, 1,200 dpi is excellent. All of these specifications are within the range of most printers on the market.
Enlarge Your Image for Printing with Fotor:
- Upload your image.
- Click Resize below the Size option on the left menu.
- Fill in the best printing values in the blank.
- Download it in JPG or PNG format.
How to Make Pictures Bigger without Losing Quality
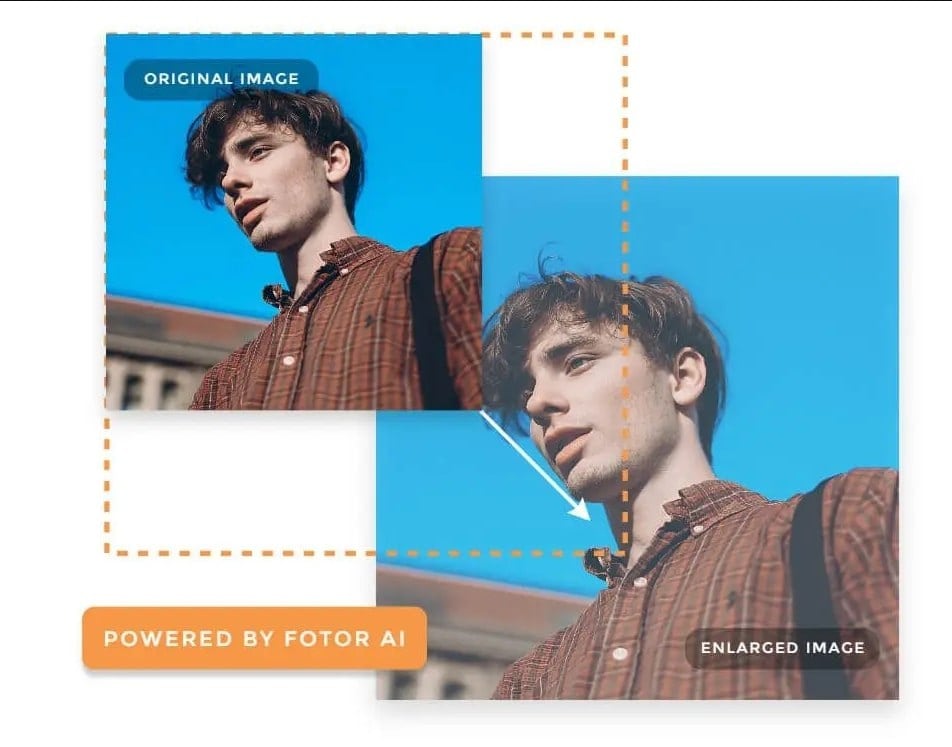
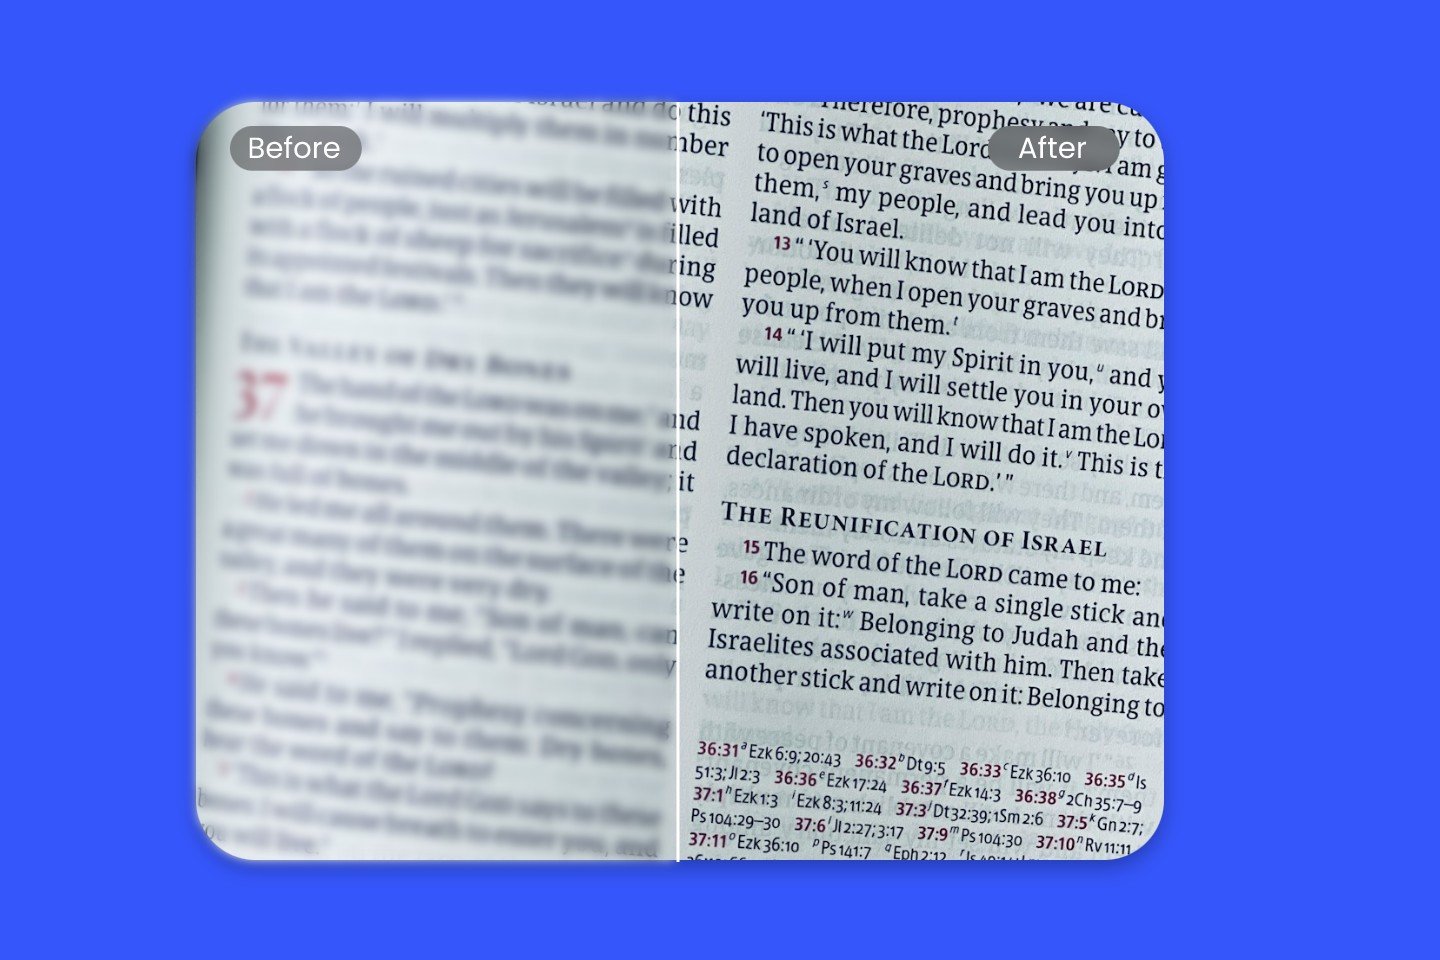
Enlarging an image usually makes your image look unclear. Make your images bigger while keeping their quality. Pay more attention to the resolution and photo details. Try Fotor to help you fix more details!
- Upload your image.
- Click Resize below the Size option on the left menu.
- Fill in the desired values.
- Click Apply.
- Choose AI Enlarger to improve image resolution and fix photo details.
- Download it.
Tips on How to Make Pictures Bigger without Losing Quality
To enlarge your images and ensure the quality of your images, you must first check whether your images are suitable for enlargement. If you have a lot of defects in your image, then it is difficult to guarantee the quality of the enlarged image.
The second thing is to choose the right size for different scenarios, for example, what is the best size for printing, then try to use the best print size to enlarge your pictures and also to better ensure your quality.
Finally, you can choose some professional tools to adjust the resolution of the picture after enlarging it to improve more details.
Adjust Image Size Related FAQs
1. How do I make a JPEG image larger?
Both Fotor’s AI Enlarger and Resize can help you make a JPEG image larger. If you focus more on image resolution. You can try AI Enlarger.
- Upload your image.
- Click Adjust on the left menu.
- Find AI Enlarger and click it, and you can see the current px and output px.
- Download it in JPG or PNG format.
If you want to increase to an exact size. Choose resize to make it.
- Upload your image.
- Click Resize below the Size Option on the left menu.
- Fill in the desired values.
- Download it.
2. How do I increase the size of a photo in kb?
First, choose an online tool like LunaPic and open it.
- Click Quick Upload.
- Click Set File Size.
- Fill in the desired kb value in the blank.
- Click Resize File.
- Save the image.
Conclusion:
In this post, we offer you a detailed tutorial about how to make a picture bigger. And we recommend you two online image enlargers for better results without losing quality. Both of them can help you get the desired size images.
But Fotor offers you more free photo editing tools and more choices.
Try Fotor and start your resize image journey!
