How To Fix Overexposed Photos: Easy Way For Anyone
Summary: A step-by-step guide on how to fix overexposed photos. Learn practical tips to prevent overexposure and powerful editing tools to correct underexposed photo in an easy way.
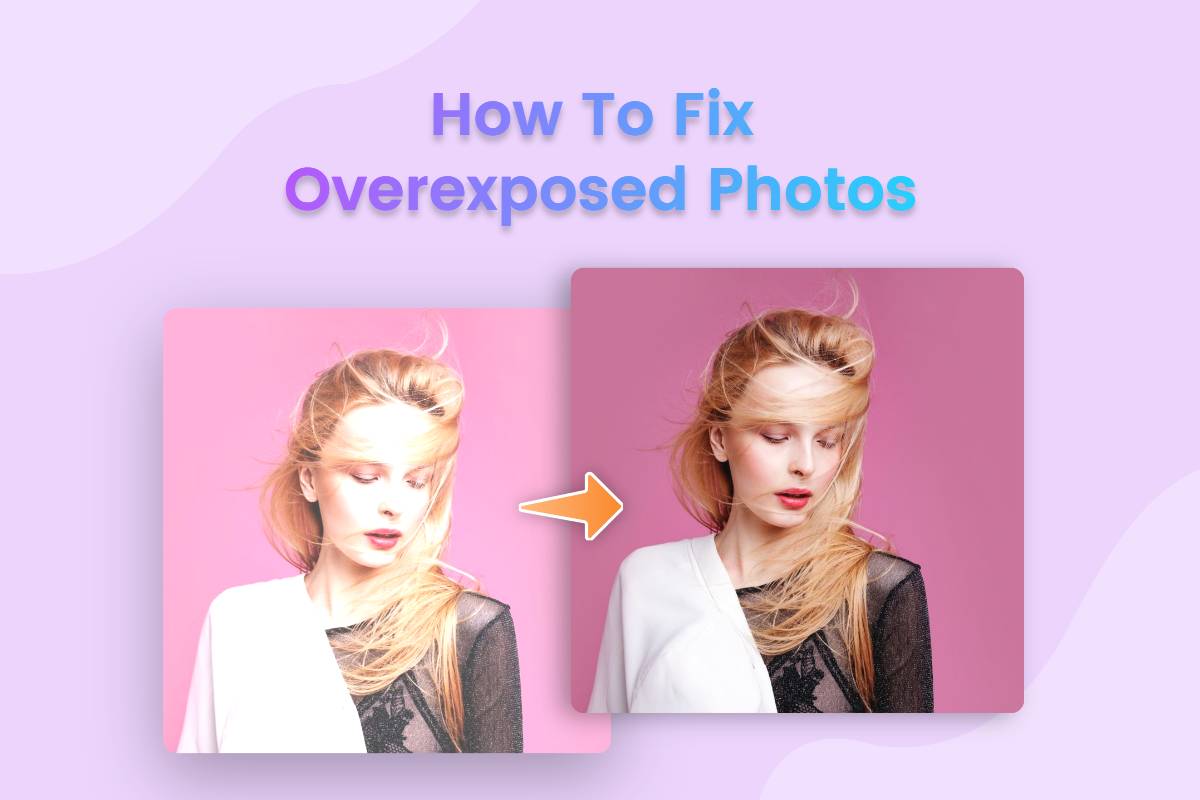
You have taken multiple photos during a wonderful trip, but finally found out most photos were overexposed. That must be a terrible experience. Why are photos overexposed? How to fix an overexposed photo? How to edit overexposed photos? Don’t worry, I will tell you how to deal with it quickly.
In this article, I will guide you on how to fix overexposed photos in very easy ways for anybody including adjustments, photo enhancer, and guidelines in Photoshop and Lightroom. I believe you can handle it in minutes after reading. Keep on exploring!
How to Fix Overexposed Photos on iPhone?
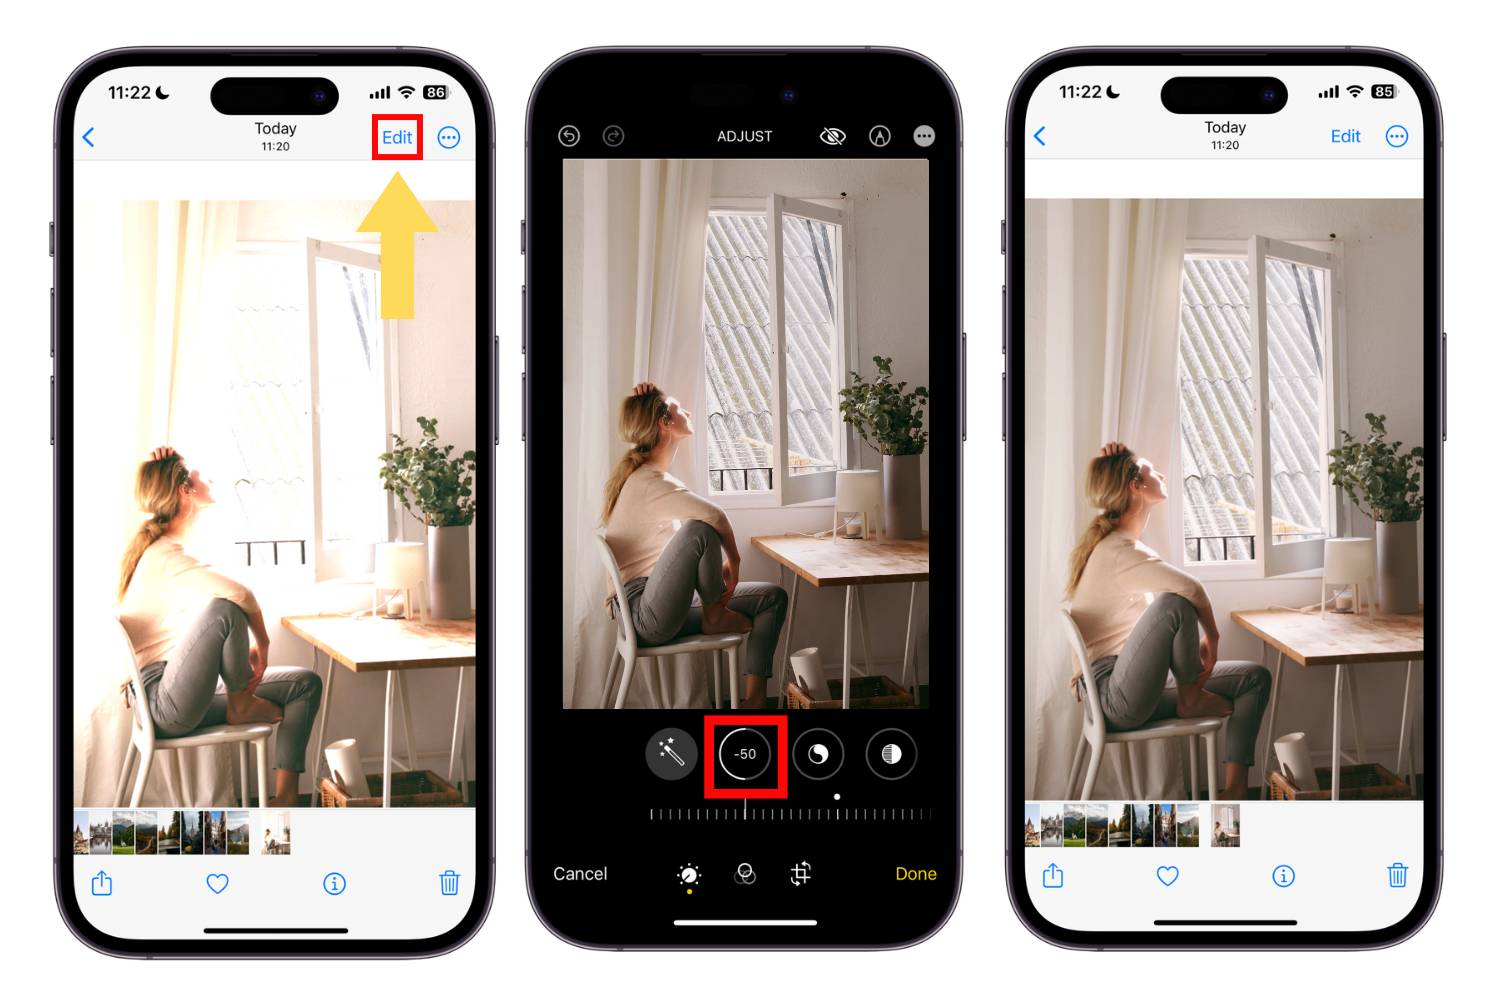
Here is a useful trick for you to use Apple Photos to fix your overexposed photos in an easy way. you can use Apple Photos to adjust photo exposure, high lights, shadow, brightness, darkness, etc.
- First, open Photos and select one picture you need to fix exposure.
- Tap Edit in the upper right corner.
- Choose Auto and the system will automatically adjust it for you based on your photo condition or select other required parameters to adjust.
How to Fix Overexposed Photos in Photoshop?
Adobe Photoshop is a professional choice for those advanced photographers. Its advanced edit functions allow users to edit photos in an unlimited way. You can use Photoshop to handle your overexposed photos.
- First, open Photoshop and open your picture which needs to be fixed.
- Click Image >> Adjustments >> Exposure.
- You can adjust the parameters according to the situation.
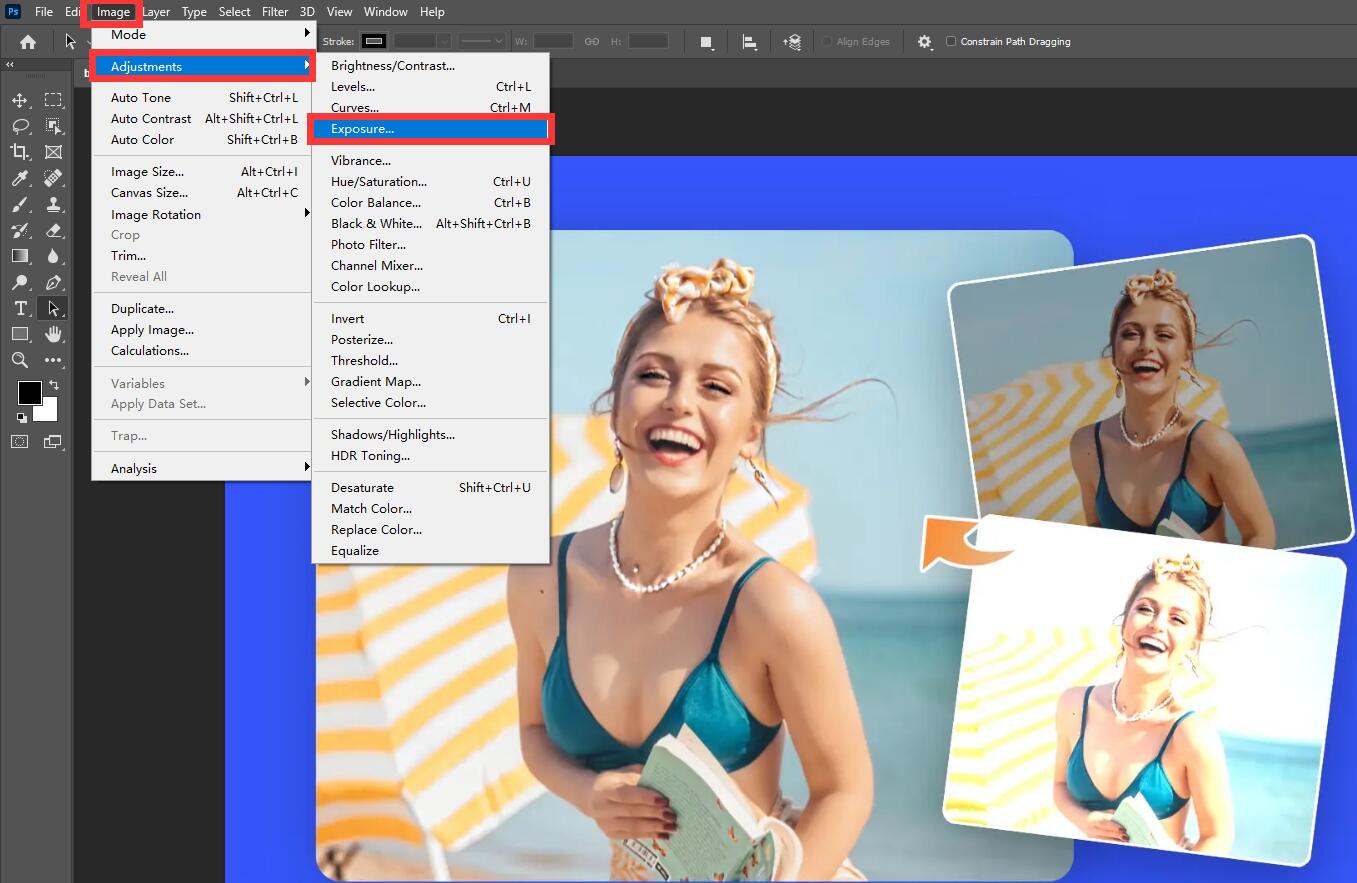
There is an other way for those who used to use blending mode in Photoshop. You can use this method to fix overexposed photography in Photoshop. You can use blend mode to add the levels adjustment layer to the image. And then choose “Multiply” instead of blending mode, and decrease the opacity until you get the desired result.
How to Fix Overexposed Photos in Lightroom?
lightroom is also a professional photo editor designed by Adobe. For the photographer aspect, Lightroom is easier to learn than Photoshop.
But remember both two photo editors are professional tools for specialized photographers. It needs you much more time to learn to how use it well.
You can fix overexposed images in Lightroom using expose, highlights, and white sliders. Just open the Lightroom basic panel. Move the expose slider to control the brightness to make the photos brighter or darker. Also, the highlights and white sliders can change the white color in photos. Just adjust the sliders and see how they work. You can adjust until you are satisfied.
Why Photos Overexposed?
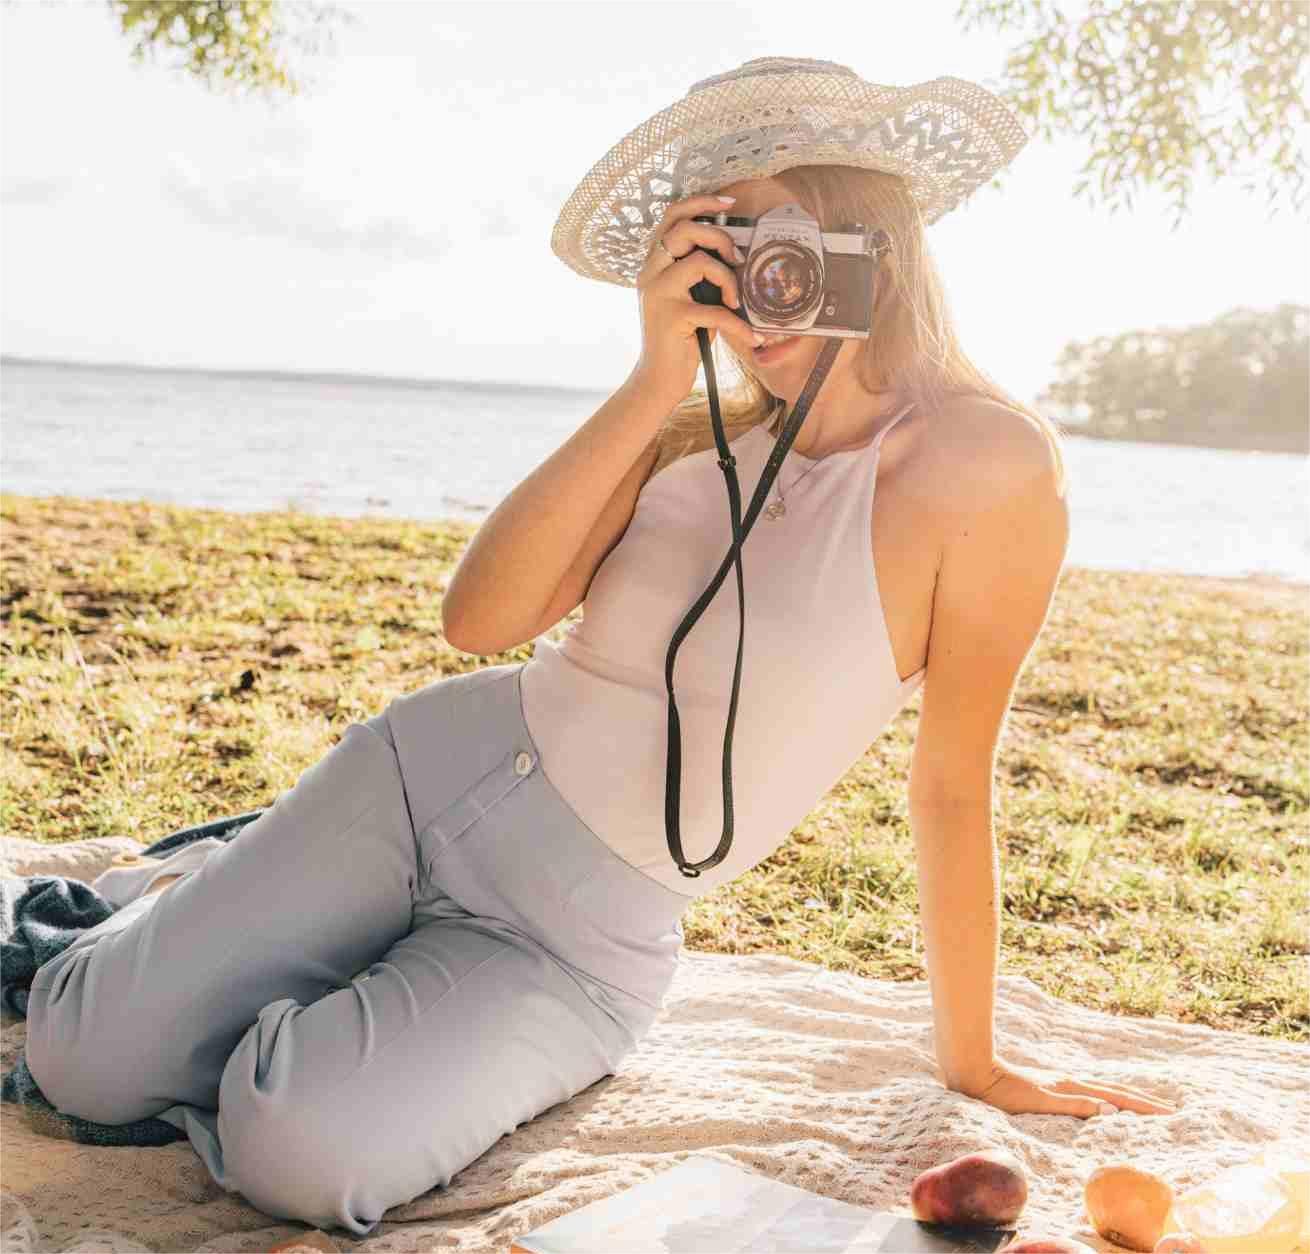
You must have questioned a lot about what caused overexposed photos. When you are taking a photo with your camera or phone.
There are 3 critical elements for a correct exposure photo. They are aperture, iso level, and shutter speed. Don’t worry you will be dizzy about them. I will introduce them in an easy and understandable way for you.
ISO Level
Iso is a common setting in a camera or a phone camera. It can brighten or darken a photo. When you raise the iso level number, the photo will become brighter. When you decrease the iso level number, the photo will become darker.
But It cannot be raised unlimited, when you raise the iso too high, there will be many photo noises which will affect the photo quality.
Aperture
Aperture refers to the opening of a lens's diaphragm through which light passes. It is calibrated in f/stops and is generally written as numbers such as 1.4, 2, 2.8, 4, 5.6, 8, 11 and 16.
When the aperture is big, it means there is more light that can come in. You can control the aperture in the camera setting to control how much light comes in.
But most of the phone cameras have fixed aperture which means you cannot adjust the aperture to control the light.
Shutter Speed
shutter speed means the speed when the camera shutter closes. Is it hard to understand?
Let me take a similar example for you. Imagine there is a very dark room, and there is a door. When you open the door for one second, the bright light comes in and brightens the room for one second.
If you shorten the time, less light will come into the room. And time means the shutter speed in photography. When the shutter speed is long, it means you open the door for a while. If the object you are shooting on is moving, the final photo will be blurred.
How to Avoid Photos Overexposed?
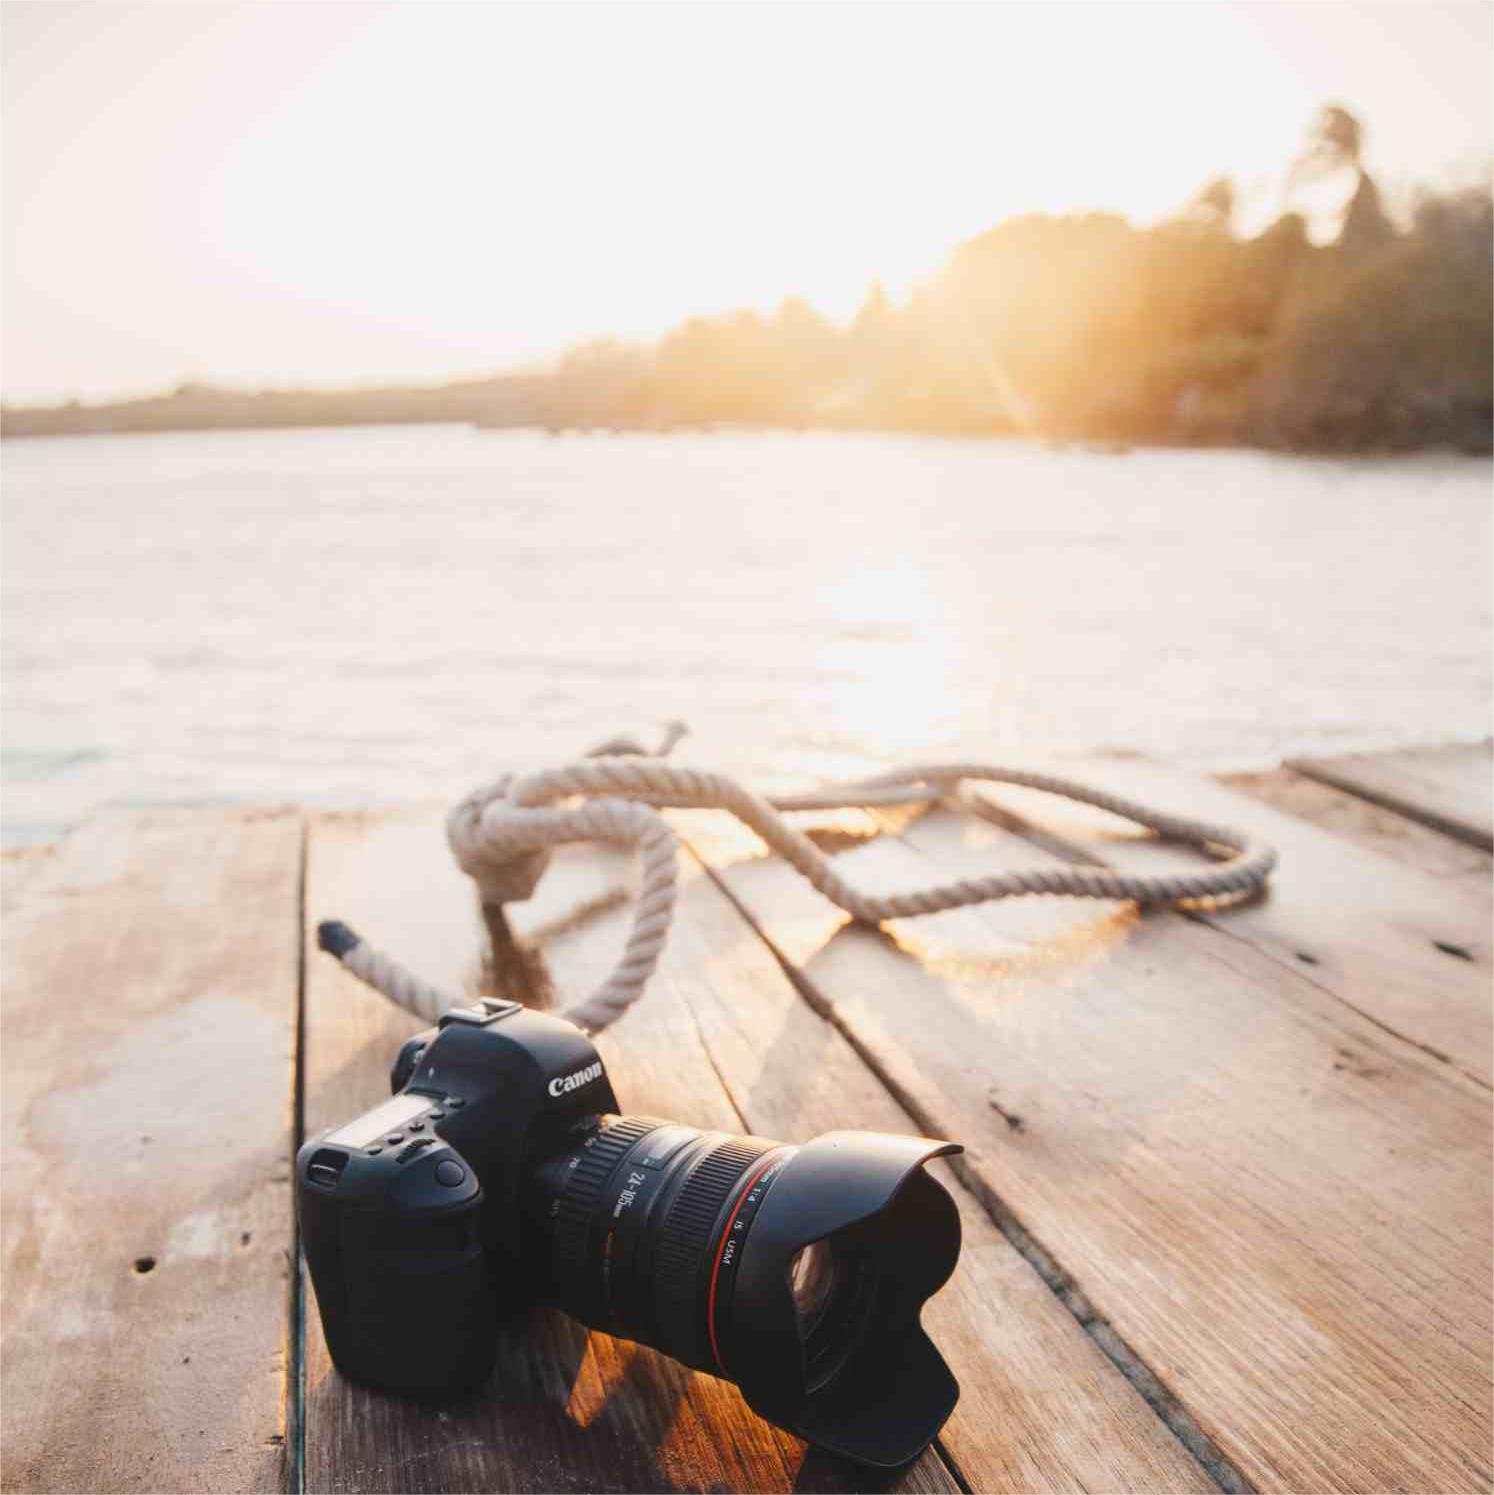
Avoid Large Light Ratios for Live Shooting
When you are taking photos outside, there must be strong sunlight outside. Try to adjust the photo angle to avoid large light ratios, because someone facing strong light will be shot very bright. That is why your photo is overexposed.
Try to find a good angle that someone in correct exposure. Not sure about exposure? Pre-shoot is a good choice. Finding a place under the tree or shadow is also a good way to avoid photos being overexposed.
HDR & Smart HDR
HDR refers to the high dynamic range in the camera. Also, some cameras have updated this function to Smart HDR which means the camera is better and smarter to analyze the photo content to help you get great shots in high-contrast situations.
If you are shooting under large light ratios situations, please open HDR to get better photos.
Manual Brightness Adjustment
Of course, you can control the brightness of the photos by yourself when you are shooting. On your phone shooting, you can click on the viewfinder to get a brightness adjustment.
Move the slider up, you will find the view becomes brighter. It is a convenient way for you to adjust brightness when you are ready to shoot.
But we can only find this function in the phone, you cannot adjust it like this in the camera.
One-Tap to Fix Your Overexposed Photos Easily

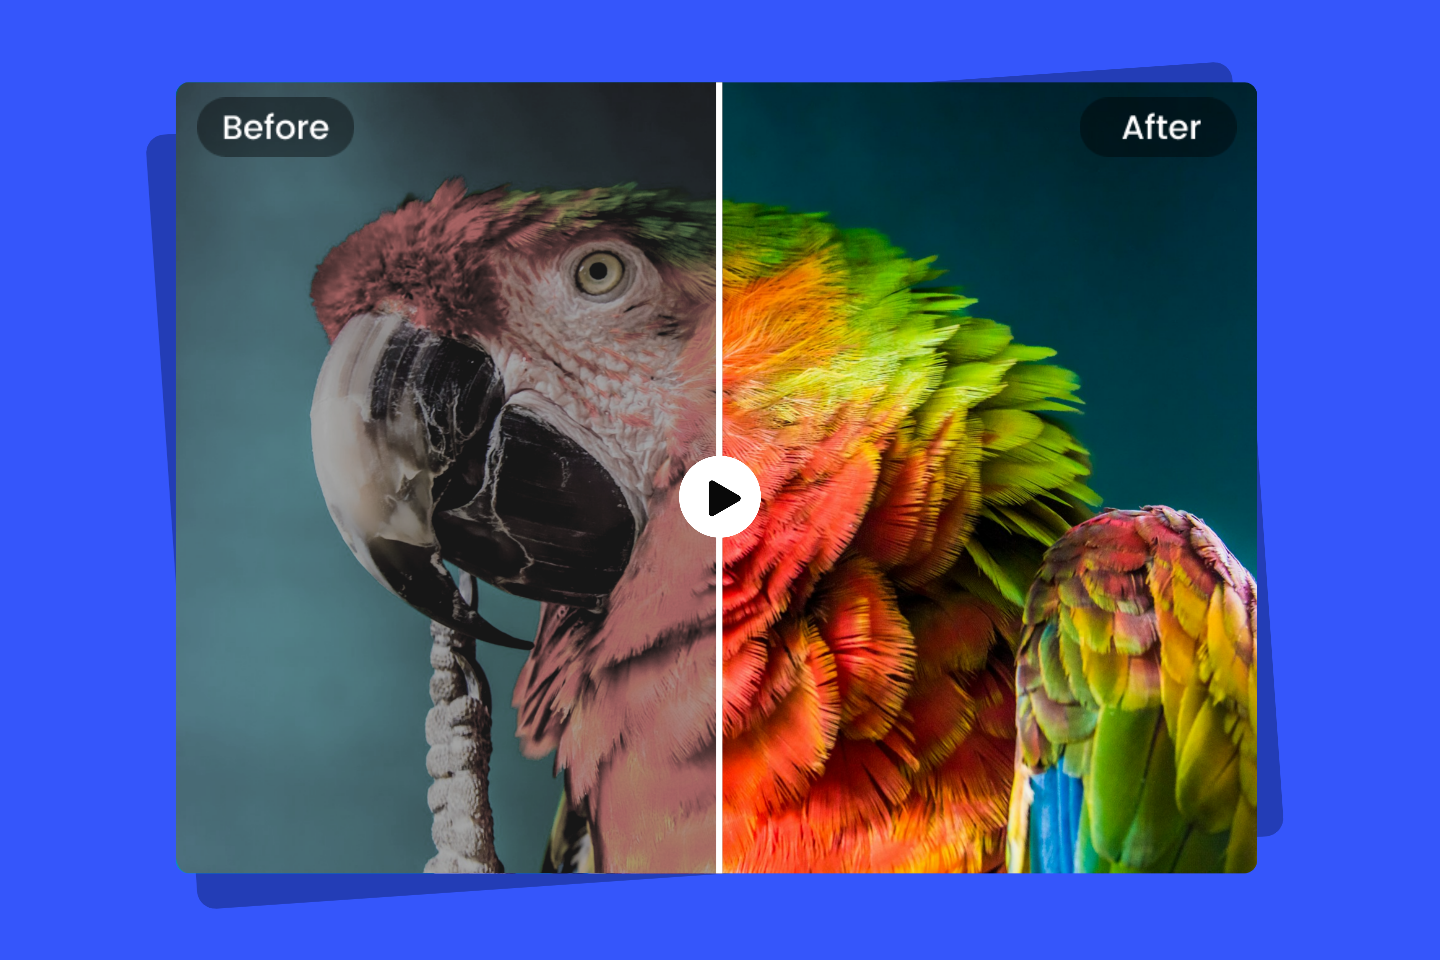
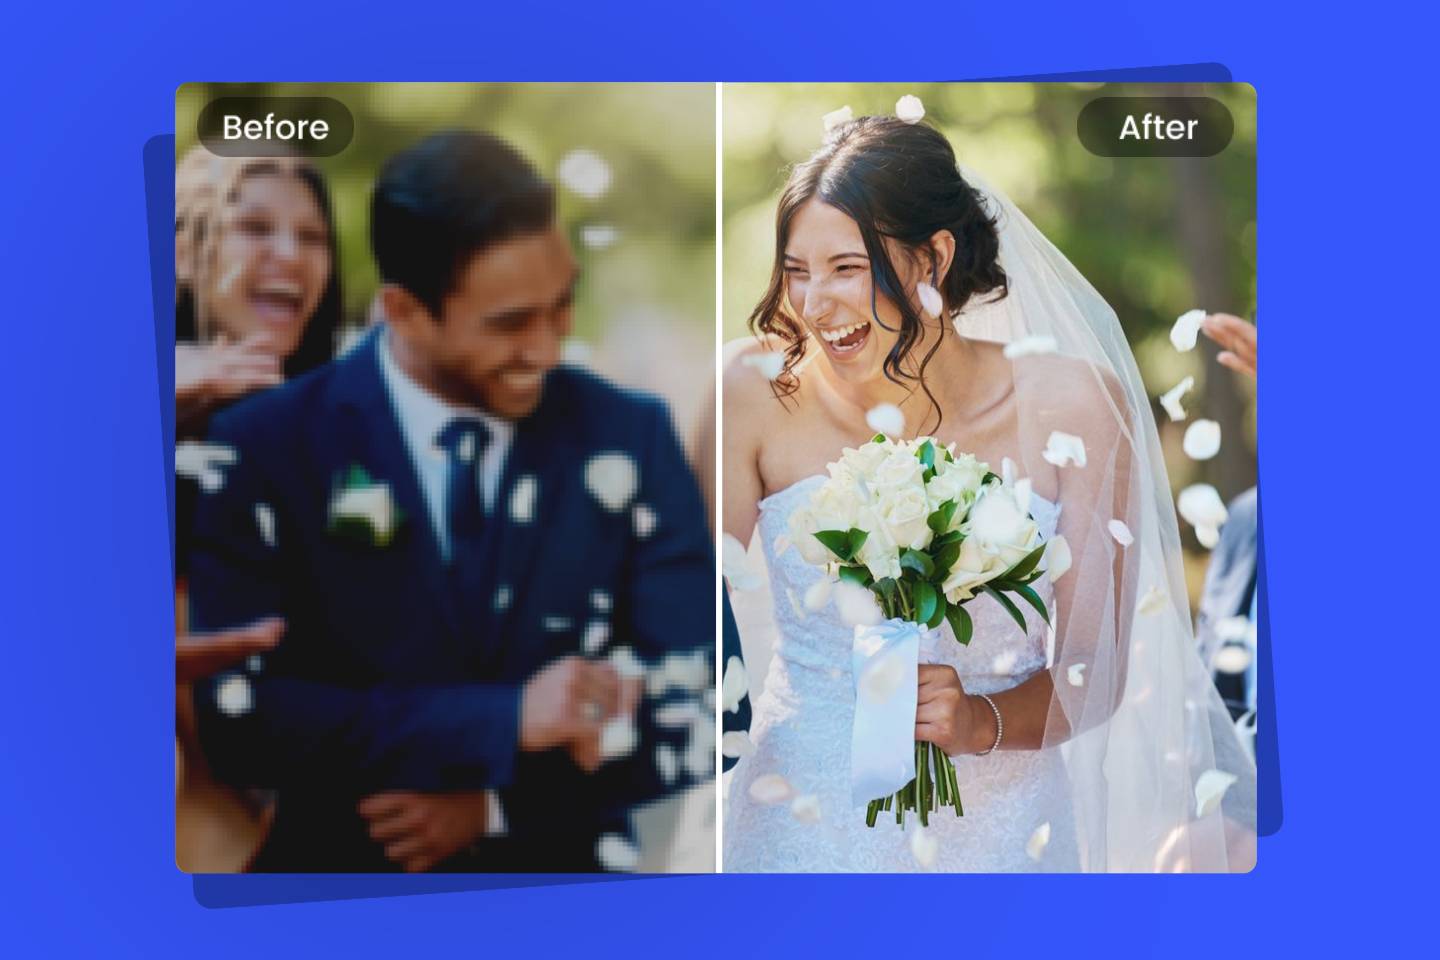
With Fotor AI photo enhancer, you can easily fix your overexposed photos and underexposed images in seconds.
Upload your photos and one click to automatically handle it well.
Feeling dizzy about complex settings in photography? Never mind, there is an extra great choice for you to fix over exposure in photography instantly.
You can one click to fix overexposed photos in Fotor photo editor easily. Fotor AI photo enhancer will Intelligently adjust the parameters of your images and make your over exposed image or underexposed photos look better with correct exposure.
How to fix overexposed photos with Fotor photo enhancer?
- Click the "Fix Overexposed Photos Now" button to open Fotor photo editor.
- Click “1-Tap Enhance” to enhance your image automatically and without losing quality.
- You can always additionally refine your image by using Fotor’s built-in editing tools, including brightness, contrast, exposure, highlights, shadows, saturation, sharpness, curves, and more.
- To compare your edited photo to the original, click the “Compare” button at the bottom of the canvas. If you don’t like the way it looks, you can reset your adjustments and revert to your original image.
After you finish editing, save and download your edited image with the desired file type.
More Adjustment Tools to Edit Exposure in Fotor Photo Editor

Curves
Curves is an advanced tool for those pursuing better photo editing. It contains RBG, Red, Blue, and Green adjustments you can choose.
You can use the curve adjustment to change the brightness and contrast in a photo. You can adjust the overall look of the photo, change the look of specific colors (red, green, and blue), and adjust settings for the black point, midtones, and white point. Note: You can also adjust a video using the Curves controls.
This is a little complex tool for those who specialize in photography, if you don’t understand how to use it, you can try Fotor ai photo enhancer to fix your overexposed photos easily.
Contrast
Contrast pictures setting is used to enhance the contrast between light and dark. You will find that when you drag the slider to the right, the blight part becomes brighter and the dark part becomes darker.
When you move it to the left, the contrast between light and dark will be reduced, the dark will be brighter, and the light will be darker.
Brightness
In Fotor photo editor, you can find brightness in the basic adjust module. You can drag the slider on the line to adjust the brightness for the overexposed image.
When you move it to the right, the photo becomes brighter. When you move the slider to the left, the photo becomes darker. You can brighten photos as you like.
Saturation
Adjusting image saturation setting is also a good way to enhance photos and will make your photo becoming more colorful. It will obviously enhance the color of your photo, make the flower color more vivid, and make the tree more verdant.
Fotor App to Fix Overexposed Photos on iPhone and Android
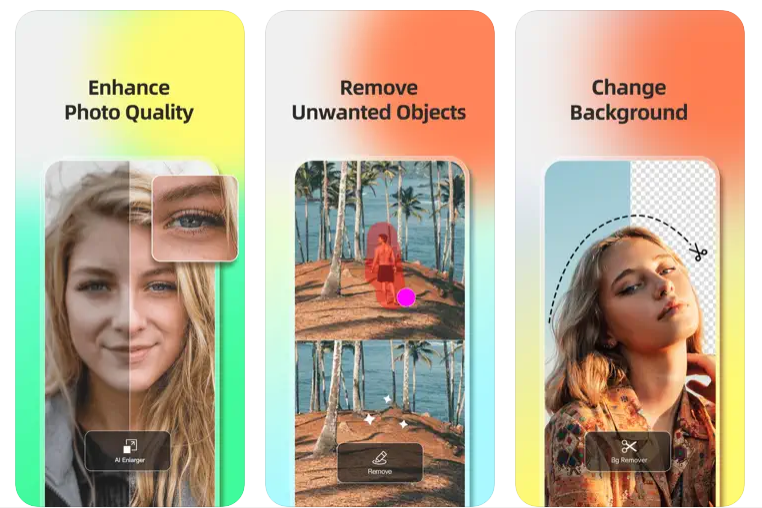
Now, Fotor app allows you to easily operate a wonderful photo editor anytime, and anywhere to fix over exposed images and underexposed photos on iPhone and Android.
You can use Fotor app to adjust photo underexposed and photos you aren’t satisfied with. Just open Fotor app and upload your photo to try now.
With one tap, you can effortlessly solve your photo problems by crop image, shape image, image enlarger, image enhancer, photo retouch, face editor and more.
Conclusion
In this article, I introduce how to fix overexposed photos in photo editors like Fotor, Photoshop and Lightroom. And guidelines about why photos overexposed and how to avoid photos overexposed in an easy way. You can use Fotor AI photo enhancer to fix overexposed photos and underexposed photos easily with one click. I hope this article will be helpful for you!


