How to Digitize Photos: Practical Guide in 2024
Summary: This blog covers a comprehensive guide on how to digitize photos. You’ll learn 4 ways to digitize photos: use a scanner, a camera, a photo scanner app, and a photo digitizing service.
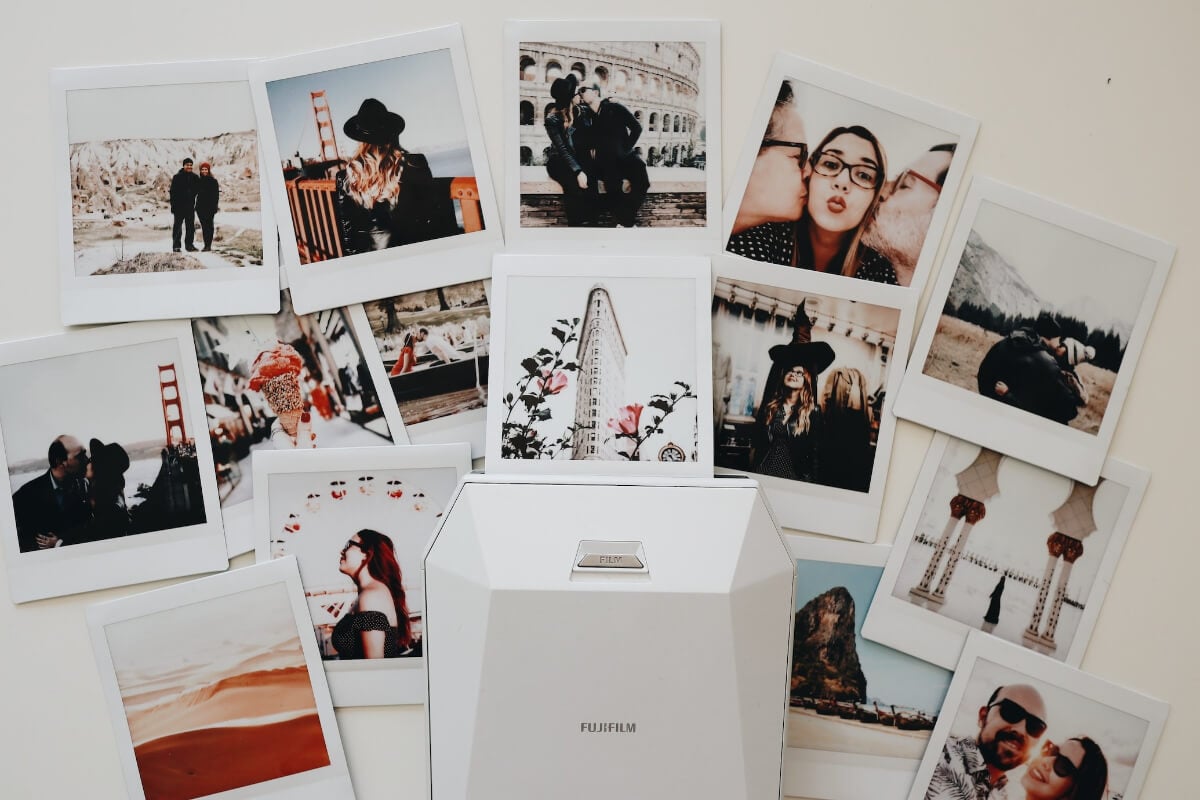
In the old times when we could only use vintage cameras to take pictures, if you like to capture precious moments with shots, the chances are that there are many physical photos at your home, taking a lot of space and making it not easy to keep them safe.
However, you can convert photos to digital as it can not only help to store your photos but also share them with friends and family. In this blog, we’ll teach you how to digitize photos using the 4 best ways to store photos either on computer or phone.
Now, read our article and let your visual narratives endure the test of time by digitizing them.
Why Should You Digitize Photos?
Below are some reasons for converting photos to digital. You can consider whether to digitize your photos combined with its advantages.
1. Physical photos are easy to damage
Water damage, discoloration, and artificial tears can damage the physical photos you collect in photo albums or boxes. Making digital copies of them can ensure as many backups as needed.
2. Digital photos can help to save space at home
Photo albums, frames, and storage boxes will take up a lot of space in your home. You can digitize and save these photos on hard drives or flash drives to save physical space.
3. Digital photos are easily shareable
Generally, we take photos to capture certain precious moments with loved ones. Digital photos are easy to share with friends and family to deliver mutual sweet memories.
4. Digital photos are easier to edit
By converting photos to digital, you can choose to remove the blemishes, adjust the lighting and brightness, and crop out the unwanted parts of the photos.
How to Digitize Photos: 4 Best Ways
There are many ways and options to digitize photos. Below we list the 4 most common yet effective ways: use a scanner, a digital camera, a photo scanner app, and a professional photo-digitizing service. Feel free to choose the one that best suits your needs.
1. Scan Photos to Digital Using a Scanner
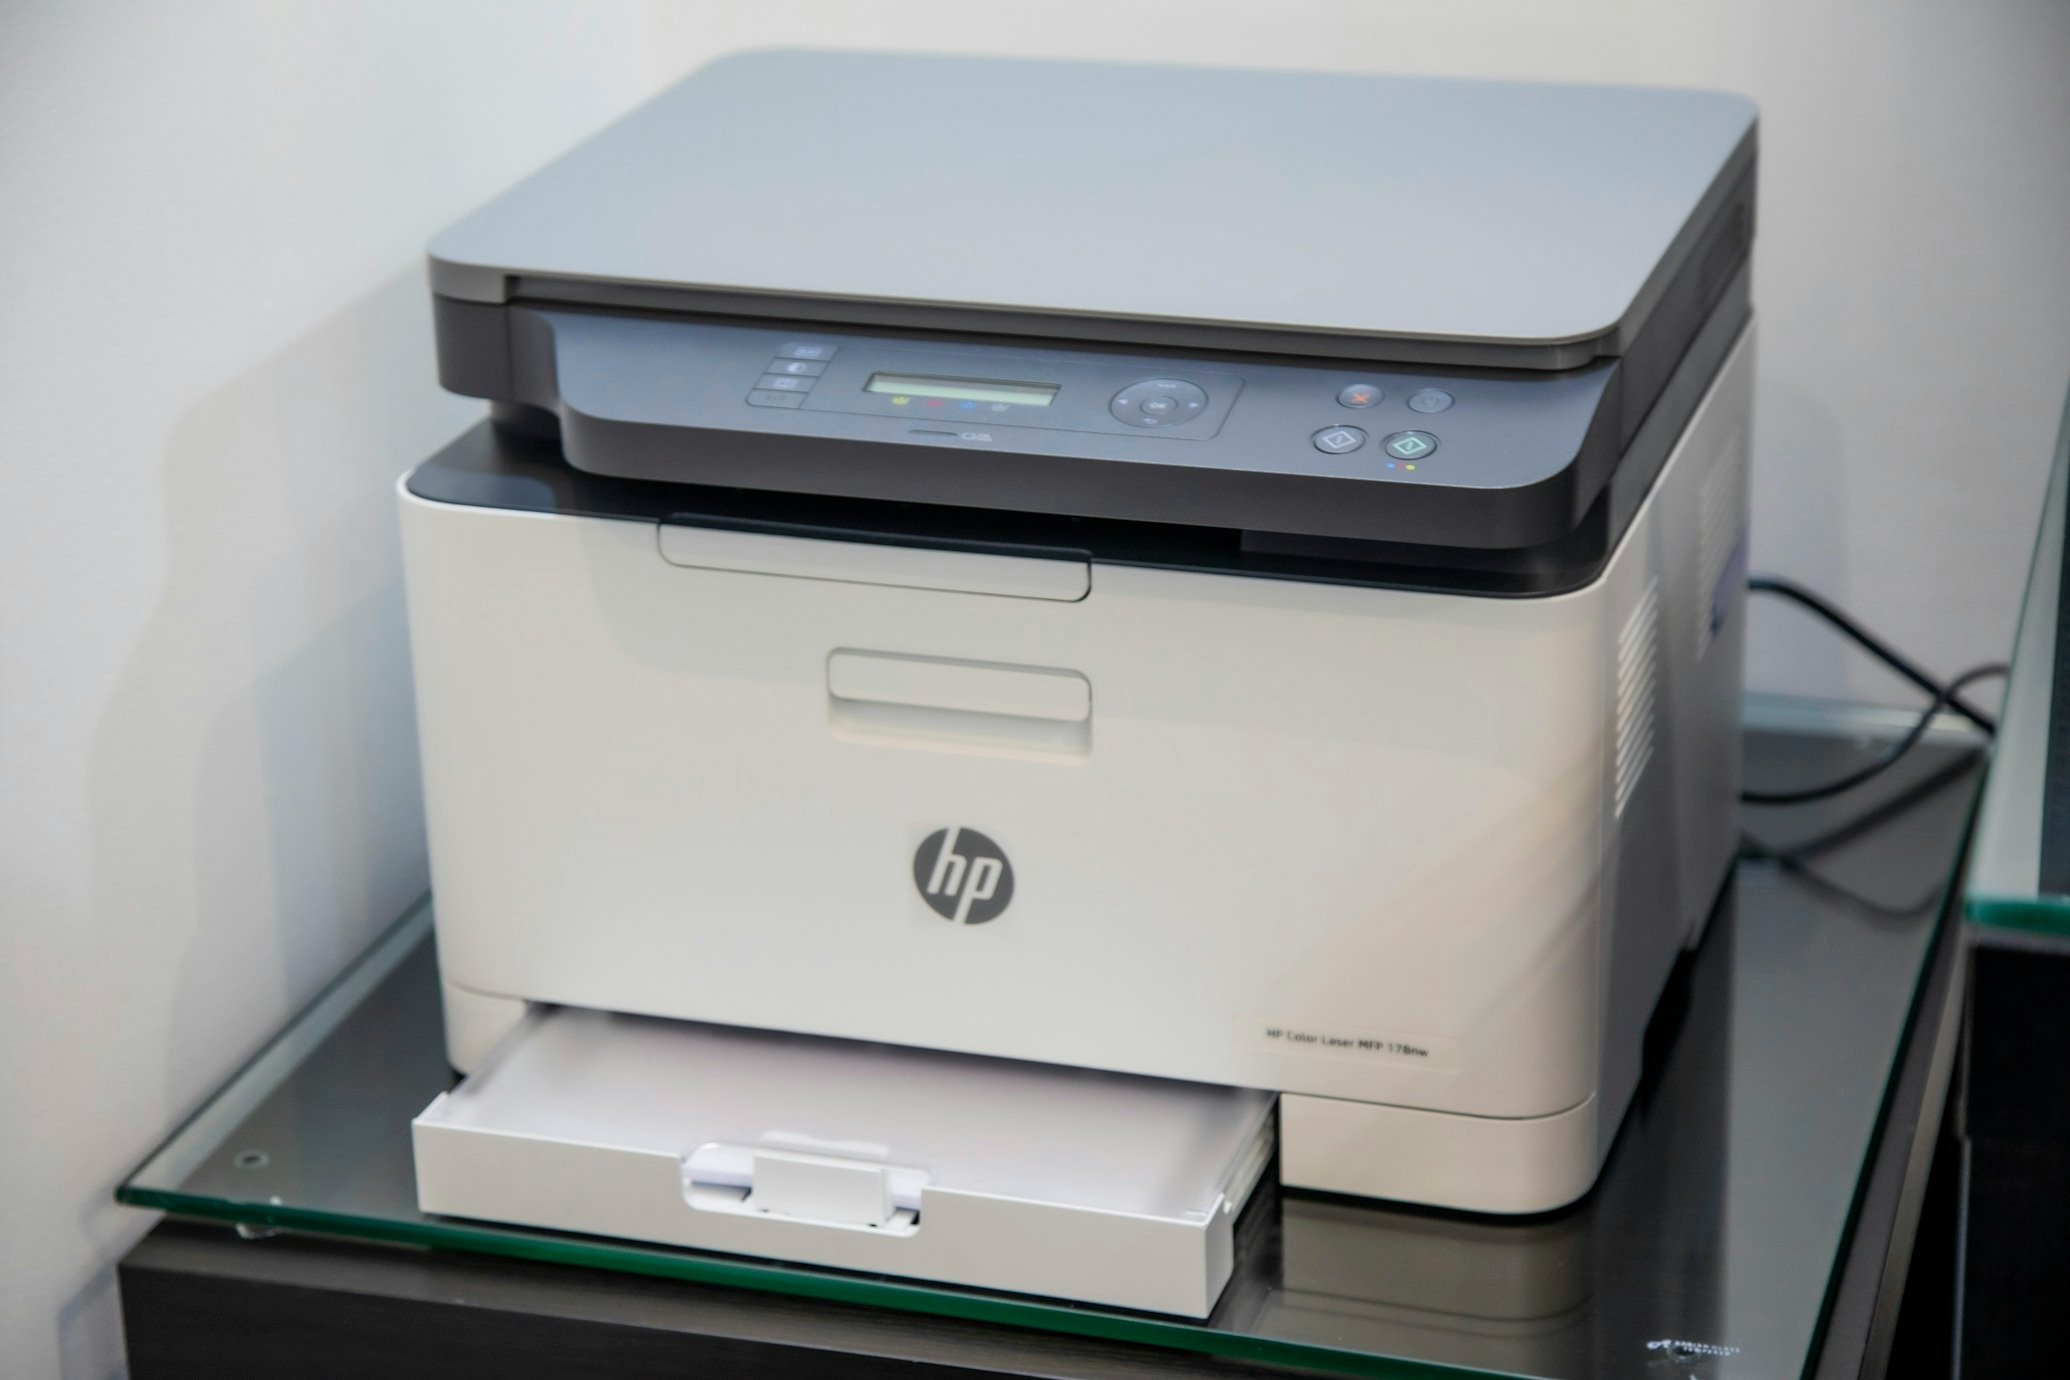
A specialized scanner is the best way to scan photos if you want high-quality digital photos. Different photo scanners have different instructions and operation steps. Here are some common tips for the best scanned photos.
• Choose a photo scanner
There are many scanners on the market with different prices and functions. A flatbed scanner is a worthwhile investment for a home and family since it can ensure high-quality photo results. Also, you can buy a portable scanner to scan photos anywhere. Just choose one type of scanner based on your budget and detailed needs.
• Clean the scanner glass
It’s important to keep the glass clean and free of dust, dirt, fingerprints, and smudges. A dirty scanner glass can affect the quality and accuracy of your scanned photos. So make sure the scanner station is a dust-free place.
• Choose a high image resolution
To ensure the highest quality scans, you are recommended to select a resolution of at least 300 dots per inch (dpi), and up to 600 dpi.
2. Use a Digital Camera to Digitize Photos
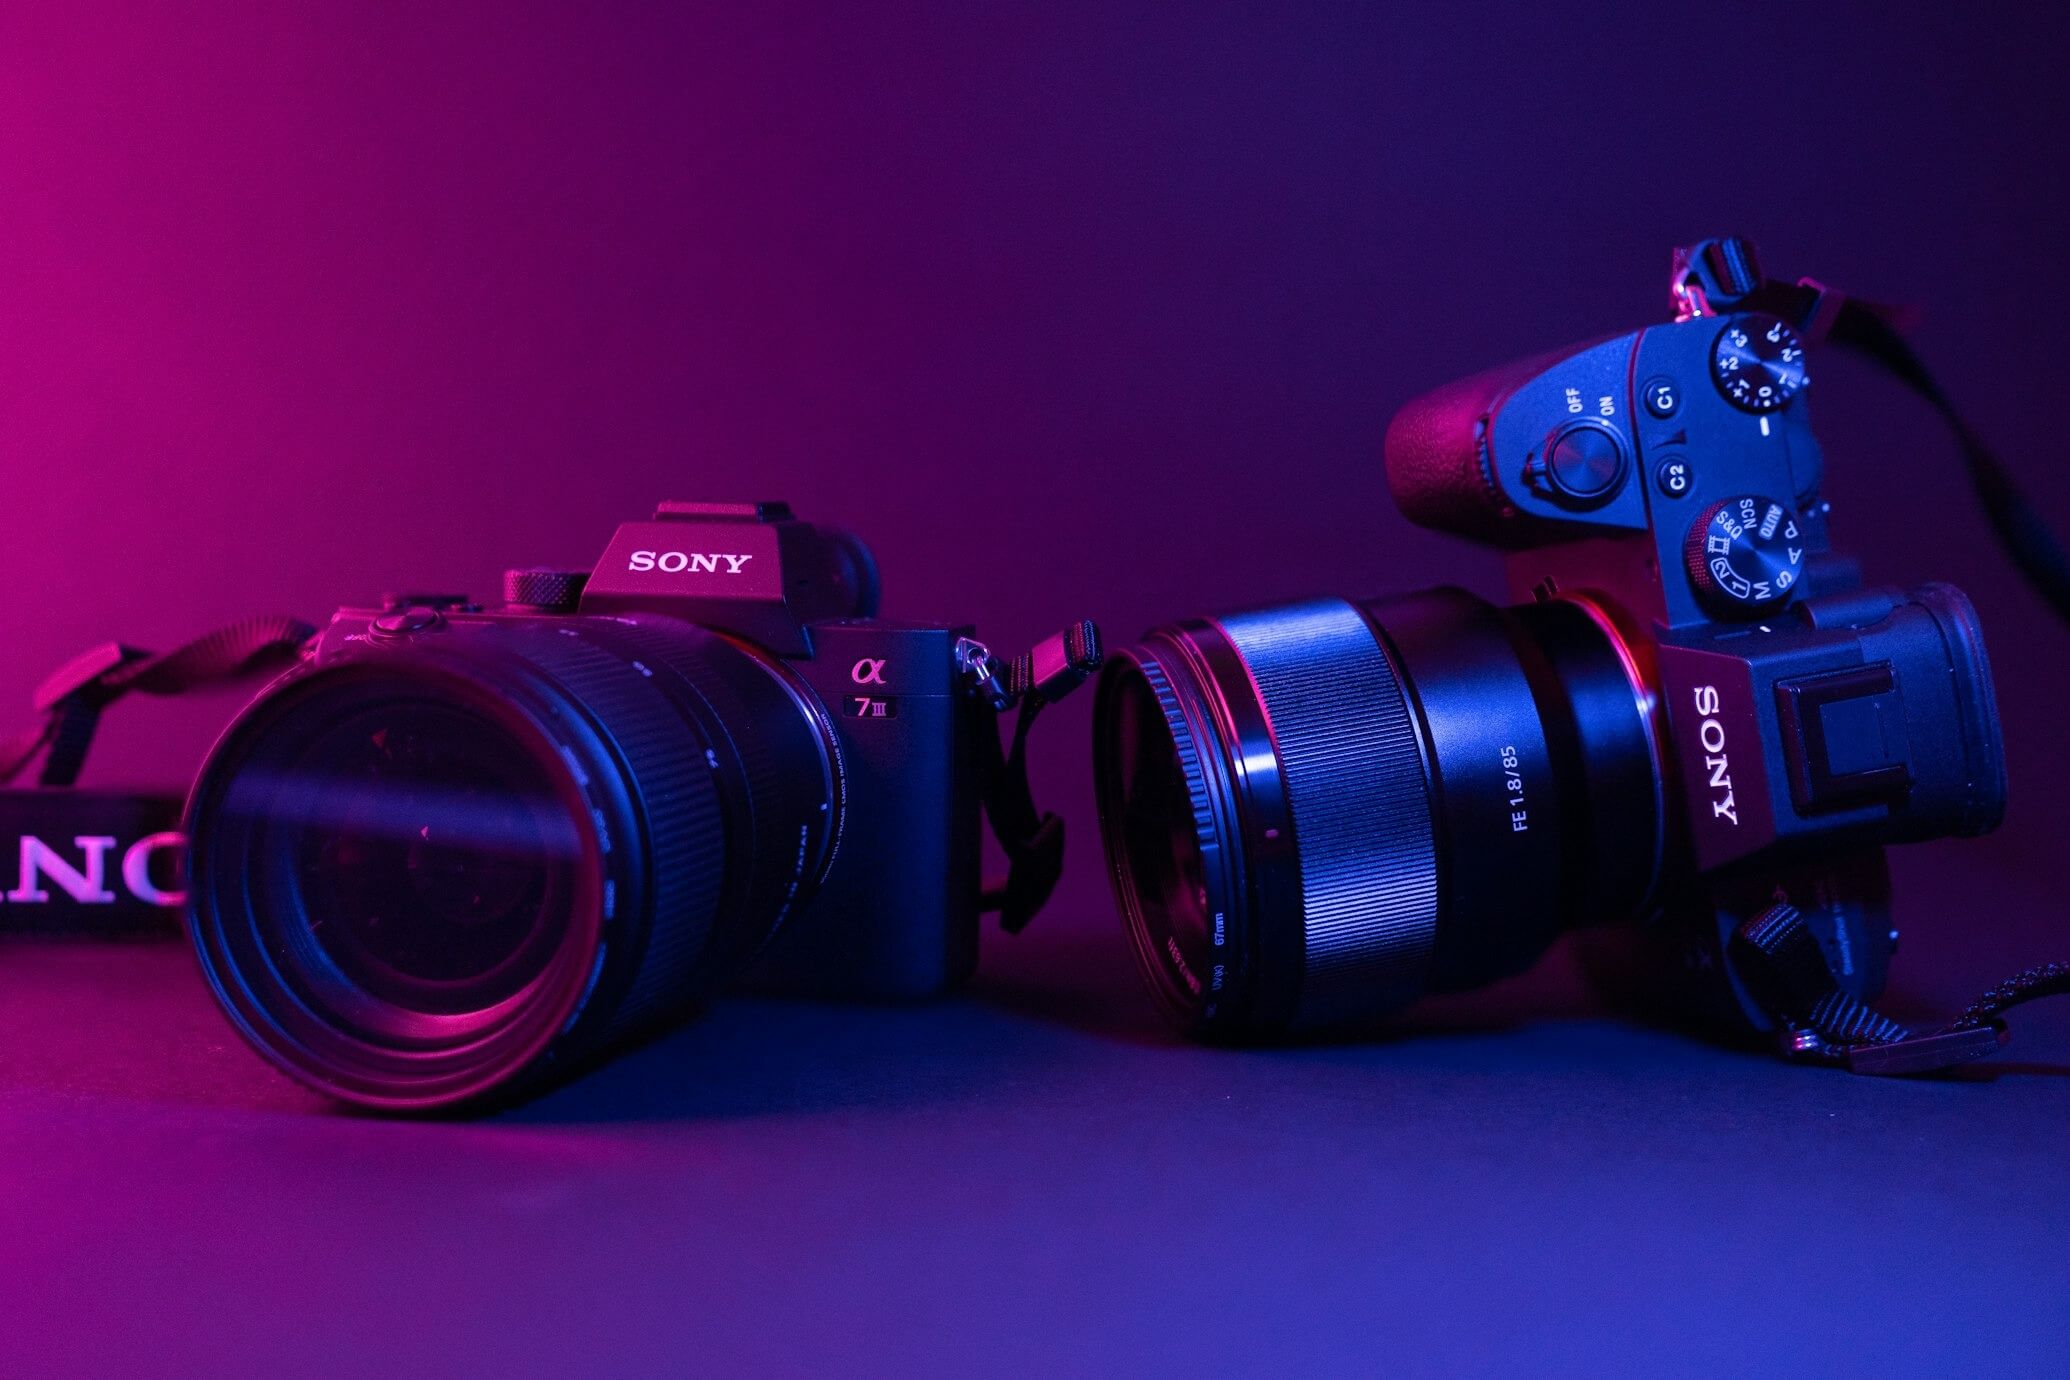
Using a digital camera is a straightforward way to digitize a small number of photos, though not highly recommended since this way is not helpful to get high-quality results. It works best for one or two images at once.
You need a camera, a computer used to store and edit images, photo editing software helping you to crop and adjust the images after scanning, a darkroom, which can ensure a crisp scanning image, and a tripod, which can help the camera be stable and still.
It’s better to digitize photos in a darkroom using a small light source, but notice to avoid glare.
After shooting the digital versions of all the physical photos, you can transfer them to your computer, and edit them using photo editing software.
3. Use the Photo Scanner App to Digitize Photos on Phone
Some apps on iPhone and Android can help you digitize photos using your phone’s camera. Unfortunately, all the mobile apps cannot provide the same image quality and color balance as a flatbed scanner. But photo scanner apps can be helpful for urgent needs.
If you’re looking for free photo scanner apps, you can consider the following:
1. Microsoft Lens
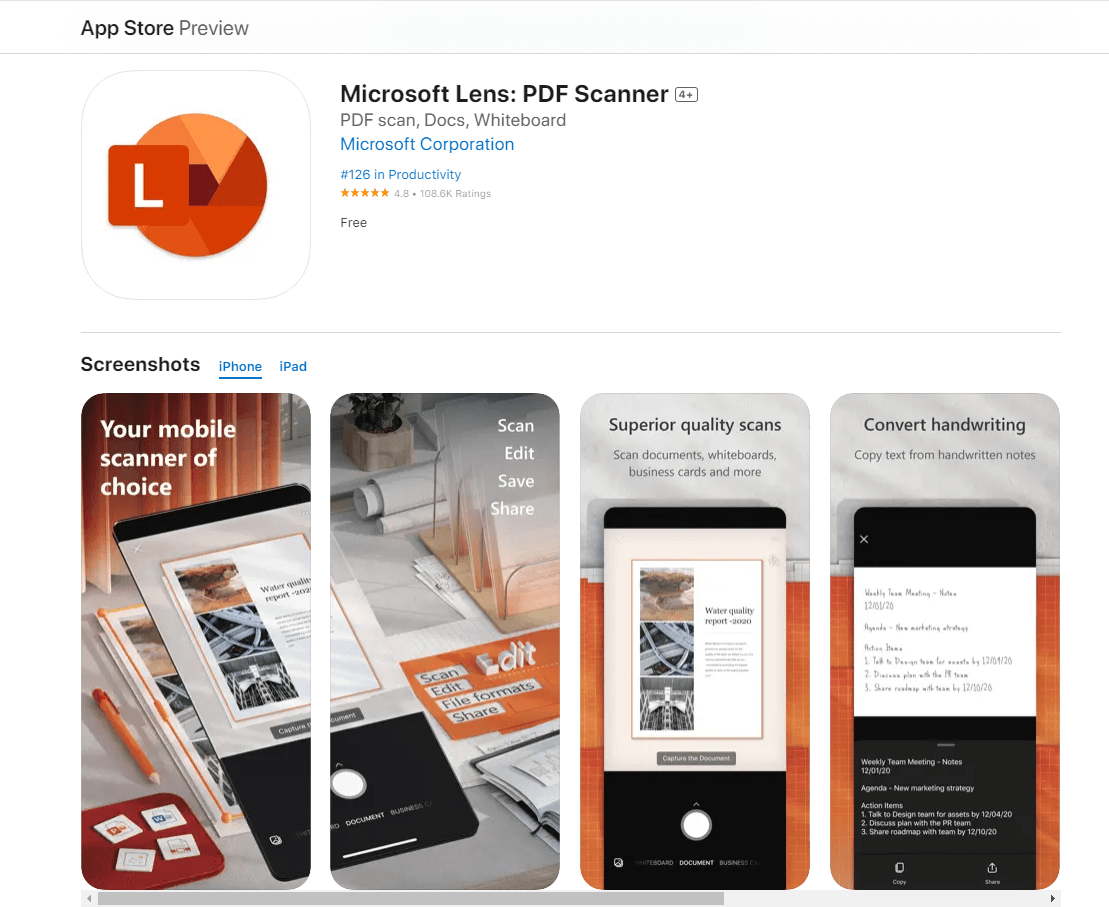
Available on iOS & Android
This app will automatically crop, straighten, and upload the scanned photos to Microsoft OneDrive, ready for access from your computer or another device.
2. Google Photo Scan
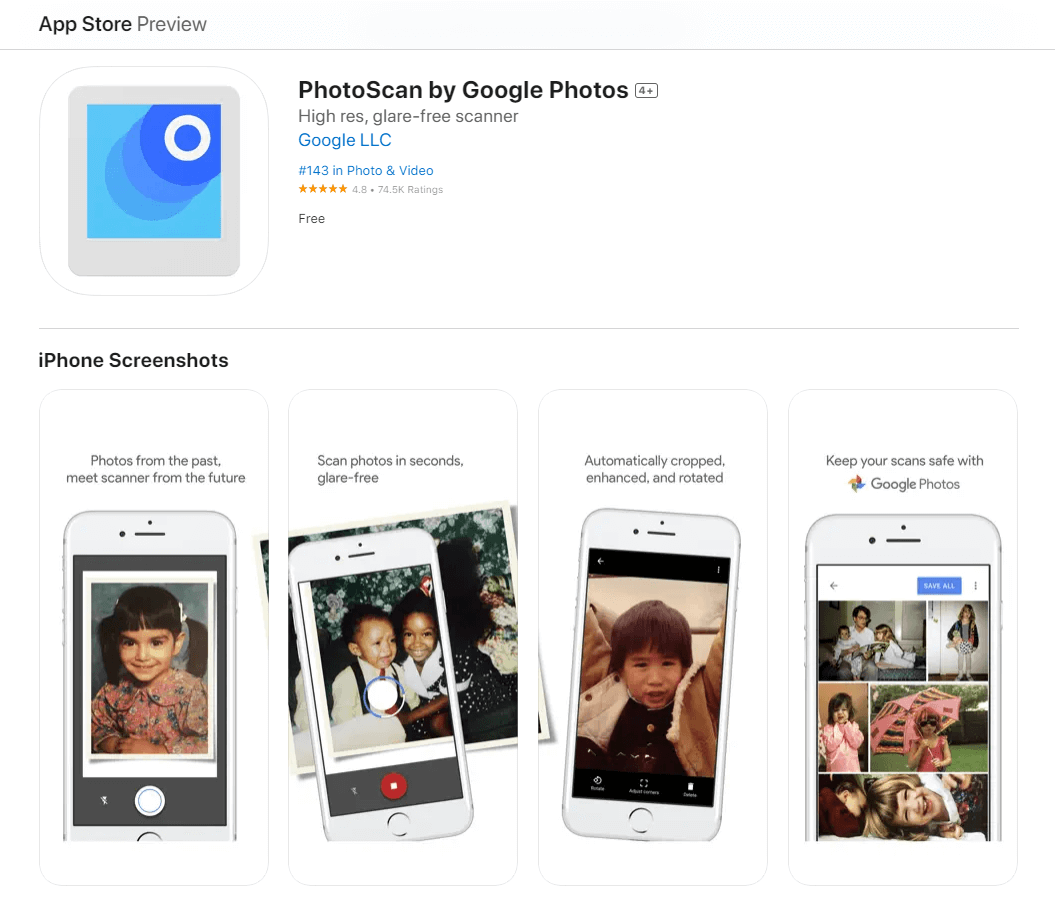
Available on iOS & Android
PhotoScan is an app from Google Photos that lets you scan and save your favorite printed photos using your phone’s camera. It helps to get perfect photos by automatically getting rid of the glare.
4. Use a Professional Photo-digitizing Service
The last option is to hire a professional photo digitizing service. It has state-of-the-art technology to ensure high-quality scans and trained professionals to handle your photos. And often it returns your photos with digitized files on a memory disk.
These services may be much more expensive than a flatbed scanner or a photo scanner app, but they are also more convenient, give you better quality, and can handle large photo collections in varying conditions and sizes. Feel free to use this option based on your budget.
Restore Old Photos Online For Precise Scanning
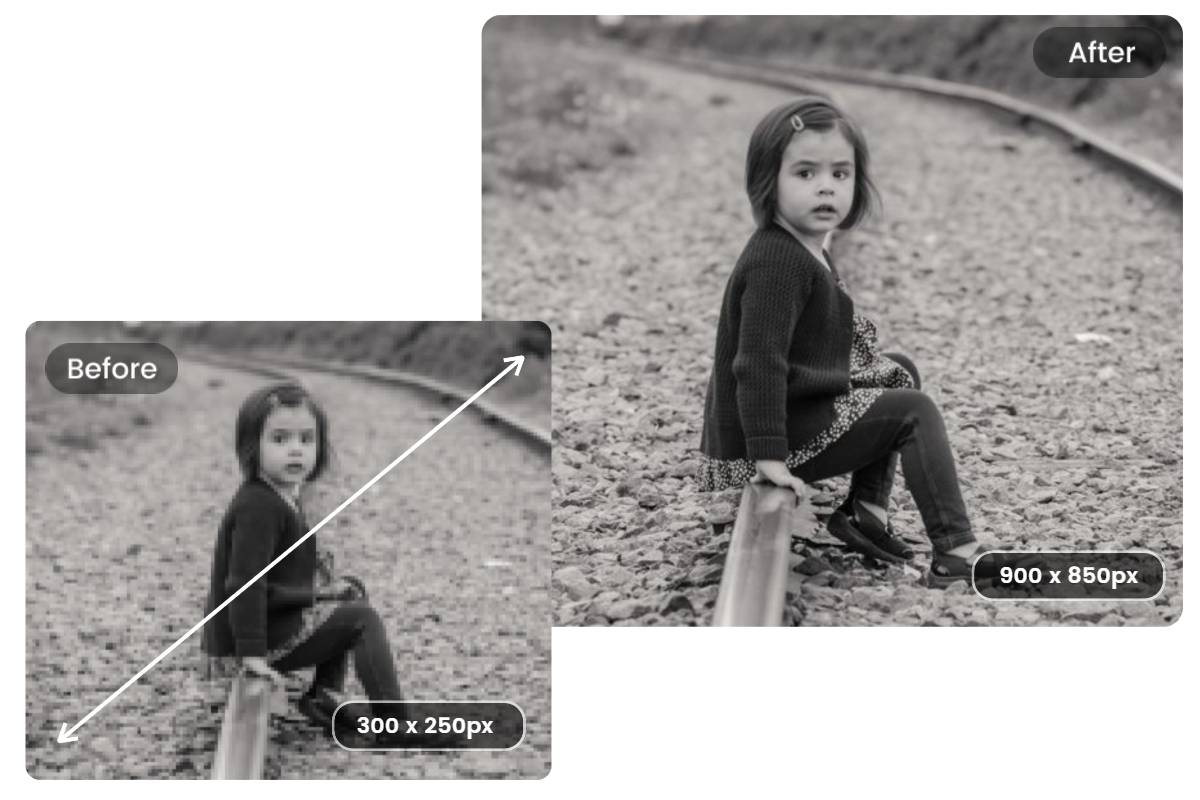
Experience fast and easy photo restoration online for free. Auto-repair damages, remove blurriness, and restore faded colors & details to turn your old photo to new photo.
Your photos may be damaged due to scratches, accidental tears, and natural color fade-out as time goes by, and this will influence the resolution and final results when you digitize these pictures. So it’s recommended to restore the old faded or damaged photos before converting photos to digital.
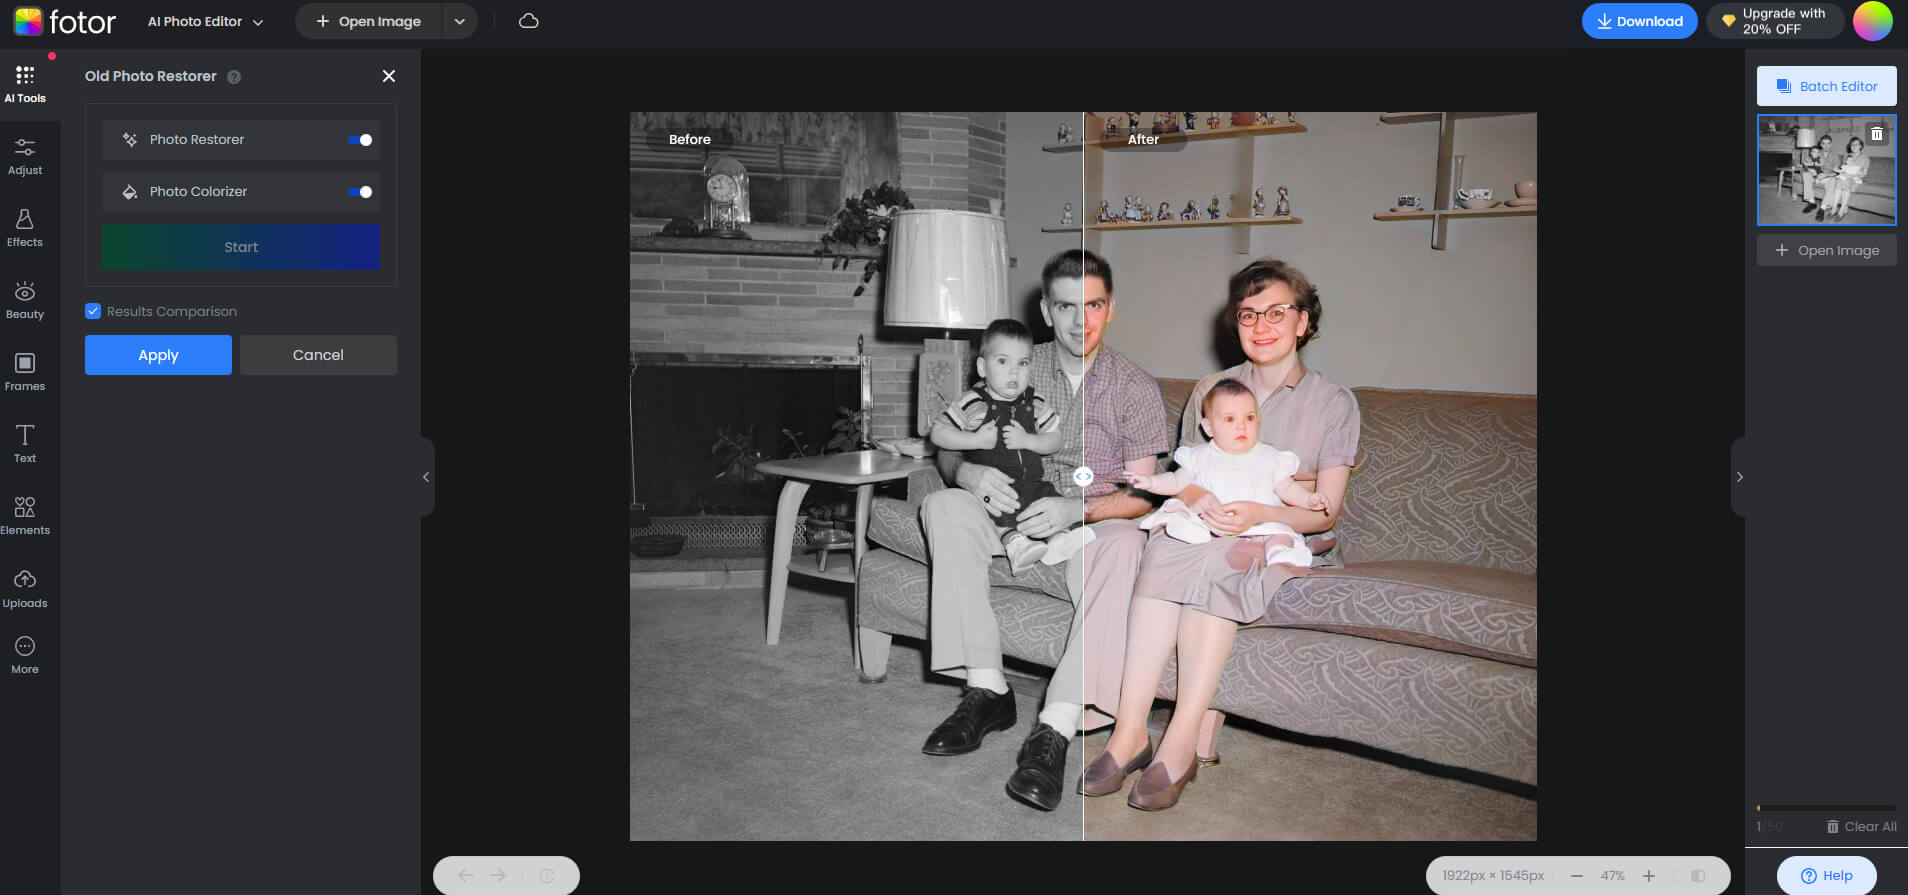
Fotor’s old photo restorer must be your first choice. Backed up by advanced Artificial Intelligence, it allows you to restore old photos easily in just seconds. After uploading your old damaged photo to Fotor’s free old photo restorer, it will automatically repair the scratches and tears, remove the blurriness for a crisp result, and colorize white and black photos with vivid and lifelike colors.
Fotor also offers the option to upscale images, ensuring every detail is preserved and enhanced for the best result.
Here’s how to restore old photos online with Fotor’s old photo restorer:
1. Upload your old photo from your phone or PC to Fotor.
2. Then our AI old photo restoration tool will start restoring and colorizing the old photo automatically.
3. Click the “Download” button to save the restored new photo in high-resolution JPG or PNG format.
Best Ways to Store Photos
After digitizing photos, you need to store these digital photos with the right ways. People lose their important photos when hard drives fail, when smartphones and laptops are stolen, and online services shut down. To keep these important digital photos safe, you need to make copies of the photo and find right ways to store them.
Here are some useful ways to store your digital photos:
1. Back up Photos on the Cloud
If you want to prevent your digital photos from any physical damage and store them for the long term, you can back up these photos on the cloud. Cloud storage is now one of the most common and popular photo storage methods.
You have several options like Dropbox, Apple iCloud, Google Drive, and Microsoft One Drive, which can be easily compatible with any device and system when it comes to cloud storage. Every cloud platform provides some free spaces for storage, but if you need extra storage, you have to pay an extra fee.
2. Use External Hard Drives
You can use external hard drives to store digital photos for the long term. And it refers to magnetic storage. There is no doubt that people and system manufacturers prefer SSD(Solid State Disk), but the old hard drives are still available for the usage of internal and external portable storage units.
3. Use Flash Drives
You can save digital photos in flash USB drives for a long time. Flash drives are very convenient and now they can store more files than before. In addition, USB flash drives are attractive as they are small and can store and share a large collection of photos. You can use flash USB drives as a long-term storage method, but they are not ideal, since they are easy to break and lose. The information stored in USB drives is easy to be deleted as well.
4. Store Photos in Secure Digital Cards (SD Cards)
You can store digital photos in an SD card. SD card is a rectangular-shaped tiny disk, and it can be easily inserted into any compatible electronic device. They have different storage options and can store a huge number of data. People like SD cards as they are small and portable.
However, the limitations of SD cards are that they are easily misplaced and have a short life span, and can easily be corrupted or damaged during the power-on/off period. So if you want to store photos for a few months, you can use SD cards.
Final Words
Physical photos are easily broken and lost, so to preserve these beautiful memories with friends and family, it’s best to convert them to digital. In this blog, we’ve shared the best 4 ways on how to digitize photos, you can choose to digitize photos either using a scanner, a digital camera, a photo scanner app, or a professional photo digitizing service.
Feel free to choose one way that best suits your needs and budget and keep your precious memories by scanning and digitizing photos.


