How to Cut Out an Image in Photoshop: Step-by-Step Guides
Summary: This is a post that shares detailed tutorials to help cut out pictures in Adobe Photoshop, including using the quick selection tool, layer mask, magic wand tool, and pen tool.

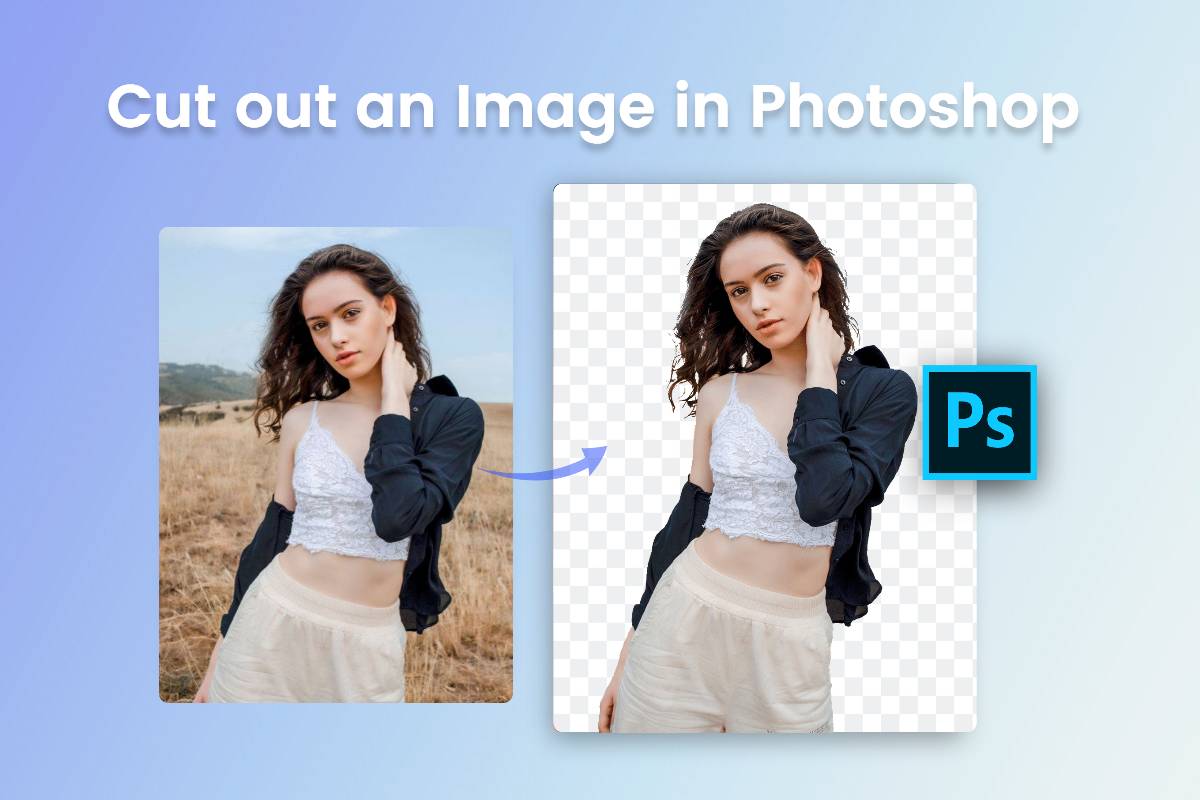
Whether you want to make bighead cutouts or add a person to a photo, it’s important to master the skills to cut out images in Photoshop. Learning how to cut out an image is helpful to create something creative based on your images, for example, you can cut out photos like person and item to make a collage.
In this blog, we will share how to cut out an image in Photoshop with five easy methods. From the quick selection tool to the pen tool, you will be all covered. Now let’s see the step-by-step guide to help you cut out pictures easily!
How to Cut Out an Image in Photoshop
Here you will see detailed tutorials to make image cutouts by using five different tools in Photoshop. Thus, you can cut out an image easily with the tool you are familiar with. Keep reading.
Quick Selection Tool
- 1. Open Adobe Photoshop, and add the image to the canvas you want to cut out.
- Find and select the “Quick Selection Tool” on the left toolbar or press the “W” on the keyboard to use it.
- Click and drag the tool over the image object that you want to crop out. It will automatically select pixels based on the brush stroke. By the way, you can change and adjust the brush size of the Quick Selection tool to make the selection precisely.
- Repeat the selection operation until you have got all the object areas selected. If the selection area goes beyond the object, you can press the “Alt” (Windows) or “Option” (Mac) on the keyboard to subtract these areas from the selection.
- When you get the satisfied selection area, right-click within the area to choose “Layer via Copy” or “Layer via Cut” in the popup window. At this moment, you can have a new layer that only presents the cutouts with the background removed.
- Now, you can keep creating something new as needed with your image cutouts.
Layer Mask
- Open Adobe Photoshop, and upload the image you want to crop out.
- First, you need to duplicate the image background layer in the Layers panel and press “Ctrl + J” (Windows) or “Command J” (Mac) to get a new layer. You can rename the new layer as needed.
- Now, you will work on the new layer that you create in step 2. Pick up any selection tool, such as the Quick Selection tool, lasso tool, or pen tool. Then, use the tool to select the object area.
- After having the selection area, click the “Add Layer Mask” at the bottom of the Layers panel. At this moment, you will get a layer that only presents the object you select.
- You can refine the edges of the image cutout by using the "Refine Edge Brush" or "Brush Tool" as needed.
- Finally, you can create something new with the layer that only presents the refined image cutouts.
Magic Wand Tool
- Add the images that you want to cut out to the blank canvas in Adobe Photoshop.
- Select the “Magic Wand Tool” in the left toolbar, or you can press “W” to use the tool quickly.
- When using the Magic Wand Tool, you should adjust the tolerance value on top of the dashboard. If you are handling a complicated background image, you should choose the higher value, or vice versa.
- Click the area that you want to delete the image background, and the Magic Wand Tool will automatically select the pixels with similar colors and tones according to the tolerance value.
- By the way, you can use the “Contiguous” option to select the adjacent pixels. If you want to select the areas that are not connected, you can uncheck them in the toolbar.
- When you get the satisfied selection area, right-click within the area to choose “Layer via Copy” or “Layer via Cut” in the popup window. Then, you get a new layer that only presents the cutouts with the background removed.
- At this moment, you can create creative image art with your cutouts.
Pen Tool
- Open the image you want to cut out in Adobe Photoshop.
- Select the “Pen Tool” from the left menu bar, or you can press the shortcut “P” on the keyboard.
- Use the tool the create the first anchor point by clicking the edge of the object that you want to cut out. You can zoom in on the image to create anchor points precisely.
- Keep clicking the object edge to create other anchor points.
- If you want to create curved lines, you need to click and drag to adjust the directions and length of the handles.
- After creating all the points, click the initial anchor point to complete the path.
- Then, you can right-click to choose “Mask Selection” from the popup window. You can adjust the feather radius as needed and click “Ok”.
- When you get the satisfied selection area, right-click within the area to choose “Layer via Copy” or “Layer via Cut” in the popup window. At this moment, you will get a new layer that only presents the cutouts with the background removed.
- Now you can work on the image cutout you’ve gotten.
How to Cut Out Images with Online Background Remover

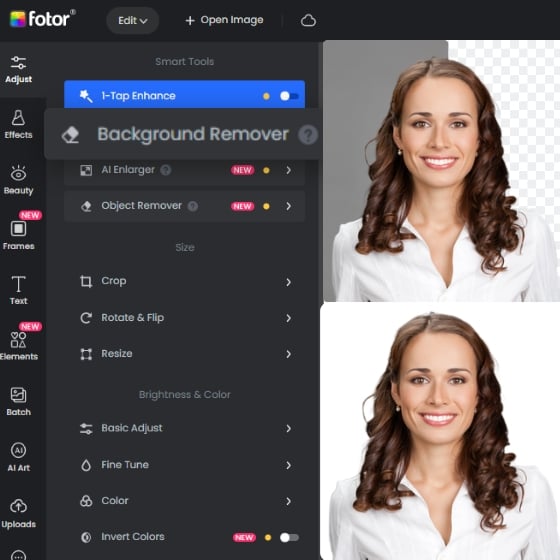
Fotor offers AI background remover for everyone to cut out images in one click.
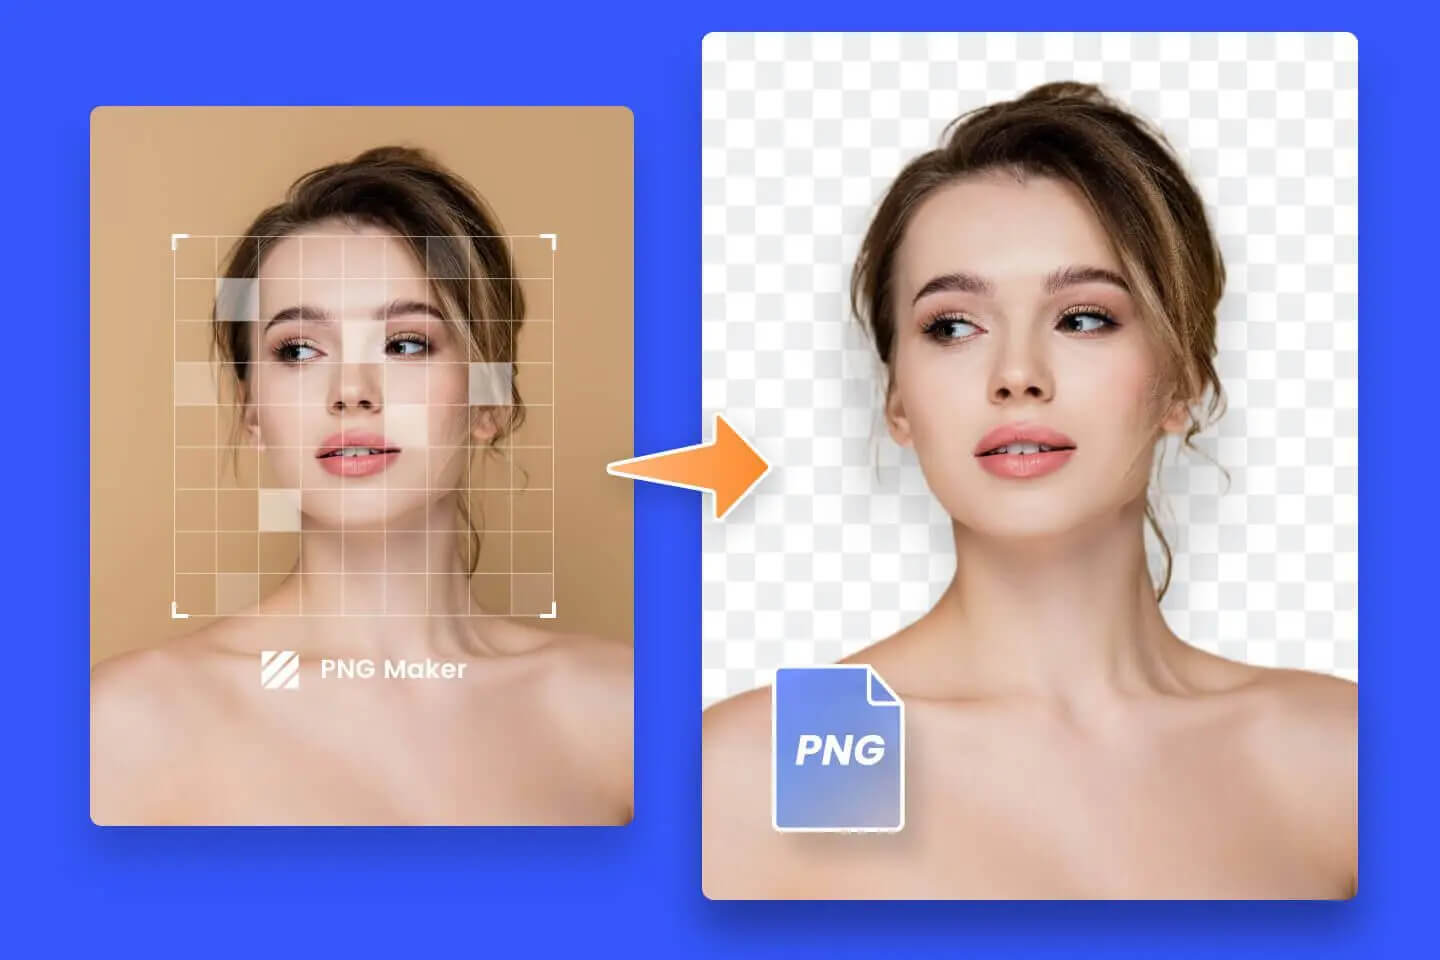
Free to get high-quality image cutouts with transparent background.
Amazing image cutout tool for both portraits and items.
If you find it difficult to cut out an image in Photoshop, or you think it costs lots of time when having a pile of tasks, why not give the online background remover a try to help you crop out a person or item within one click?
Here you can use Fotor’s AI background remover to cut out images. Just upload your images, and the image background will be deleted in less than 3 seconds. And the image cutout quality is as good as the one made in Photoshop. More than that, you can batch cut out images when you have to cut out a pile of images, which saves time.
- Open Fotor’s background remover, and upload your images.
- Wait a few seconds, our AI tool will automatically create image cutouts for you.
- You can use our magic brush to restore or retain the object area.
- Preview and download the image cutouts until you are satisfied.
Conclusion
In this blog, we have shared how to cut out an image in Photoshop. You can use the Quick Selection Tool, Layer Mask, Magic Wand Tool, and Pen Tool to create image cutouts. For images with simple backgrounds, we highly recommend the Magic Wand Tool. Still, you can use the online background remover to cut out images quickly and easily if you are a beginner in Photoshop skills or you have a pile of work to do. Hope you find this blog helpful!


