How to Brighten Image in Photoshop?
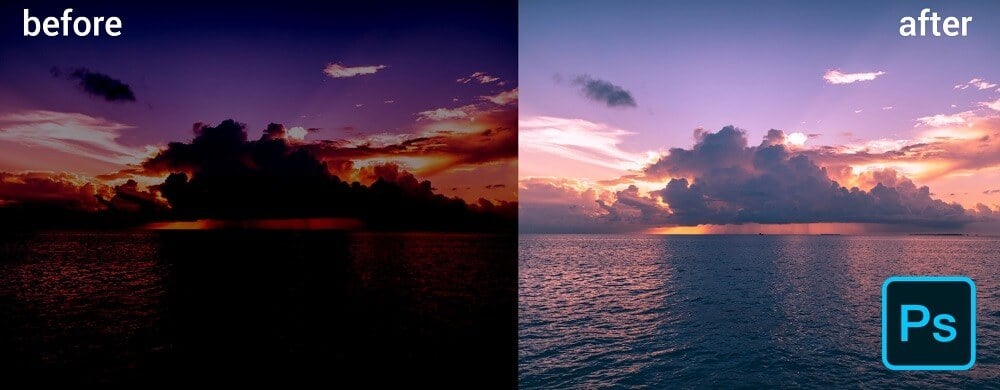
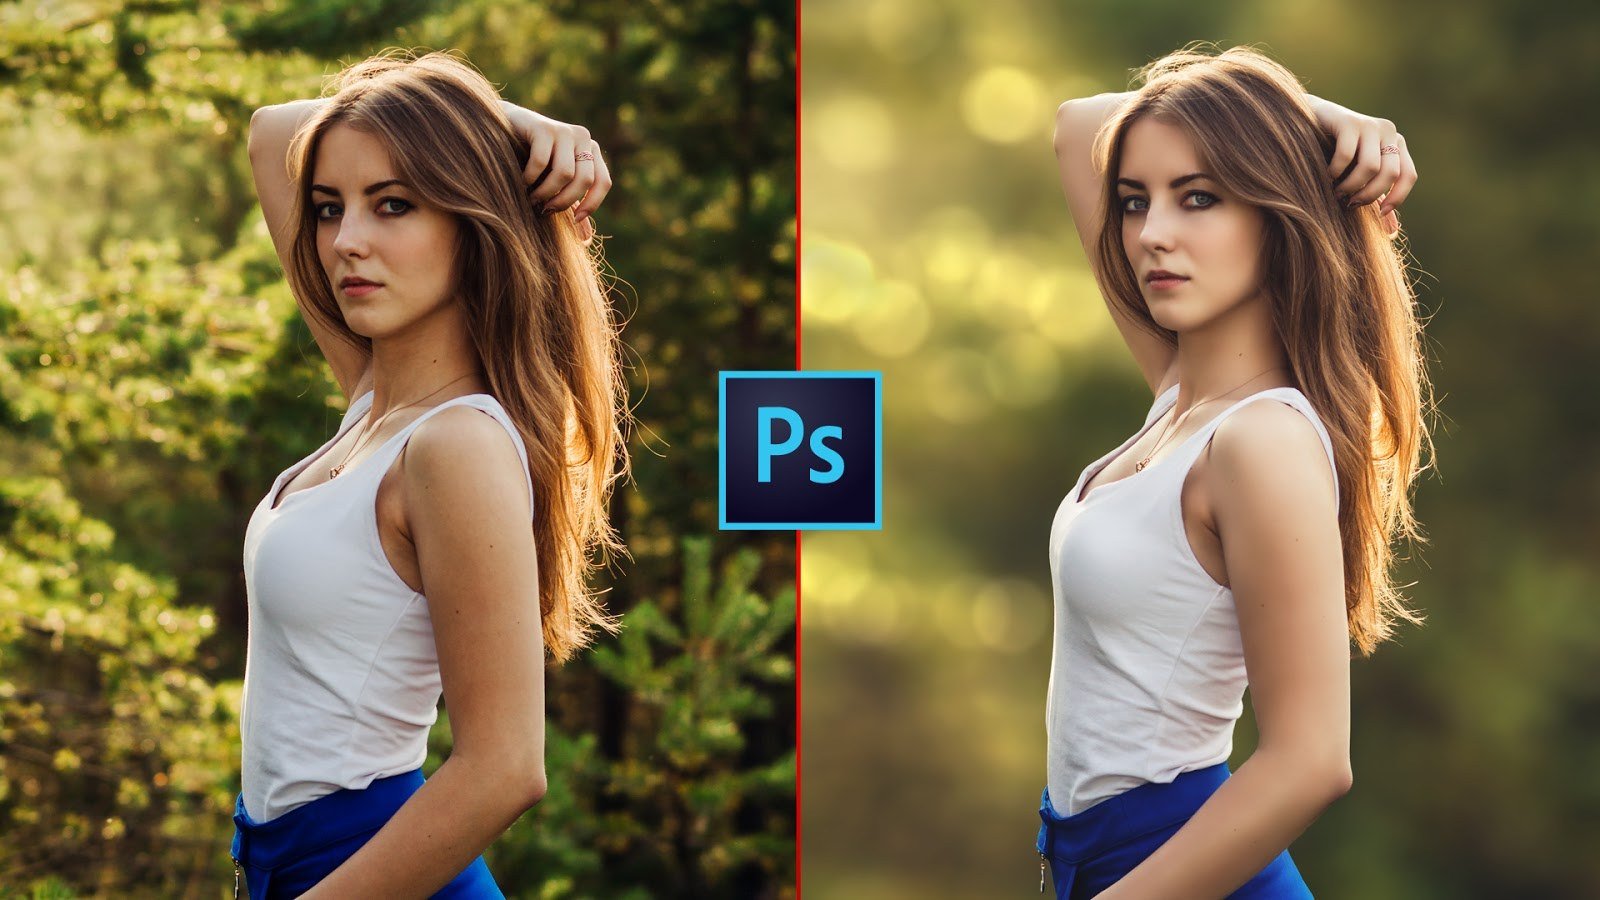
Brightening photos with Adobe Photoshop is easy. In this article, we'll cover 8 ways to brighten pictures and the pros and cons of each. Hope it can help you improve your pictures quickly and effectively with Photoshop.
let's start!
Table of Contents
- Brightness/Contrast
- Exposure
- Color Levels
- Curve
- Camera Raw
- Dodge & Burn
- Black and White Filling
- Multi-plate Stamp Clone
1. Brightness/Contrast
Click the round yin and yang icon below the ps layer panel, and select "brightness/contrast" in the pull-out adjustment layer panel.
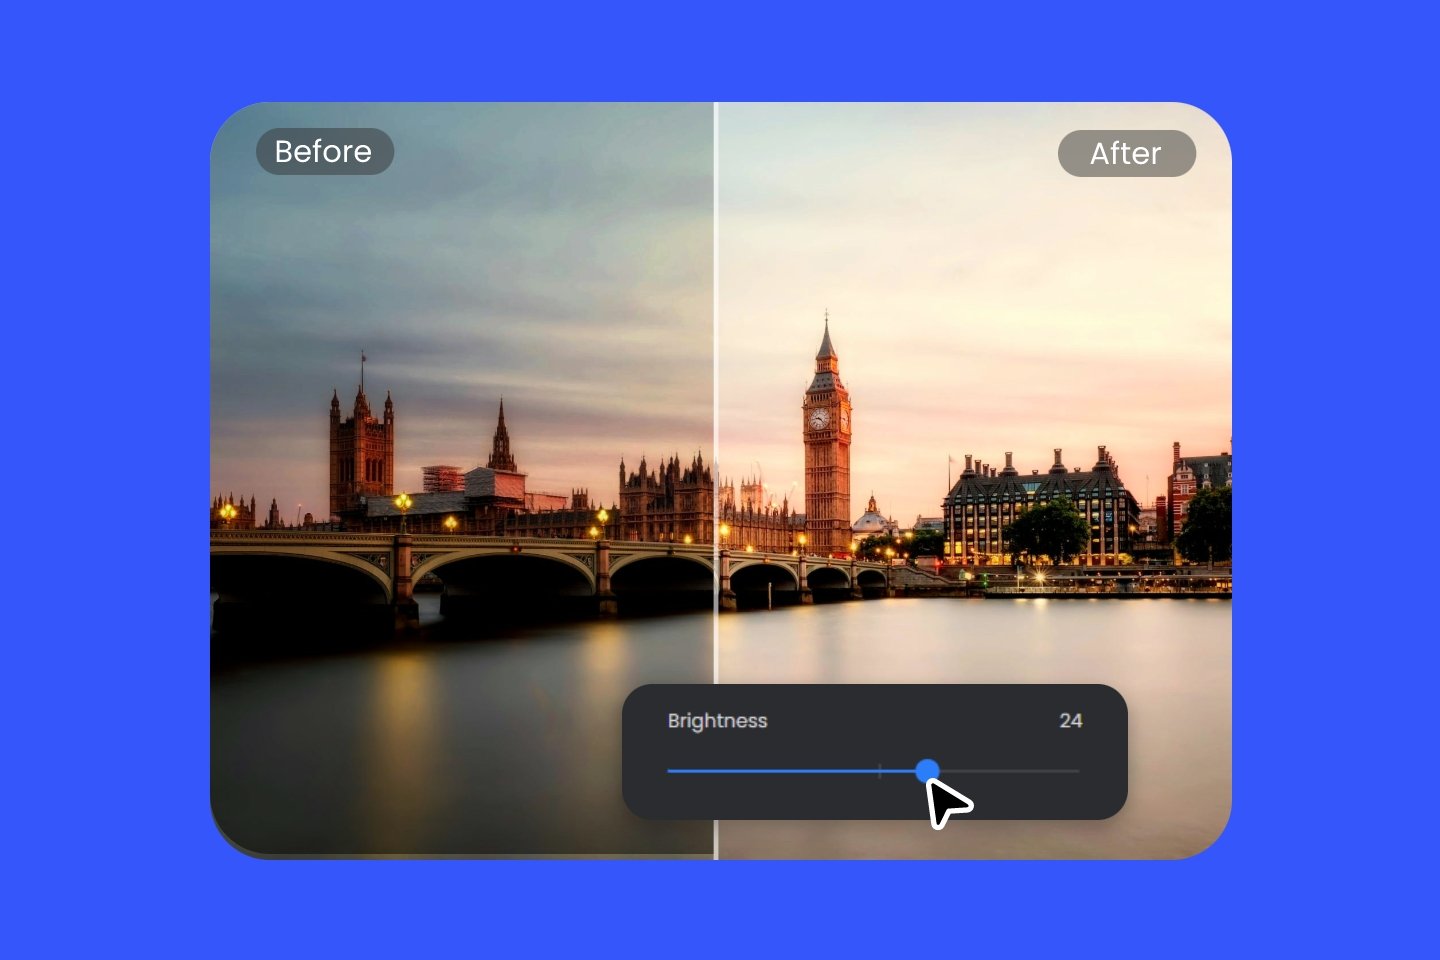
Slide the slider of the brightness bar left and right to darken and brighten the screen globally. Move the slider to the left to reduce exposure and to the right to increase exposure. The feature of this operation is that when the slider is moved.
It affects the dark parts, mid-tones, and bright parts of the picture at the same time. But the impact on the mid-tones is the biggest. And it has a certain protective effect on the highlights and shadow areas of the picture.
Pros: The operation and the effect presented are simple and clear.
Cons: It is not possible to adjust a certain brightness of the picture separately, and the effect is very limited.
Summary: Recommended for novice users who are just getting started with Photoshop.
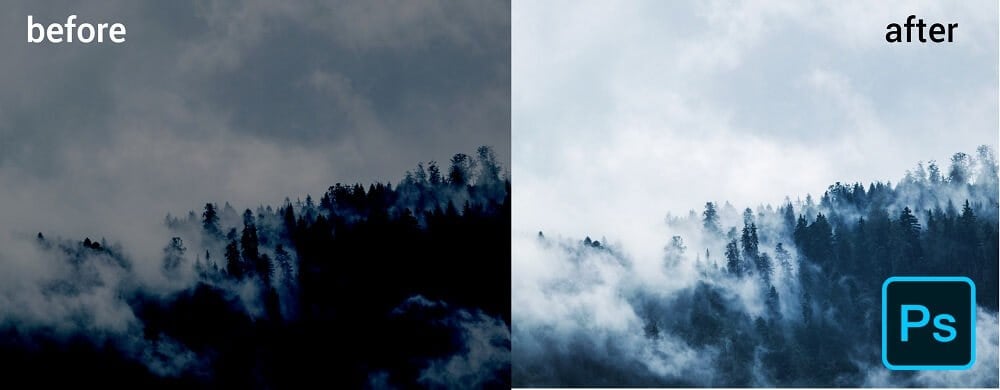
2. Exposure
Again, click on the yin and yang circles in the Layers panel to open the Adjustment Layers panel. Next, choose Exposure.
Move the slider of "Exposure" to change the overall brightness of the picture. The feature of this operation is to change the shadows, mid-tones, and highlights of the picture in equal proportions. So, to put it simply, it is similar to adding and subtracting exposure when shooting.
For example, moving the slider to the right by one unit is equivalent to increasing the exposure by one stop. And moving the slider in the "Displacement" column can change the light and dark of the mid-tones individually. The "Gamma Correction" in the last column is used to adjust the contrast of the picture.
Pros: It integrates the functions of adjusting contrast and exposure, which is convenient to operate and easy to use. Slightly stronger than Brightness/Contrast.
Cons: Cannot adjust a certain brightness alone. And the effect is relatively limited.
Summary: Recommended for novice photographers who are just getting started.
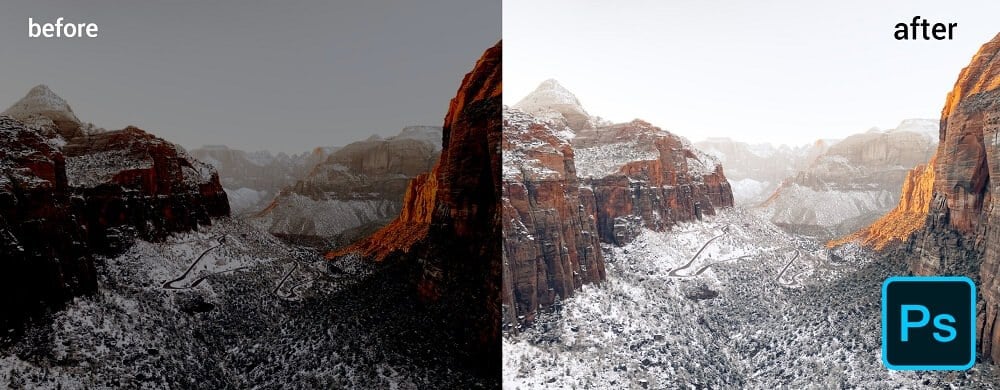
3. Color Levels
Click on the Yin Yang circle icon in the Layers panel to open the Adjustment Layers panel, then choose Levels.
Levels is the use of histograms to describe the light and dark information of the picture. The left to right of the histogram represent the pixel distribution of the picture from dark to light.
Move the leftmost black slider below the histogram to the right to make the dark parts of the image darker. Move the rightmost white slider to the left to make the highlights of the image brighter. The slider in the middle mainly affects the light and shade of the mid-tones.
The output levels bar below can also change the light and dark of the picture. Move the black slider on the left to the right to soften the dark parts of the image.
Move the white slider on the right to the left to make the highlights of the picture less harsh.
Pros: The picture is divided into three areas: highlights, mid-tones, and shadows, which can be independently adjusted by moving the sliders. The movement combination of each slider can meet most of the adjustment needs.
Cons: It may be difficult to meet higher precision adjustments.
Summary: The level adjustment layer is often used. It can quickly and easily change the light and shade of each area of the screen. With the mask, it can basically meet any need for light and shade adjustment in the later stage of landscape photography.
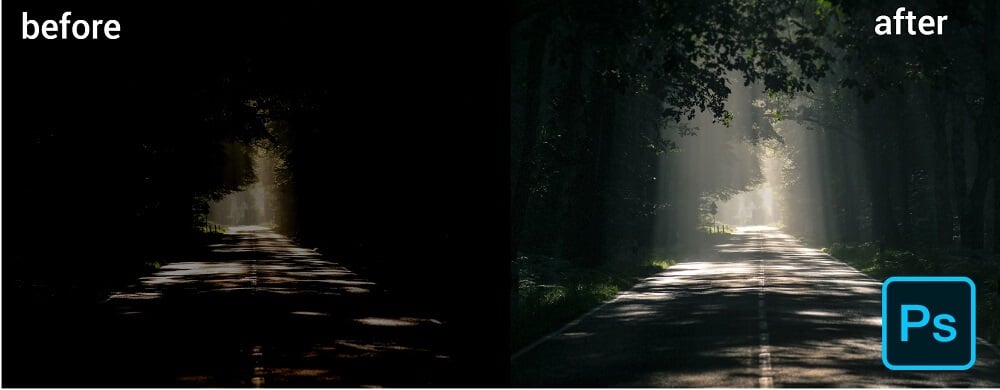
4. Curve
Click on the yin and yang circle icons in the Layers panel to open the Adjustment Layers panel and select "Curves".
The curve adjustment, like the level, has a histogram. And the histogram from left to right represents the pixel distribution of the image in the shadows, mid-tones, and highlights. Pull the curve up to lighten it, and pull it down to darken it. You can choose different points on the curve to make individual adjustments to the selected lightness area, which is also the most flexible and finer adjustment method.
Pros: Point-to-point adjustment can arbitrarily change the light and shade of each pixel, and can create some fine light and shade changes.
Cons: It is slightly more complicated to use than the previous ones.
Summary: This is also an adjustment layer that is often used. Skilled use can make you do more with less.
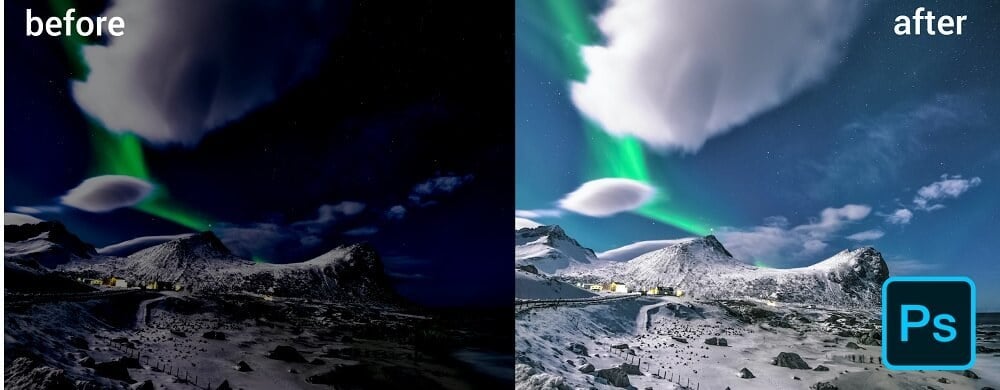
5. Camera Raw
After photoshop is updated to the cc version, the camera raw plug-in that only pops up when importing raw format photos is turned into a jpg, gif filter can also be applied. In this way, we can use some of the functions in camera raw to make more integrated shading adjustments to photos.
First, duplicate a layer before applying the filter, then click "Filter - Camera Raw Filter".
The basic panel of the camera raw has various settings for the light and dark of the picture. You can achieve the effect you want by combining and matching these settings.
In the tone curve panel, the filter presents a histogram interface similar to the curve adjustment layer in ps. Under it, there are four brightness areas that can be adjusted: highlights, bright tones, dark tones, and shadows. For example, if I want to brighten the smoke in the picture to enhance the atmosphere, while the smoke is in a brighter area, then I can move the slider of "Brightness" to the right.
As you move the slider, the histogram will change in real-time with your actions. Such an intuitive effect is undoubtedly easier to use than a Curves adjustment layer.
After adjustment, click OK, and the effect of camera raw will be applied to the new layer. Then add a mask so that the effect is only applied to the area you want.
Pros: The camera raw filter combines a variety of operations to change light and shade. And all the effects can be superimposed on one layer. This saves you the tediousness of generating different adjustment layers to apply effects over and over again.
Especially when you want to do other things to the image besides changing the light and shade. This filter is undoubtedly more efficient than adjustment layers.
Cons: The only disadvantage is that you need to duplicate a layer before applying the effect, and manually add a mask after applying the effect. It will take a little time.
Summary: Adobe has especially turned this plug-in, which was originally only used for raw files, into a filter that can be used in gifs and jpg. This is enough to show how useful this filter is. It has integrated effects that work on a single layer, and an easy-to-understand interface. This is a tool that is often used in post-processing.
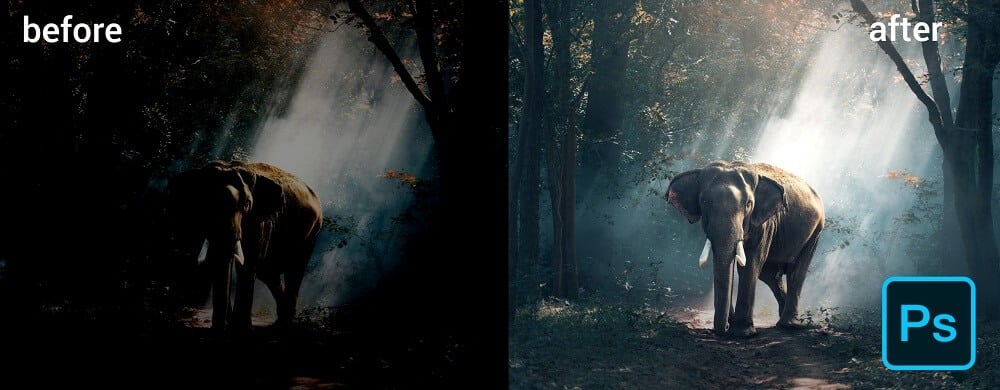
6. Dodge & Burn
Dodge&Burn is to use black and white brushes or burn and dodge tools to manually smear and shape the light and shadow in the picture. Use a white brush to brighten and a black brush to darken. This technique is more like painting.
Pros: Shading manually is undoubtedly the most controllable and refined method. For some areas where light and shadow need to be carefully shaped and texture is emphasized, this technique is the best choice.
Cons: time-consuming. Especially for those complex texture image processing, it often takes a long time. And this technique requires a certain amount of practice to be proficient in using it.
Summary: It is a must-have technique for post-production in landscape photography.
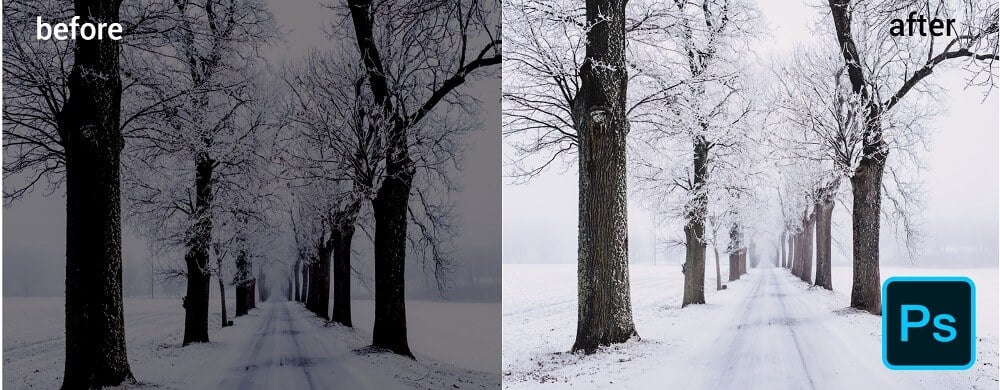
7. Black and White Filling
1) Create a new blank layer and change the layer blending mode to "Soft Light".
2) "Edit - Fill", select fill black in the pop-up dialog box.
3) Lower the layer opacity until it fits. The greater the transparency of the layer, the darker the image will be.
Similarly, if you want to brighten the picture, then fill it with white. Change the blending mode of the picture to "overlay", or control the degree of lightening of the picture by changing the opacity of the layer.
Pros: You can pass the time when you are bored.
Cons: Cumbersome operation and difficult to control. All are shortcomings.
Summary: This trick is not recommended.
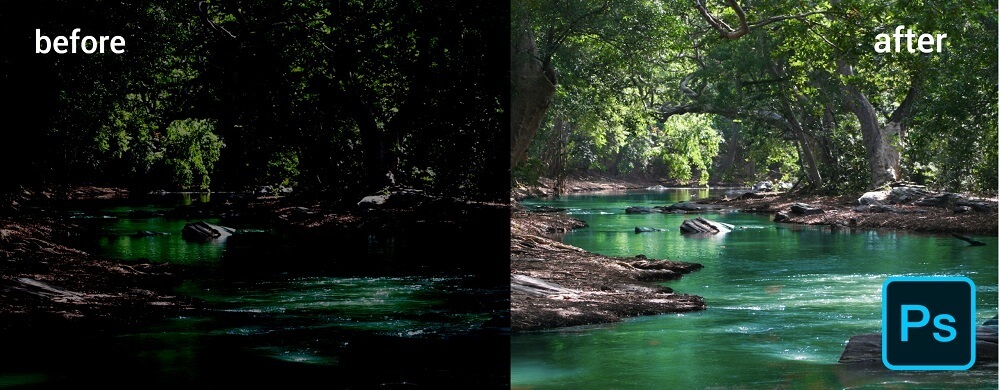
8. Multi-plate Stamp Clone
This technique is rather strange, but it is the method used by the world's top landscape photographers Marc Adamus and Max Rive.
1) Create a Copy
Ctrl+A selects all images, Ctrl+C copies images, and Ctrl+N creates new documents. In the new document interface, Ctrl+V pastes the image into a new blank document to create a copy.
2) Shading the Copy
If you want to brighten the smoke and highlight the fog effect, you can pull up the curve to brighten the picture. Merge the layers after the highlighting is done.
3) Clonal Sampling
Make the copy image as large as possible. At this point, the image will appear in the form of a mosaic. Select the Clone Stamp tool, hold down the alt key, and click Sample at the pixel grid in the upper left corner of the image.
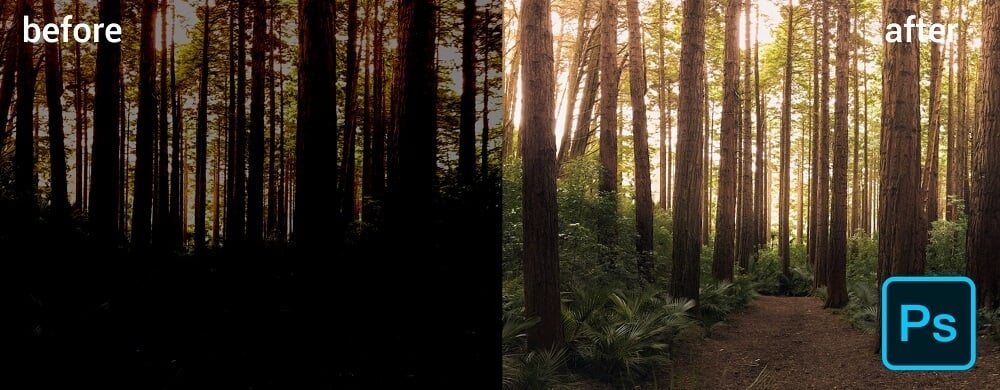
4) Grid Alignment
Go back to the original file, and also make the original file the largest. Then drag the cursor of the clone stamp and click on the grid point in the upper left corner of the original file. This will align the copy image of the clone stamp with the original file.
Since the imitation stamp effect was applied to the corner when just clicked, we press ctrl+z to cancel the effect just now.
5) Clone Smear
Next, move the cursor, you can find that the brush where the cursor moves shows a copy image. That is the effect of the image after brightening. Then, brush where you want to lighten, and the lightening effect is cloned from the copy to the original.
This multi-plate stamp clone actually applies the effect to the duplicate image. Then use the clone tool to clone the effect of the duplicate image onto the original image. The range taken by the brush is the area you want to apply the effect to.
Pros: As the cursor moves, the effect will appear on the image in real-time, which will be more intuitive.
Cons: Complex operation, time-consuming, difficult to modify.
Summary: Although top foreign landscape photographers such as Marc Adamus and Max Rive are using this method, we can completely replace this effect with a mask. Moreover, the mask is more convenient to undo and modify the selection. This method can be learned but is not very recommended.
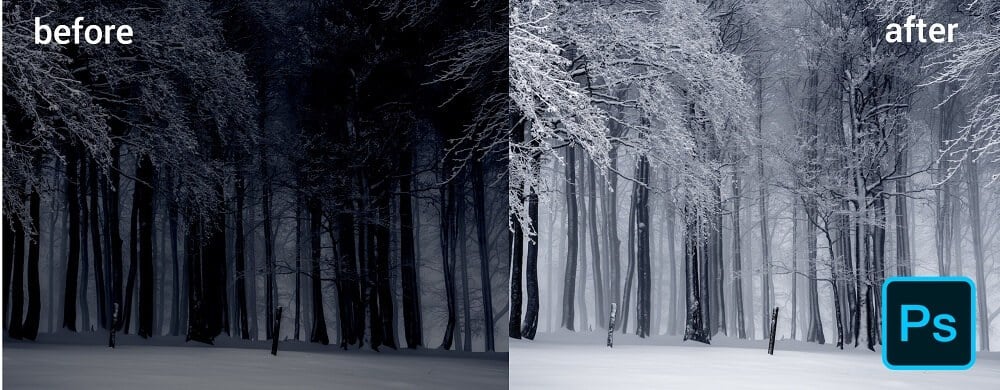
That are all methods that can brighten an image in Photoshop. Quickly open Photoshop and upload photos to try these methods. Besides Photoshop, you also can use Fotor's online photo editor to brighten images.
