8 Tips on How to Take Good Pictures of Yourself (2024 Updated)
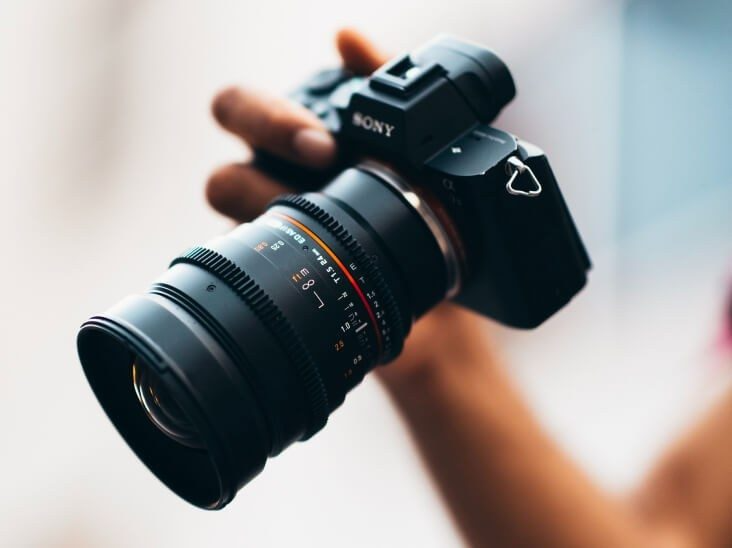
You probably like to post your selfies to social media like Instagram to share what is going on in your life, and also like to see the nice pictures that other people post. However, why are someone’s selfies great? What are the techniques and poses for selfies in daily life?
This is a list of 8 advanced tips on how to take good pictures of yourself. In fact, those tips have improved my photography skills completely. This will apply whether you’re traveling solo and want photos of yourself traveling or just want to improve your selfies in general.
So if you’re sick of reading old skills content, you’ll really enjoy this list.
1. Use a tripod to place your camera or phone
If you are going to take pictures by yourself, you’d better hold the camera as far away from yourself as possible, as you’ll not only be able to find the best angle more easily, but you’ll also be able to capture a more perfectly composed image. That’s where the selfie stick on the phone comes in.
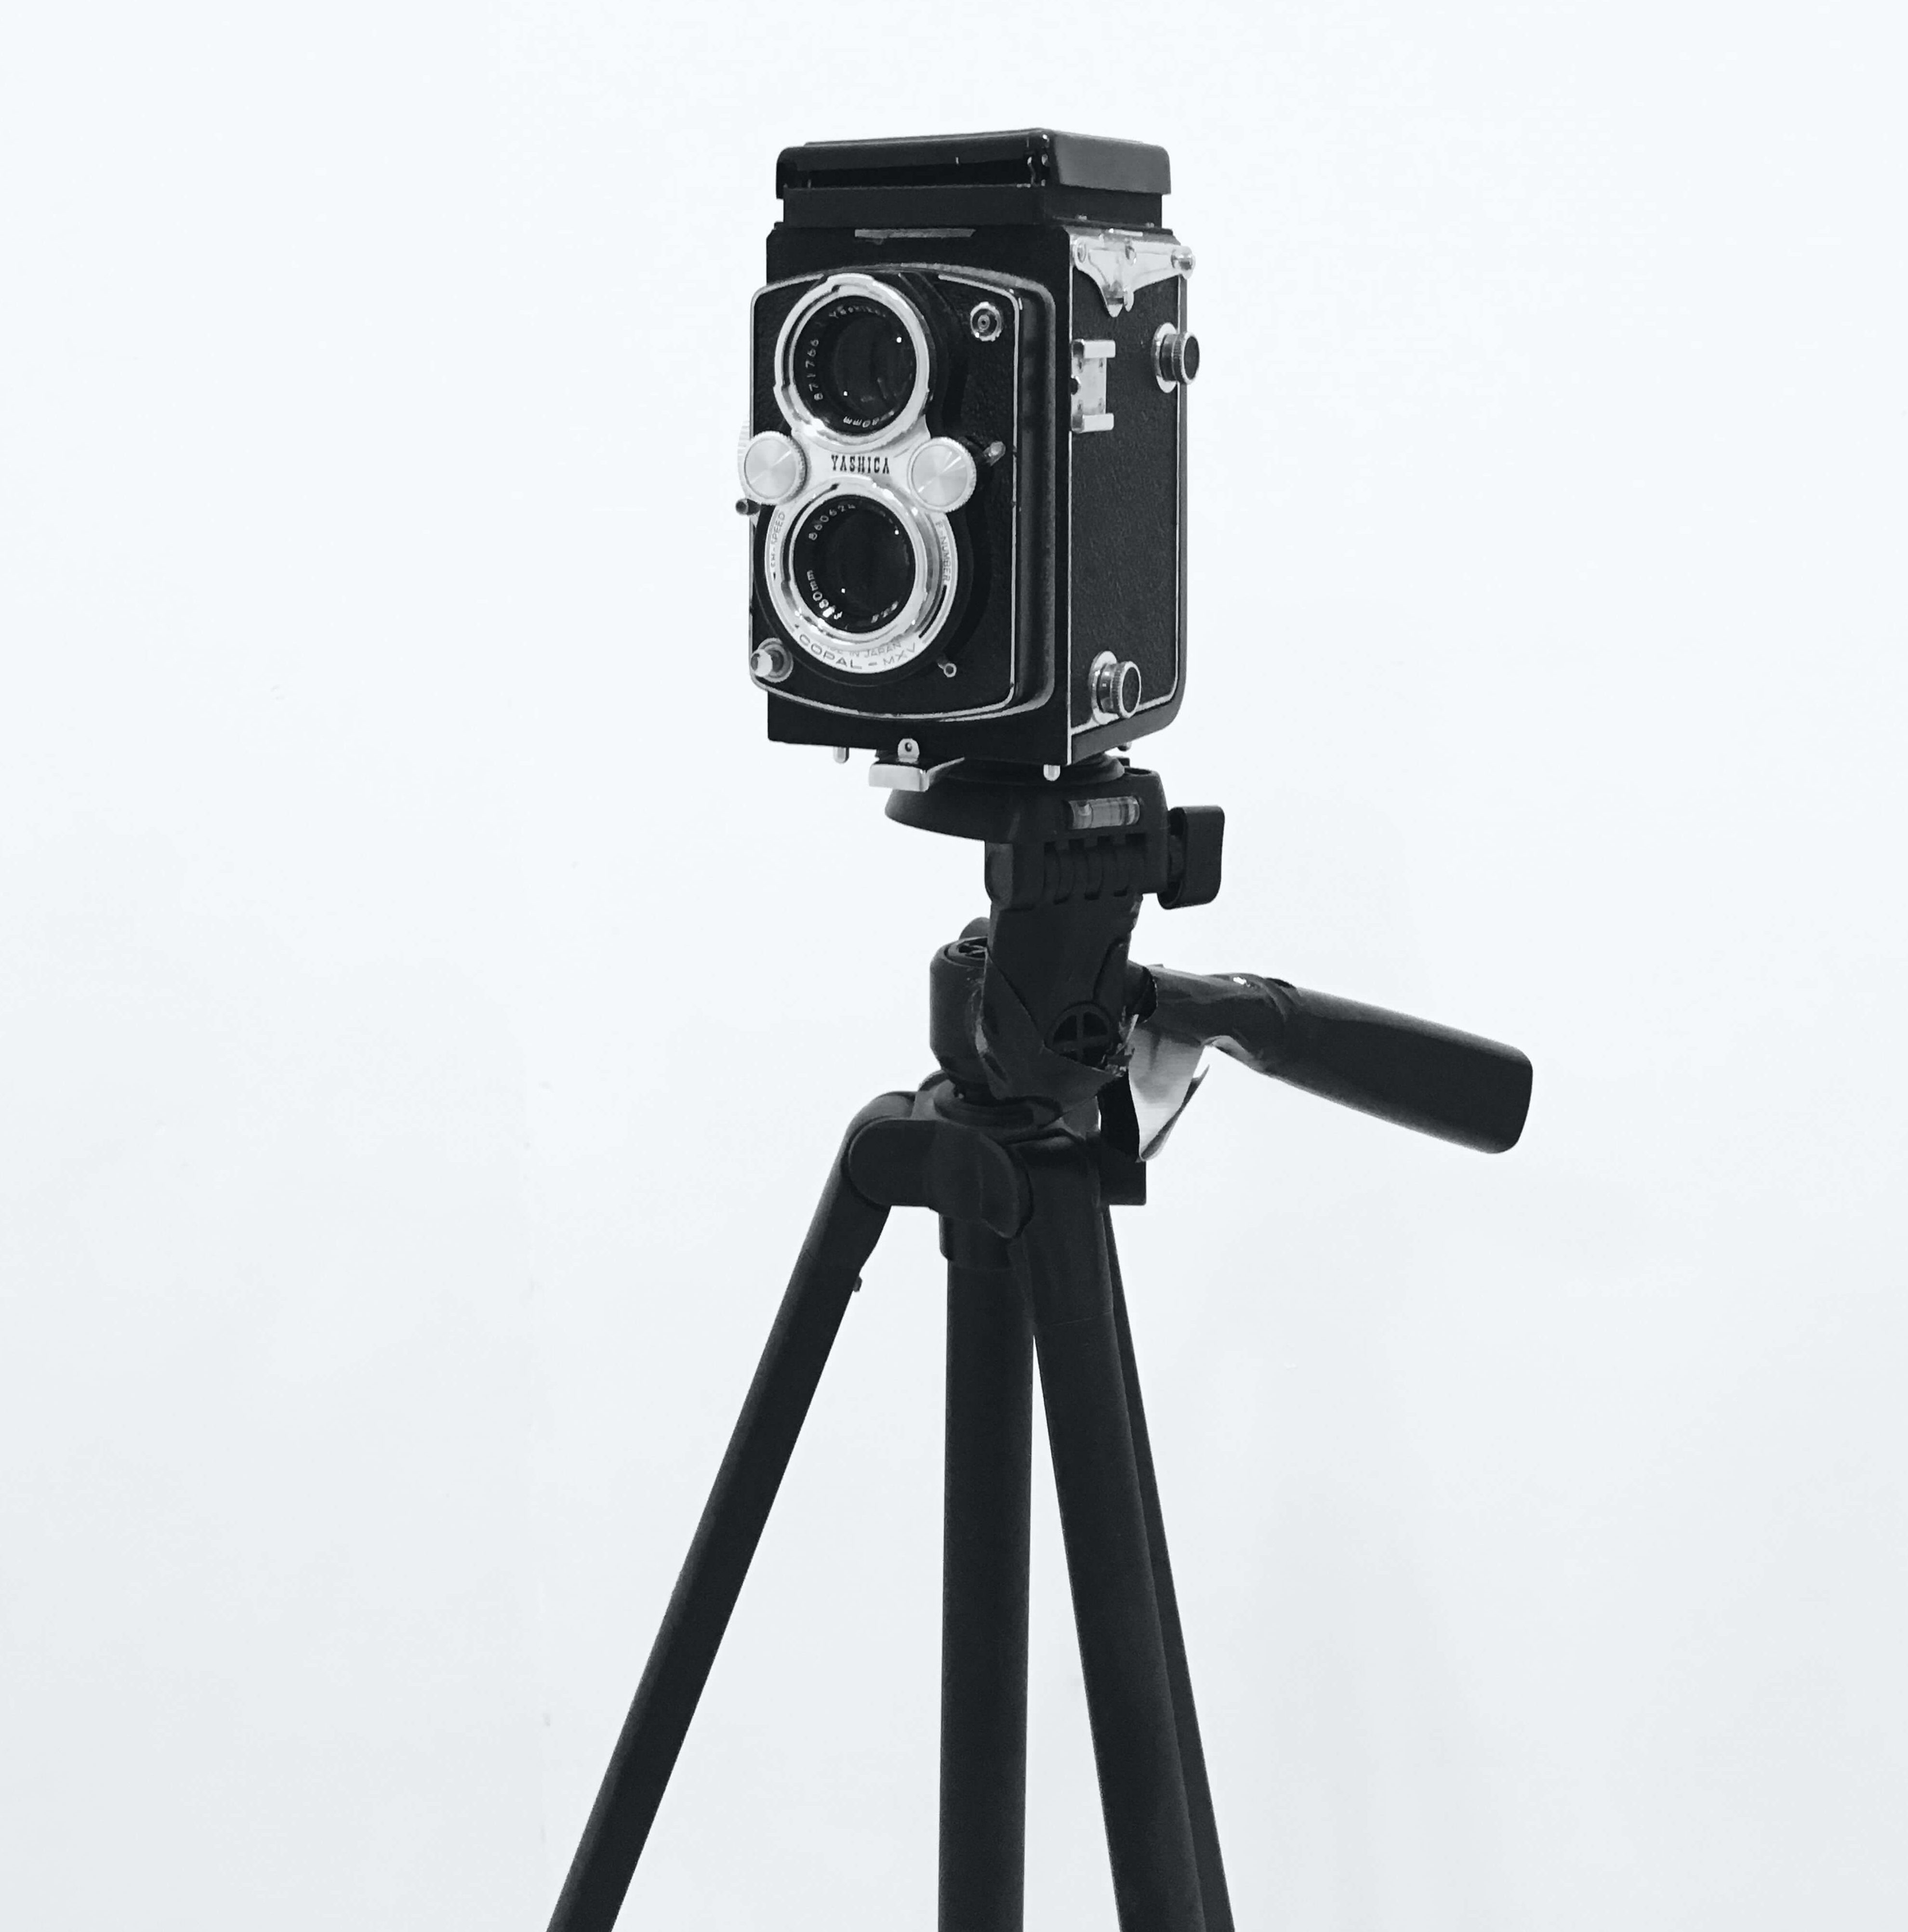
A tripod is necessary when you are taking pictures of yourself with your phone or camera. You can buy a cheaper one online so that it will be perfect for the task. Get one that is an adjustable height and allows you to fold it up for easy transportation. This will let you position the camera properly as well, frame the shot so you have everything that you want in your photo, use whatever type of camera you have, and generally get the photos you want.
For the best results when using a tripod, you’ll want either a way to trigger the camera remotely such as a wireless remote release shutter or an intervalometer. This will let you set up the camera to take a number of photos on a timer, so you can take a few pictures and then keep the best ones.
2. Perfect your composition
The composition is a key part of a snap photo, whether you’re taking photos with a camera or your iPhone for selfies! The best photographs follow what’s known as the rule of thirds. Imagine dividing the frame into 3 equal parts, like a top, middle, and bottom, or left, middle, and right. Then, line up the photo so the features you want to highlight fall along one of those lines.
● For example, if you want the focus to be on your eyes, frame the lens so your eyes are a third of the way down from the top of the photo. This will provide a more interesting photo and probably a more relevant angle.
● If you’re taking a full-body shot, you can position yourself slightly to the left or right of the frame when shooting.
● The front camera on your phone may distort your face, and if you’ve ever wondered why you might not look the same in the mirror than you do when you turn on your phone’s front camera, it’s because of the lens and perspective distortion. You should use your phone’s rear camera if you are allowed to do so.
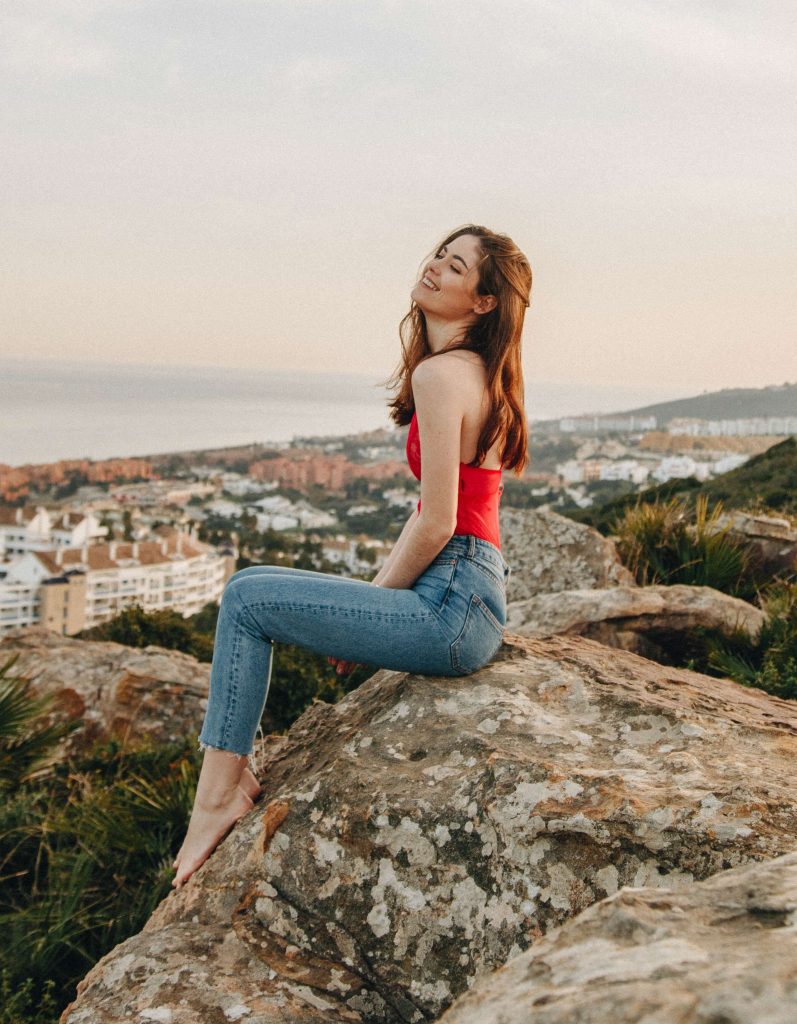
Whichever method you use, keep the camera slightly above you. Photos taken from a little higher up will naturally look better, so if you can get the camera a little higher than you, this will give you better results.
The exception to this guidance is if you are shooting into a mirror – holding the camera below yourself might make it easier to edit the camera out. Just remember to tilt your chin and ensure your composition isn’t unflattering.
3. Practice natural poses
There’s nothing wrong with a common pose, but it can quickly get repetitive in your feed. To amp up your Instagram profile and keep things fresh and interesting, you need to find natural feeling poses that present you in the best way possible!

● If you want a nice snap, use a mirror to practice your poses. You might feel weird at first, but you’ll get a feel for which poses naturally and express your personality!
● If you are traveling outside, capturing your backside against a vast backdrop will make for an artistically beautiful image that is unpredictable and endlessly imaginative.
● If you don’t want to take any awkward practice, just turn around and snap a street photo. All you have to do is to move forward and look back. It gives the illusion that you’re being photographed. So just walk around, swing your hand, look back, and you’ll capture it
When taking pictures, poses will give you many options. It’s just like opening another door to a new world. The poses can also be used to express characters’ status, mood, and those images that words fail to express. However, Confidence is the biggest advantage. Good postures involve trial and error. Don’t be shy and awkward like facing cameras. Take a million test selfies striking all kinds of poses. Find 3-5 signatures that you love, and practice until they’re second nature to you!
4. Practice facial expression
Real emotion usually shows up on your face. In reality, many of us don’t like having our pictures taken, even if we’re the ones taking our picture. So it’s key to try to relax, to enjoy yourself, and to have a bit of fun with it. If you smile, you will definitely find that your pictures will look more flattering, both to you and to anyone who is looking at them. A happy, smiling picture is always nice, and when you smile you’ll probably find yourself naturally relaxing too.
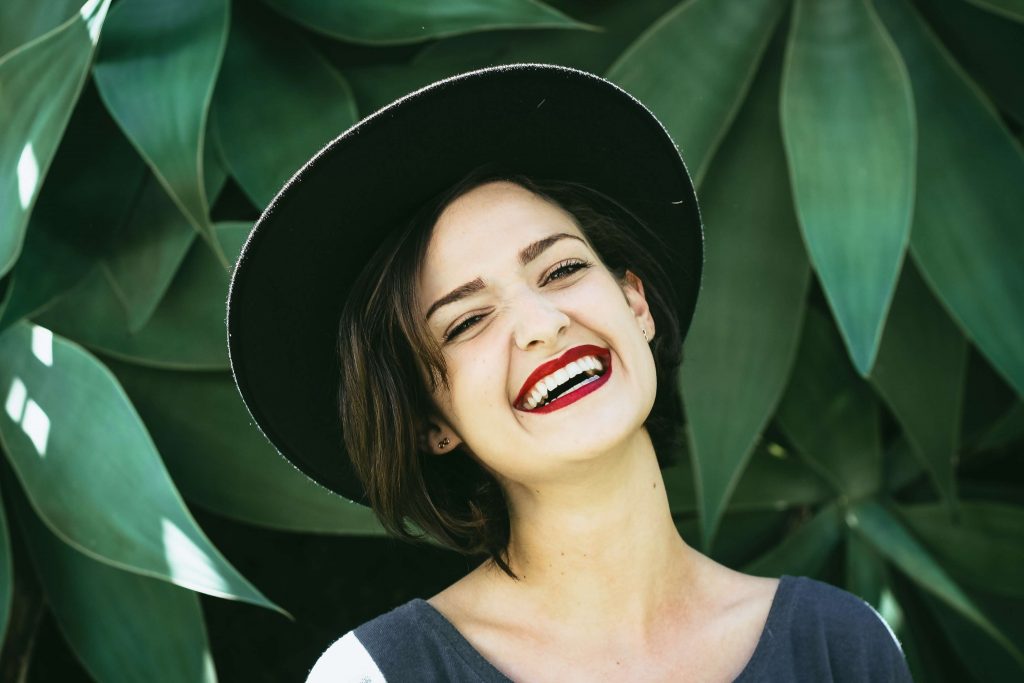
A fake smile is not usually a flattering smile, so if you want a smiling photo, think of something that makes you genuinely happy or something that is funny before snapping the photo. If you want to look happy, make sure you are smiling with your eyes, not just your mouth. The way to do this is to actually feel happy.
It’s okay to show other emotions, too, if you would prefer self pics that is somber, flirty, sad, pensive, frustrated, or matter-of-fact. Just try being genuine.
5. Practice all angles to find the best
Not everyone knows the best angle for their selfie. Fortunately, they’re pretty easy to find with some dedicated practice. You can follow these tips!
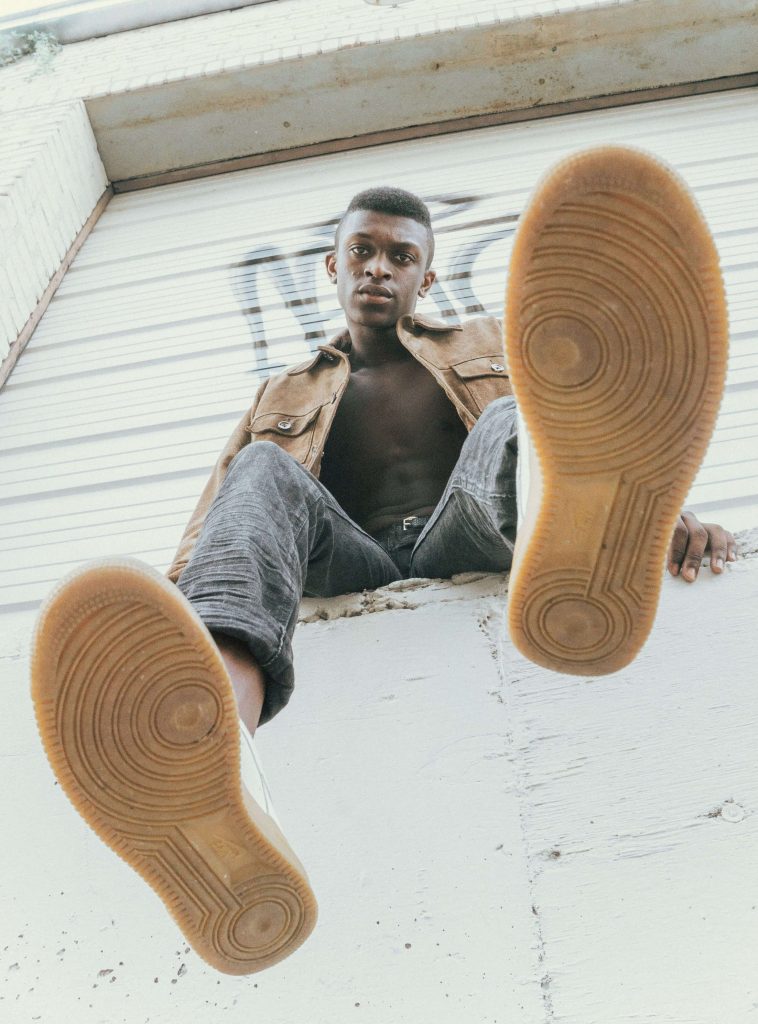
● Shoot with the settings, exposure, and focus you want.
● Focus on adjusting the angles of the chin, forehead, head and body in different positions and angles. Keep full, 1/2(outline) and 3/4(slightly turned around) in your mind all of these.
● Turn the camera up or down and repeat it!
Take a lot of pictures as much as you can, and the more you practice, the more natural and easy it will be, and the better it will look. You don’t have to worry if it takes time, it definitely takes time to learn how to take a professional headshot.
6. Find the right lighting
Light is vital when it comes to photography, and this is also true when it comes to taking good self-pictures. You should have good angles for the light! Natural light is always the best for photography. Pay attention to the position of the sun, the angle of the sunlight, and try to choose a simple and clean background and venue. If you can't find a proper background, not to worry, there are many photo editing software you can use to quickly remove your photo background and replace it with aesthetic backgrounds.
However, direct sunlight, particularly in the middle of the day when the sun is straight overhead, is often not flattering
● If you are inside, try taking pictures near a window with natural light (but not direct sunlight).
● If you must use unnatural light, avoid fluorescent lighting and overhead lighting. Indoors, you may be able to turn off overhead lights and turn on lamps for a better light effect.
● If you can’t be avoided direct overhead lighting (natural or artificial), use the flash on your camera to fill in light so that there are no shadows under your nose or eyes.
7. Ask someone to take pictures of you
If you want a better quality picture than taking the camera up by yourself but don’t have a tripod in hand, you might consider asking someone else to take a picture of you and give them a little instruction as to what you are looking for – something along the lines of “If you could get the whole Leaning Tower in, just shoot the top half of my body”. It’s best if you already have a composition in mind so you can just hand the camera over to the person and give them instructions.
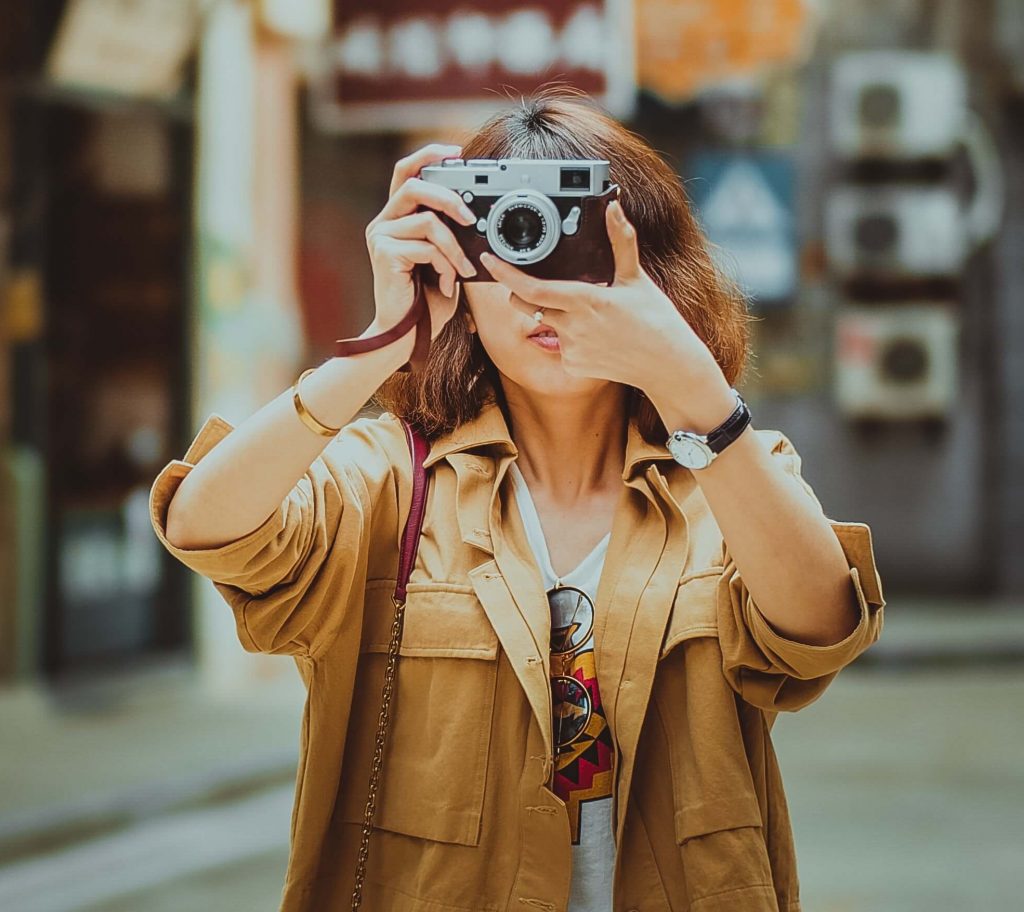
8. Learn how to edit your photos
Like some of the tips in this post, this is not just applying to take photos of yourself. Learning how to edit your photos is a key point of photography, and it will help you get the best out of your photos. Everyone wants to make their pictures more attractive. So even if you use photo filters or photo editing apps, it’s OK.
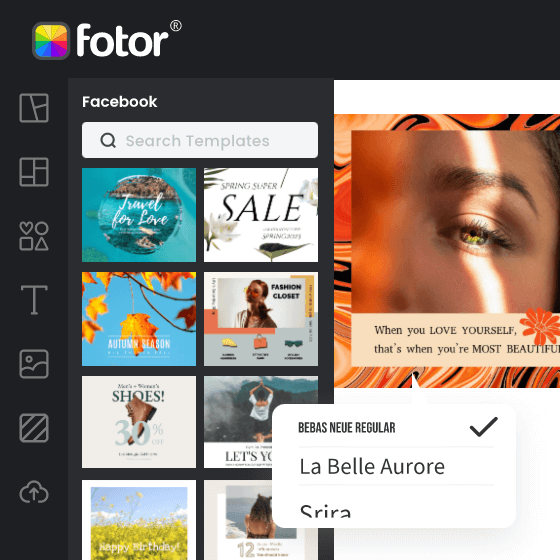
Powerful AI-driven editing tools like background remover, AI enlarger, object remover, one-tab skin retouch, AI art effects, etc.
Over 100,000+ ready-to-use templates and creative content for graphic design and photo collages.
Millions of HD stock photos for personal and commercial use.
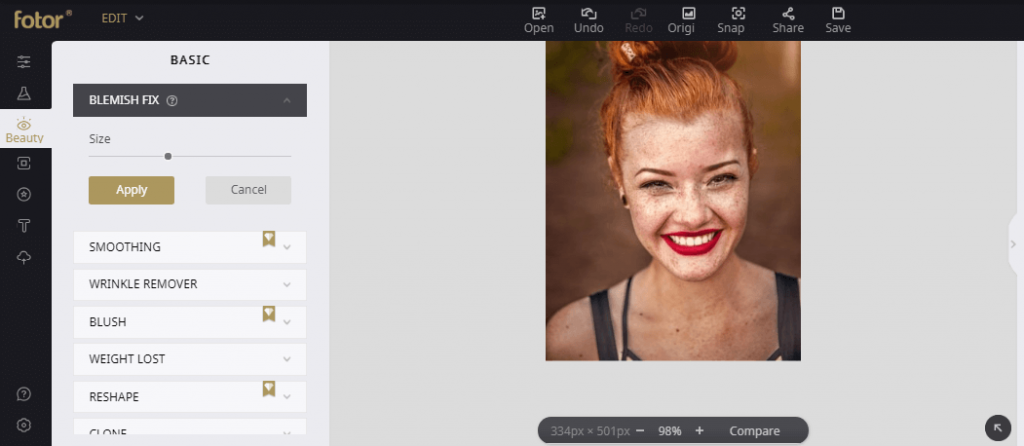
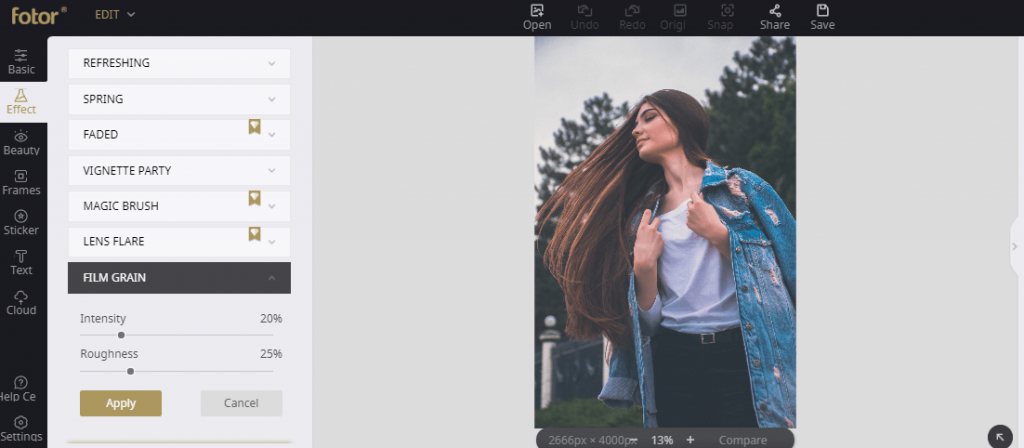
There is a bunch of Lightroom Presets that you can use with the mobile app Fotor or log in the website www.fotor.com, which makes editing your photos and finding a style you love a breeze! You can use it to make photos brighter if the lighting of your photos is not so good. If you’re not happy enough with your own makeup in the photo, you can use the blemish removal, or give yourself a fresh makeup with Fotor. From lighting tweaks to beautify your selfie, you can make your picture shine with just a few clicks! Of course, If you really enjoy posting pictures on Instagram, you can also find inspiration by searching up various social media post templates on Fotor to see what style really speaks to you.
Conclusion
Now after learning these 8 tips, I’m sure you’ve known the essentials of how to take good pictures of yourself. It’s time to practice taking great photos. If you’ve got any inspiration from this post, do not hesitate to snap photos for yourself now. But don’t forget that it usually takes a long time to find your own style and develop an aesthetic. Before you find something you like, you may need to keep trying.

